


Jeffrey Court Renovation Challenge: Week 4 How Its Adding Value
WEEK FOUR?!
We are already more than halfway through the renovation challenge, folks! Can you believe it? Besides updating you on our progress, we also want to talk about how this renovation is adding value to our home in partnership with Homes.com! But first, before we get into our progress for this week, click here to head to the Jeffrey Court website and vote for your favorite designer! Remember, you can cast new votes each week! Also, click the links below to check out our progress from previous weeks:

Jeffrey Court Spaced Out Mosaic Tile
Progress Time!
We went on a cruise halfway through this week, so there wasn’t too much progress, but the progress we did have was exciting! WE TILED THE WALL! Thats right, our first time ever tiling is complete! I’m obsessed with how the Jeffrey Court Spaced Out Mosaic Tile looks on the wall, especially with the charcoal grout we paired it with! We took a more nontraditional approach when we applied the tiles to the wall, and instead of using thinset/mortar, we used something called Mussel Bound Tile Adhesive. It is a double-sided roll of wall adhesive mats that are perfect for walls, backsplashes, and fireplace surrounds! Ours also came with three different sizes of spacers, which was handy!
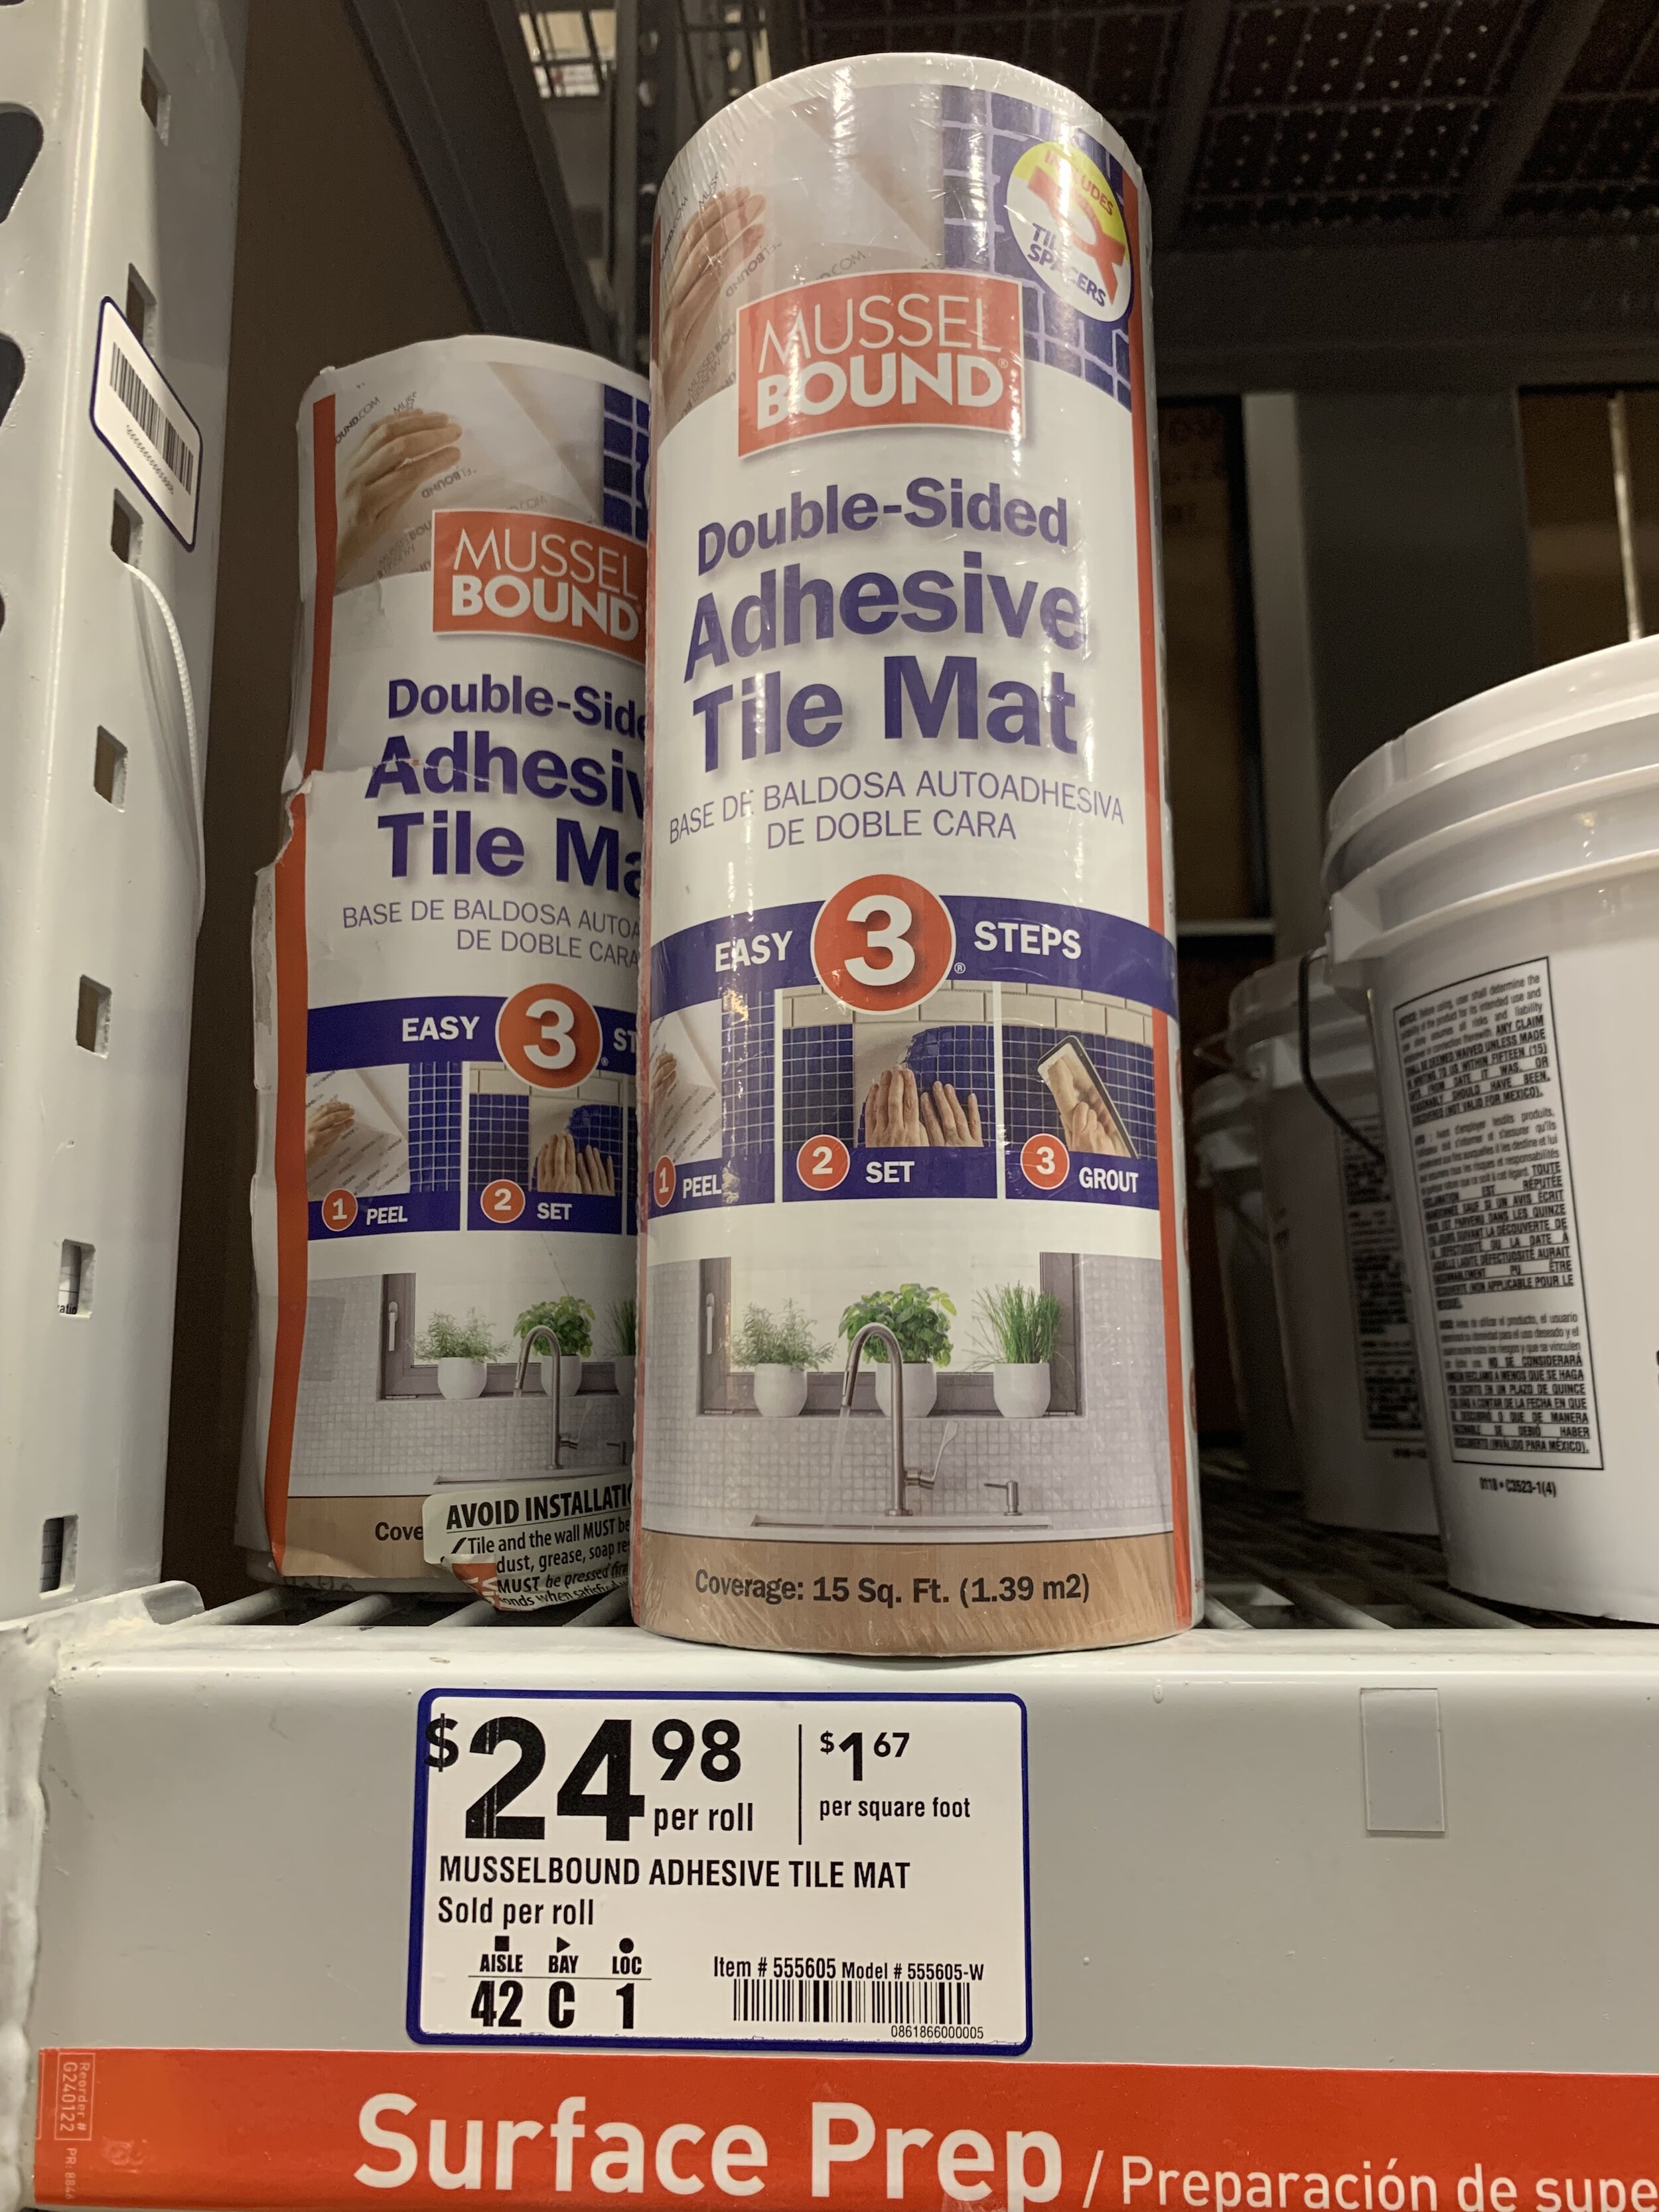
We linked it for you on Amazon, but it is half the price if you go to Lowes, as seen here!
We were intimated by using thinset/mortar on the wall, we thought it might be a little more difficult than on the floor, and when I saw one of my favorite DIY Instagrammers, Lindsay at Frills and Drills, use Mussel Bound, I was sold! She has used it for three tile walls and highly recommends it, so we decided to give it a try. It is quite a bit more expensive than traditional thinset or mortar, but for us it was perfect, we used two full rolls. It was easier, no mess involved, and we could take our time with cuts and placing the tile without it drying. We definitely recommend it if you are newbies like us and want a simple solution! It is extremely sticky, but still allows you to reposition the tiles if you need to before you press down on them, and you grout like normal afterwards! This isn’t sponsored, we just love the product!
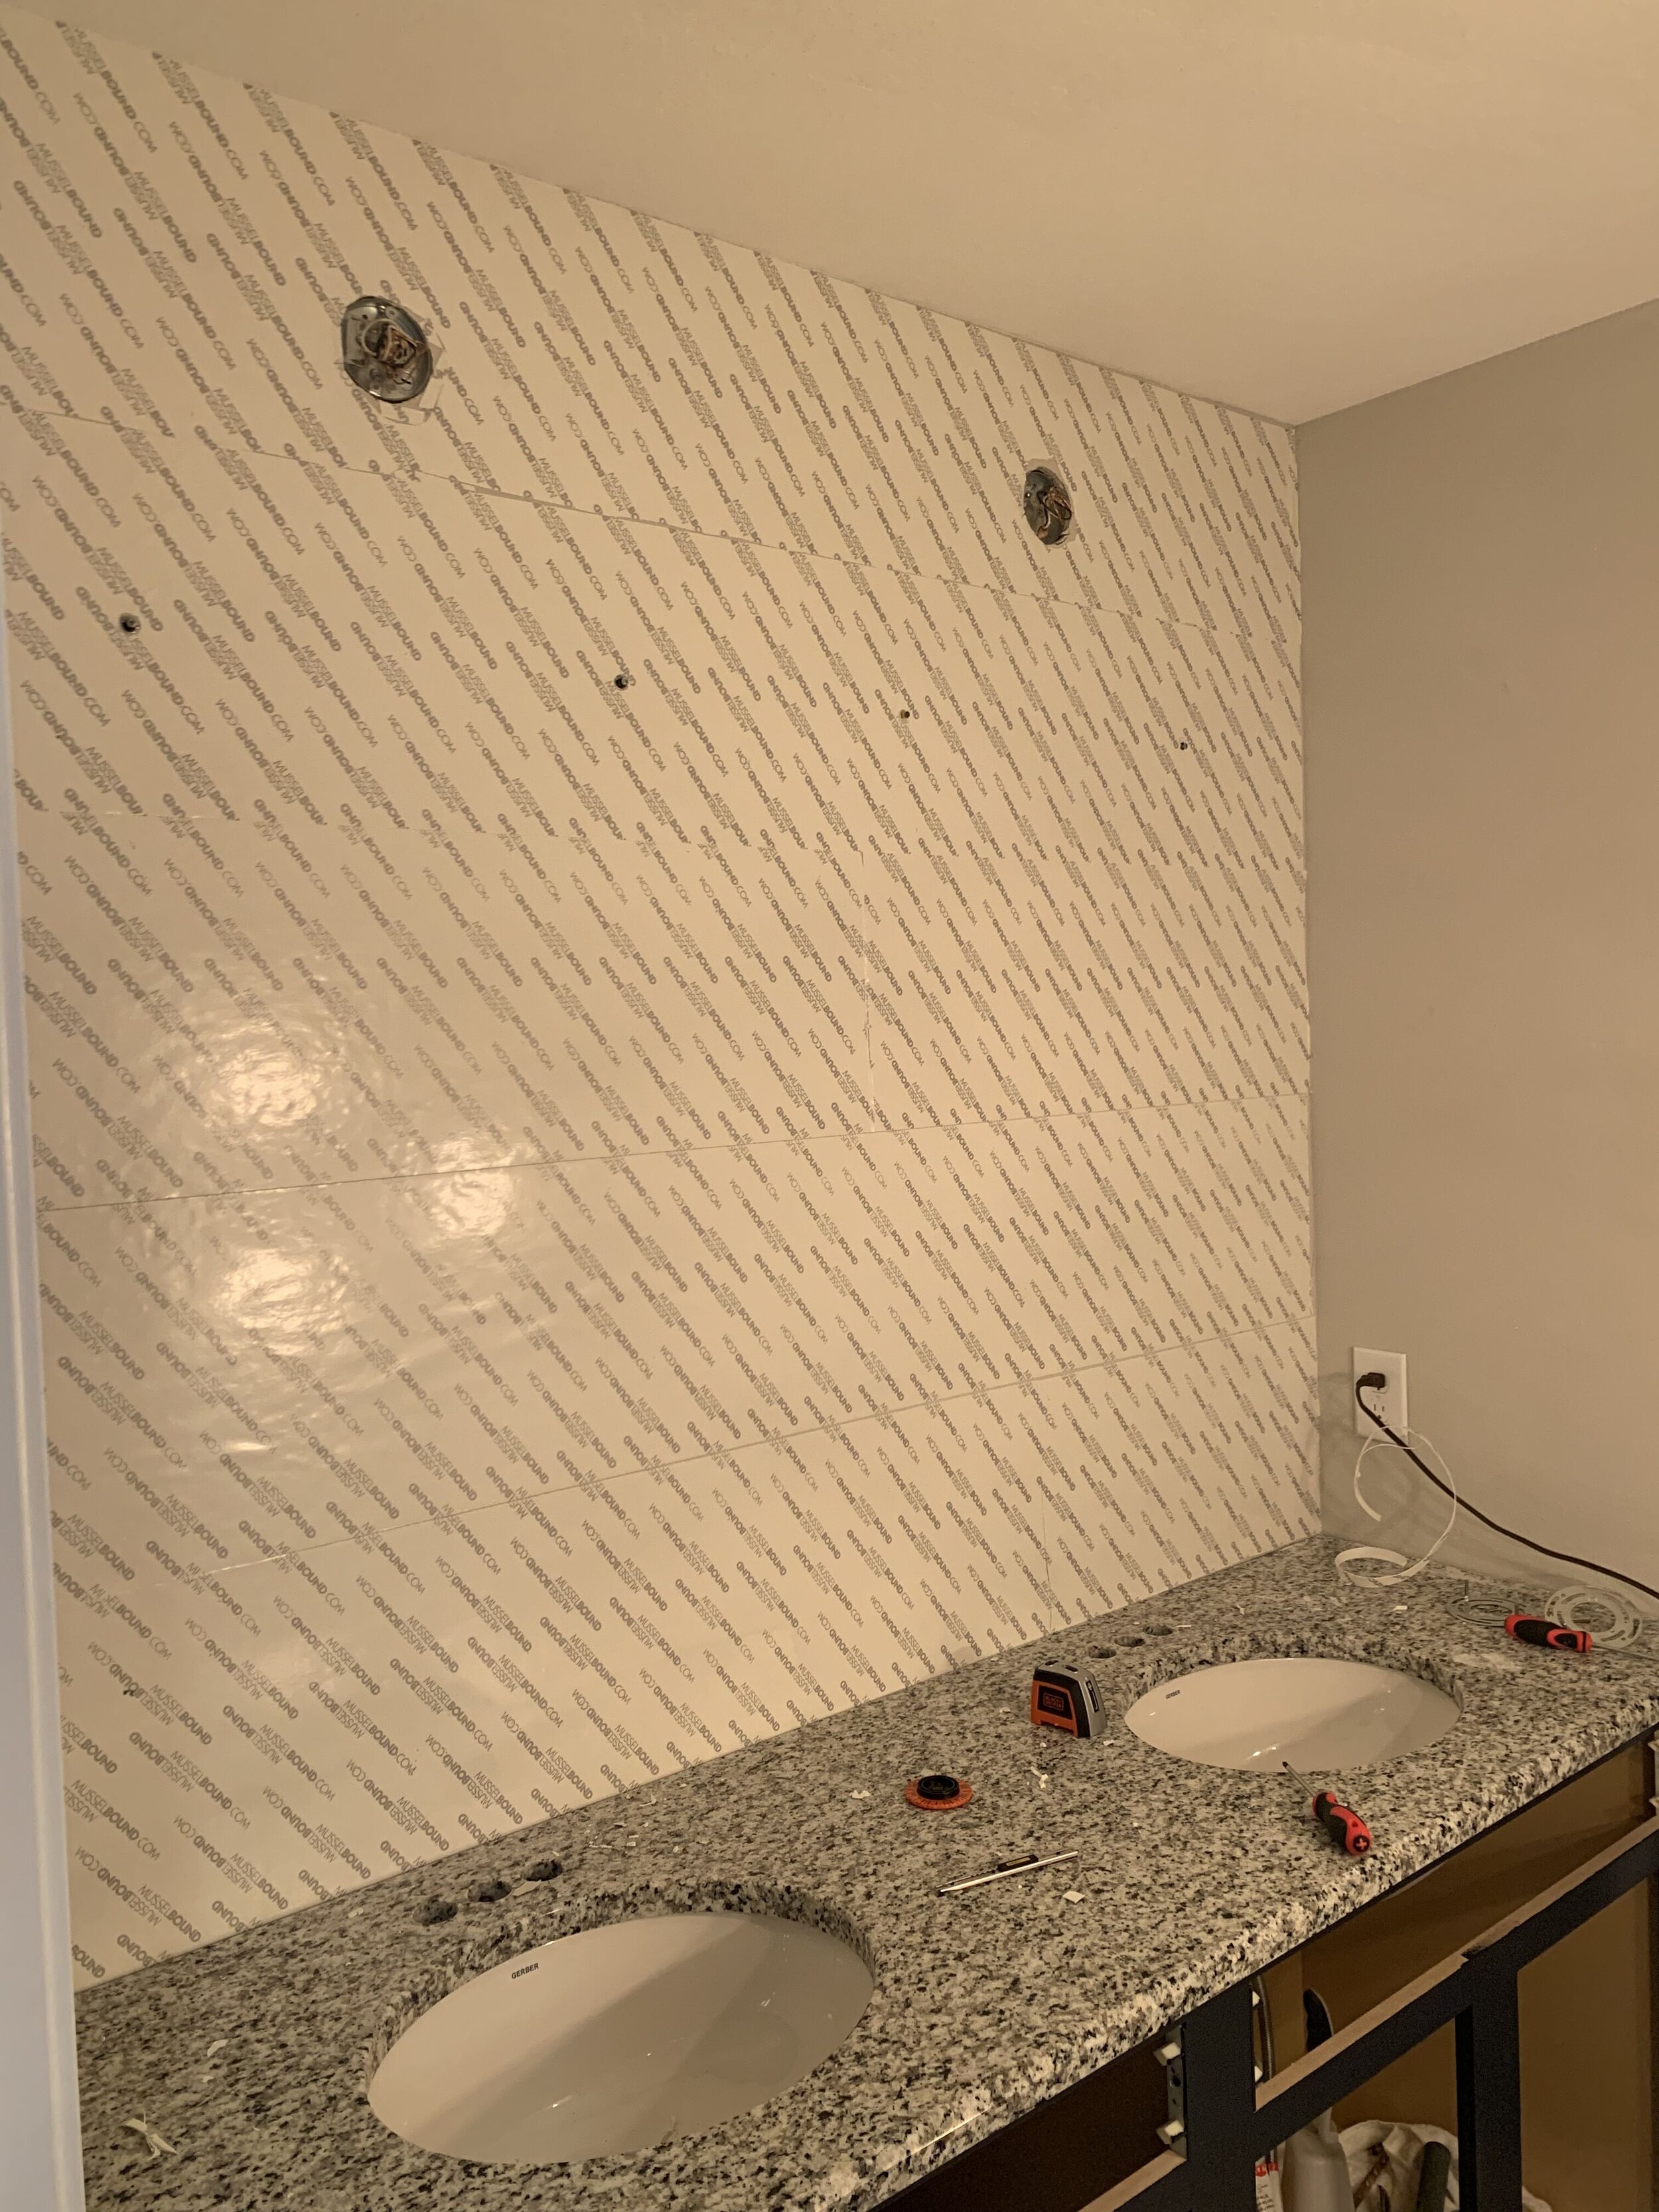
This is what it looks like when we had the Mussel Bound adhesive all rolled out on the walls. We used two full rolls.
We used 1/8 inch spacers that came with the Mussel Bound adhesive.
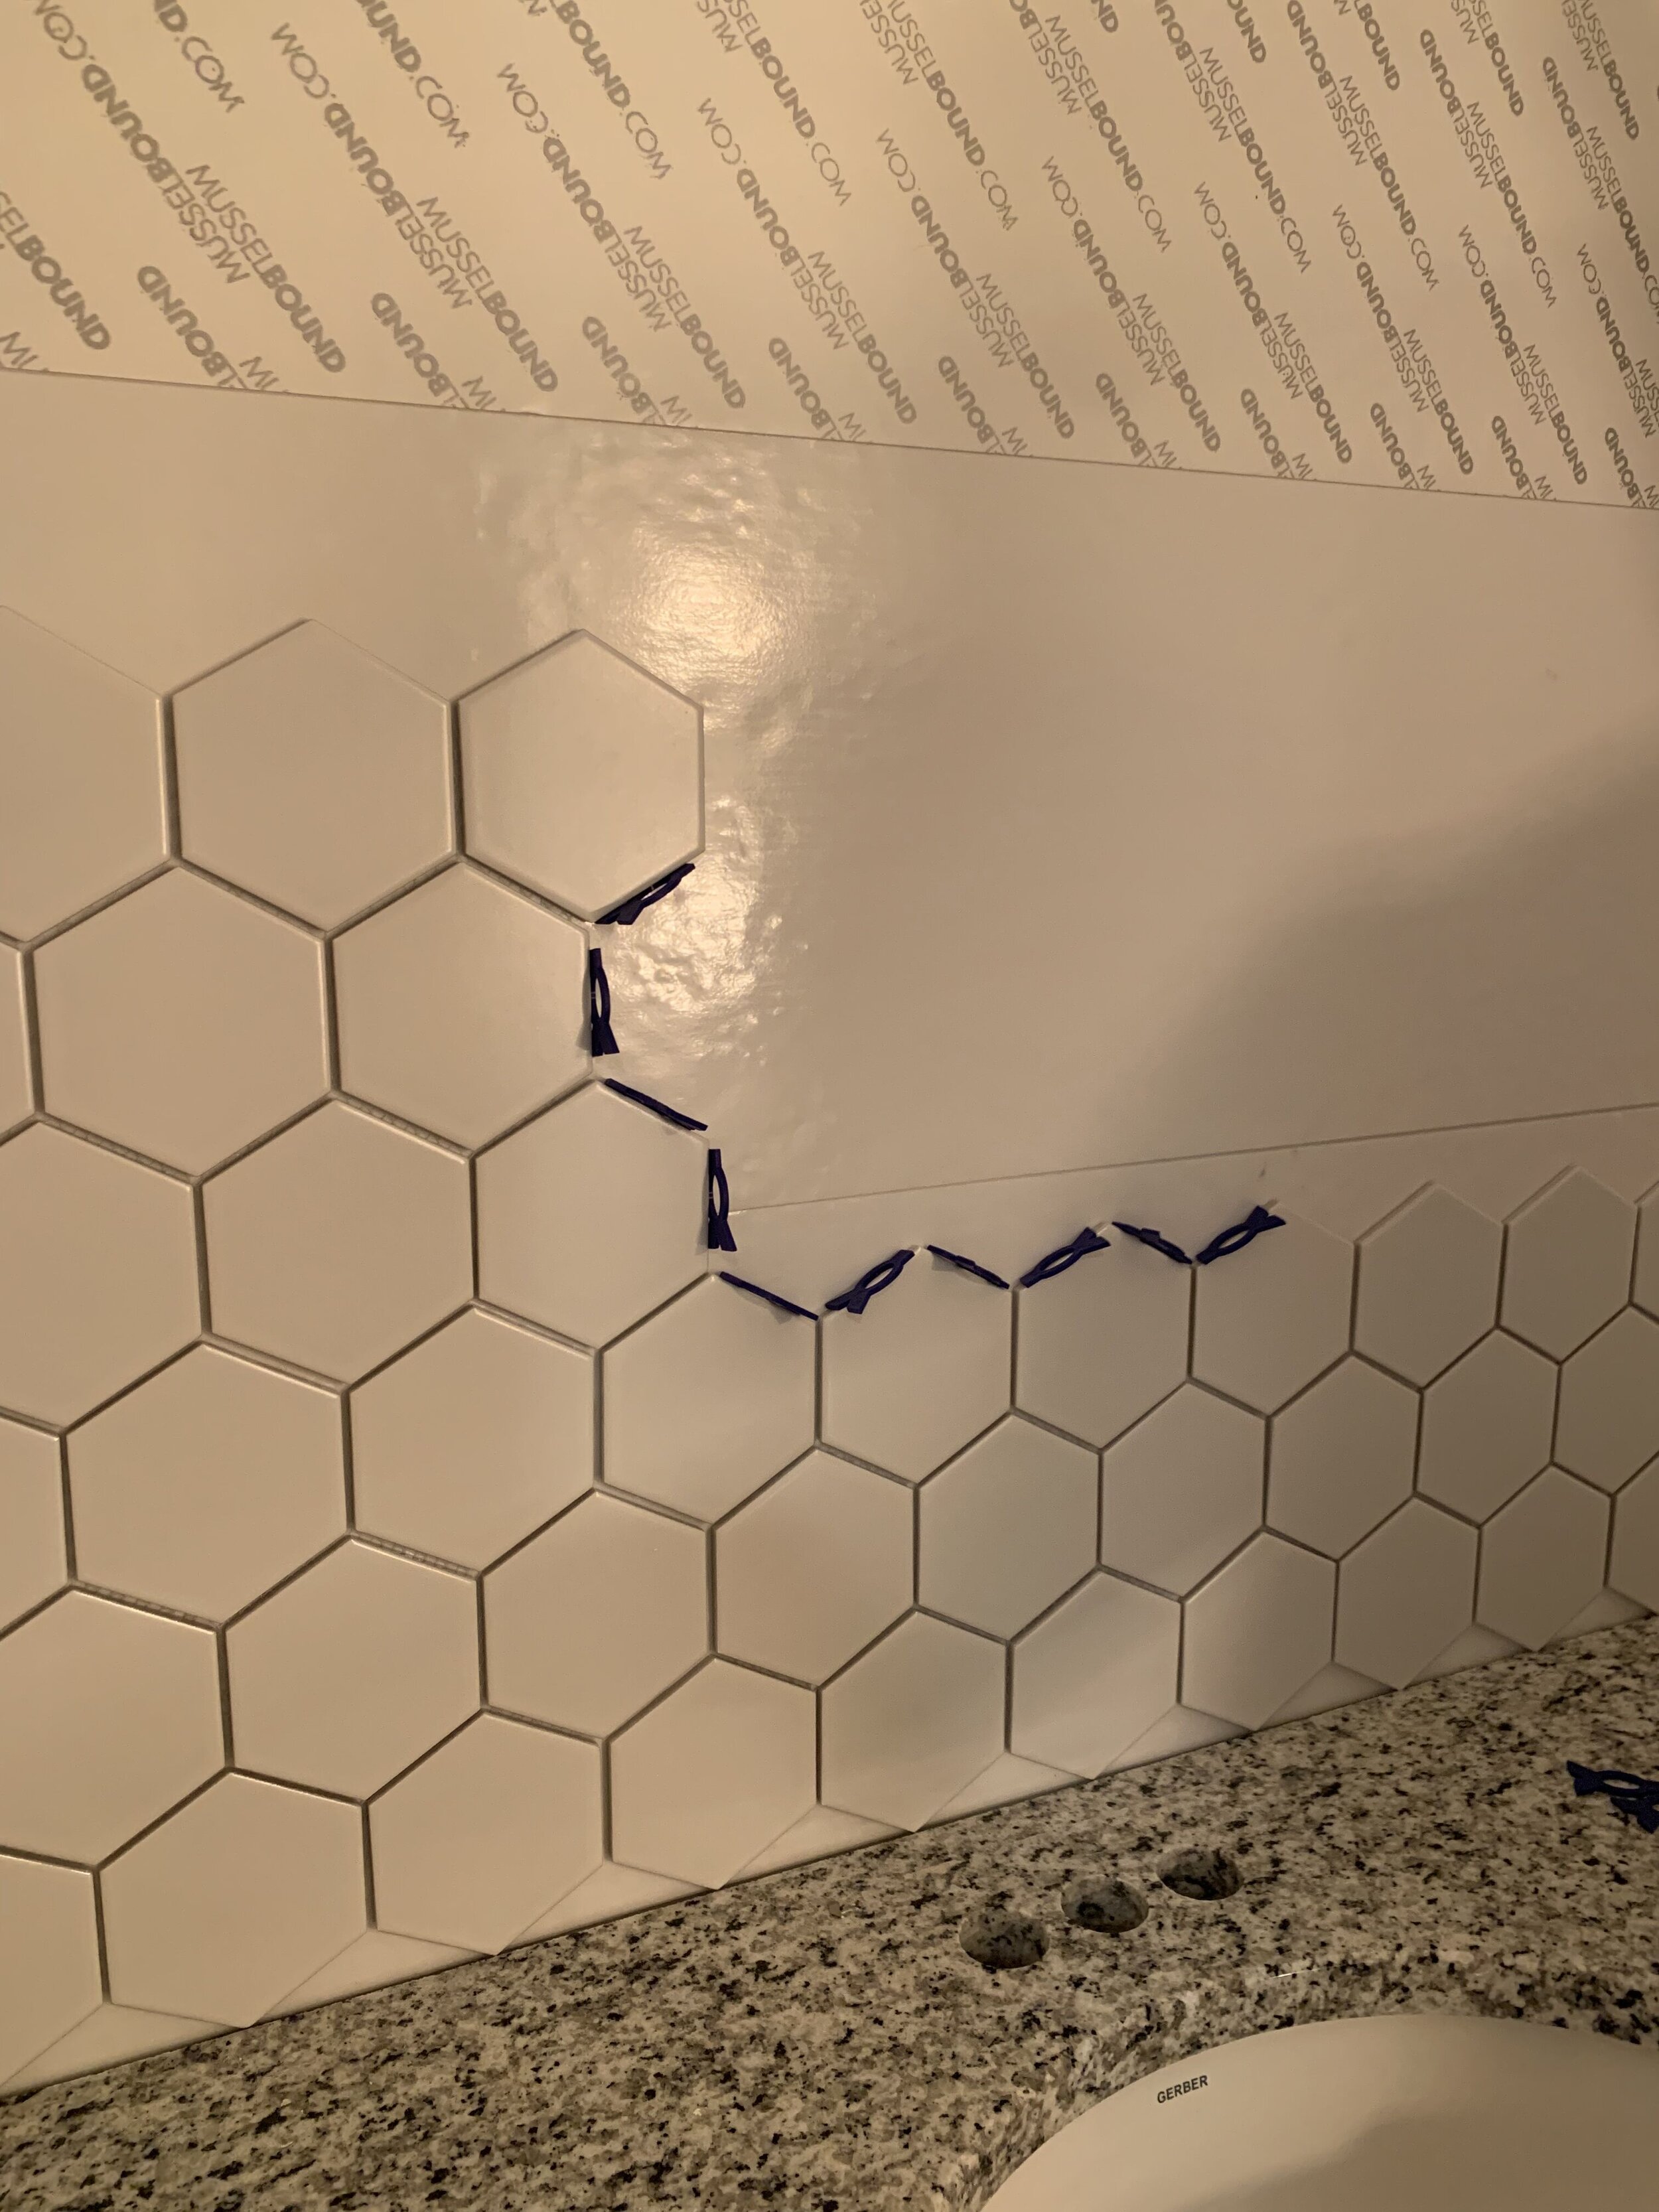
After we got the Mussel Bound on the wall, the fun part started-we got to place the tiles on! The mosiac tiles were placed on a mesh background, so it made it quicker to lay the tiles, and easier to space them. When laying tile, you want to be sure to mix tiles from different boxes incase there are any color variations. Placing the tile on the wall went SO quick, we can’t believe how fast it was. Also, when laying tile, you want to rotate it, and mix the pattern up, so it doesn’t look too repetitive, and thats exactly what we did. Not going to lie though, we did run into an issue with some of the tiles lining up, so there are spots that are uneven and have thicker grout lines, but lucky for us they are behind where the mirrors are going to go, so you won’t see them!
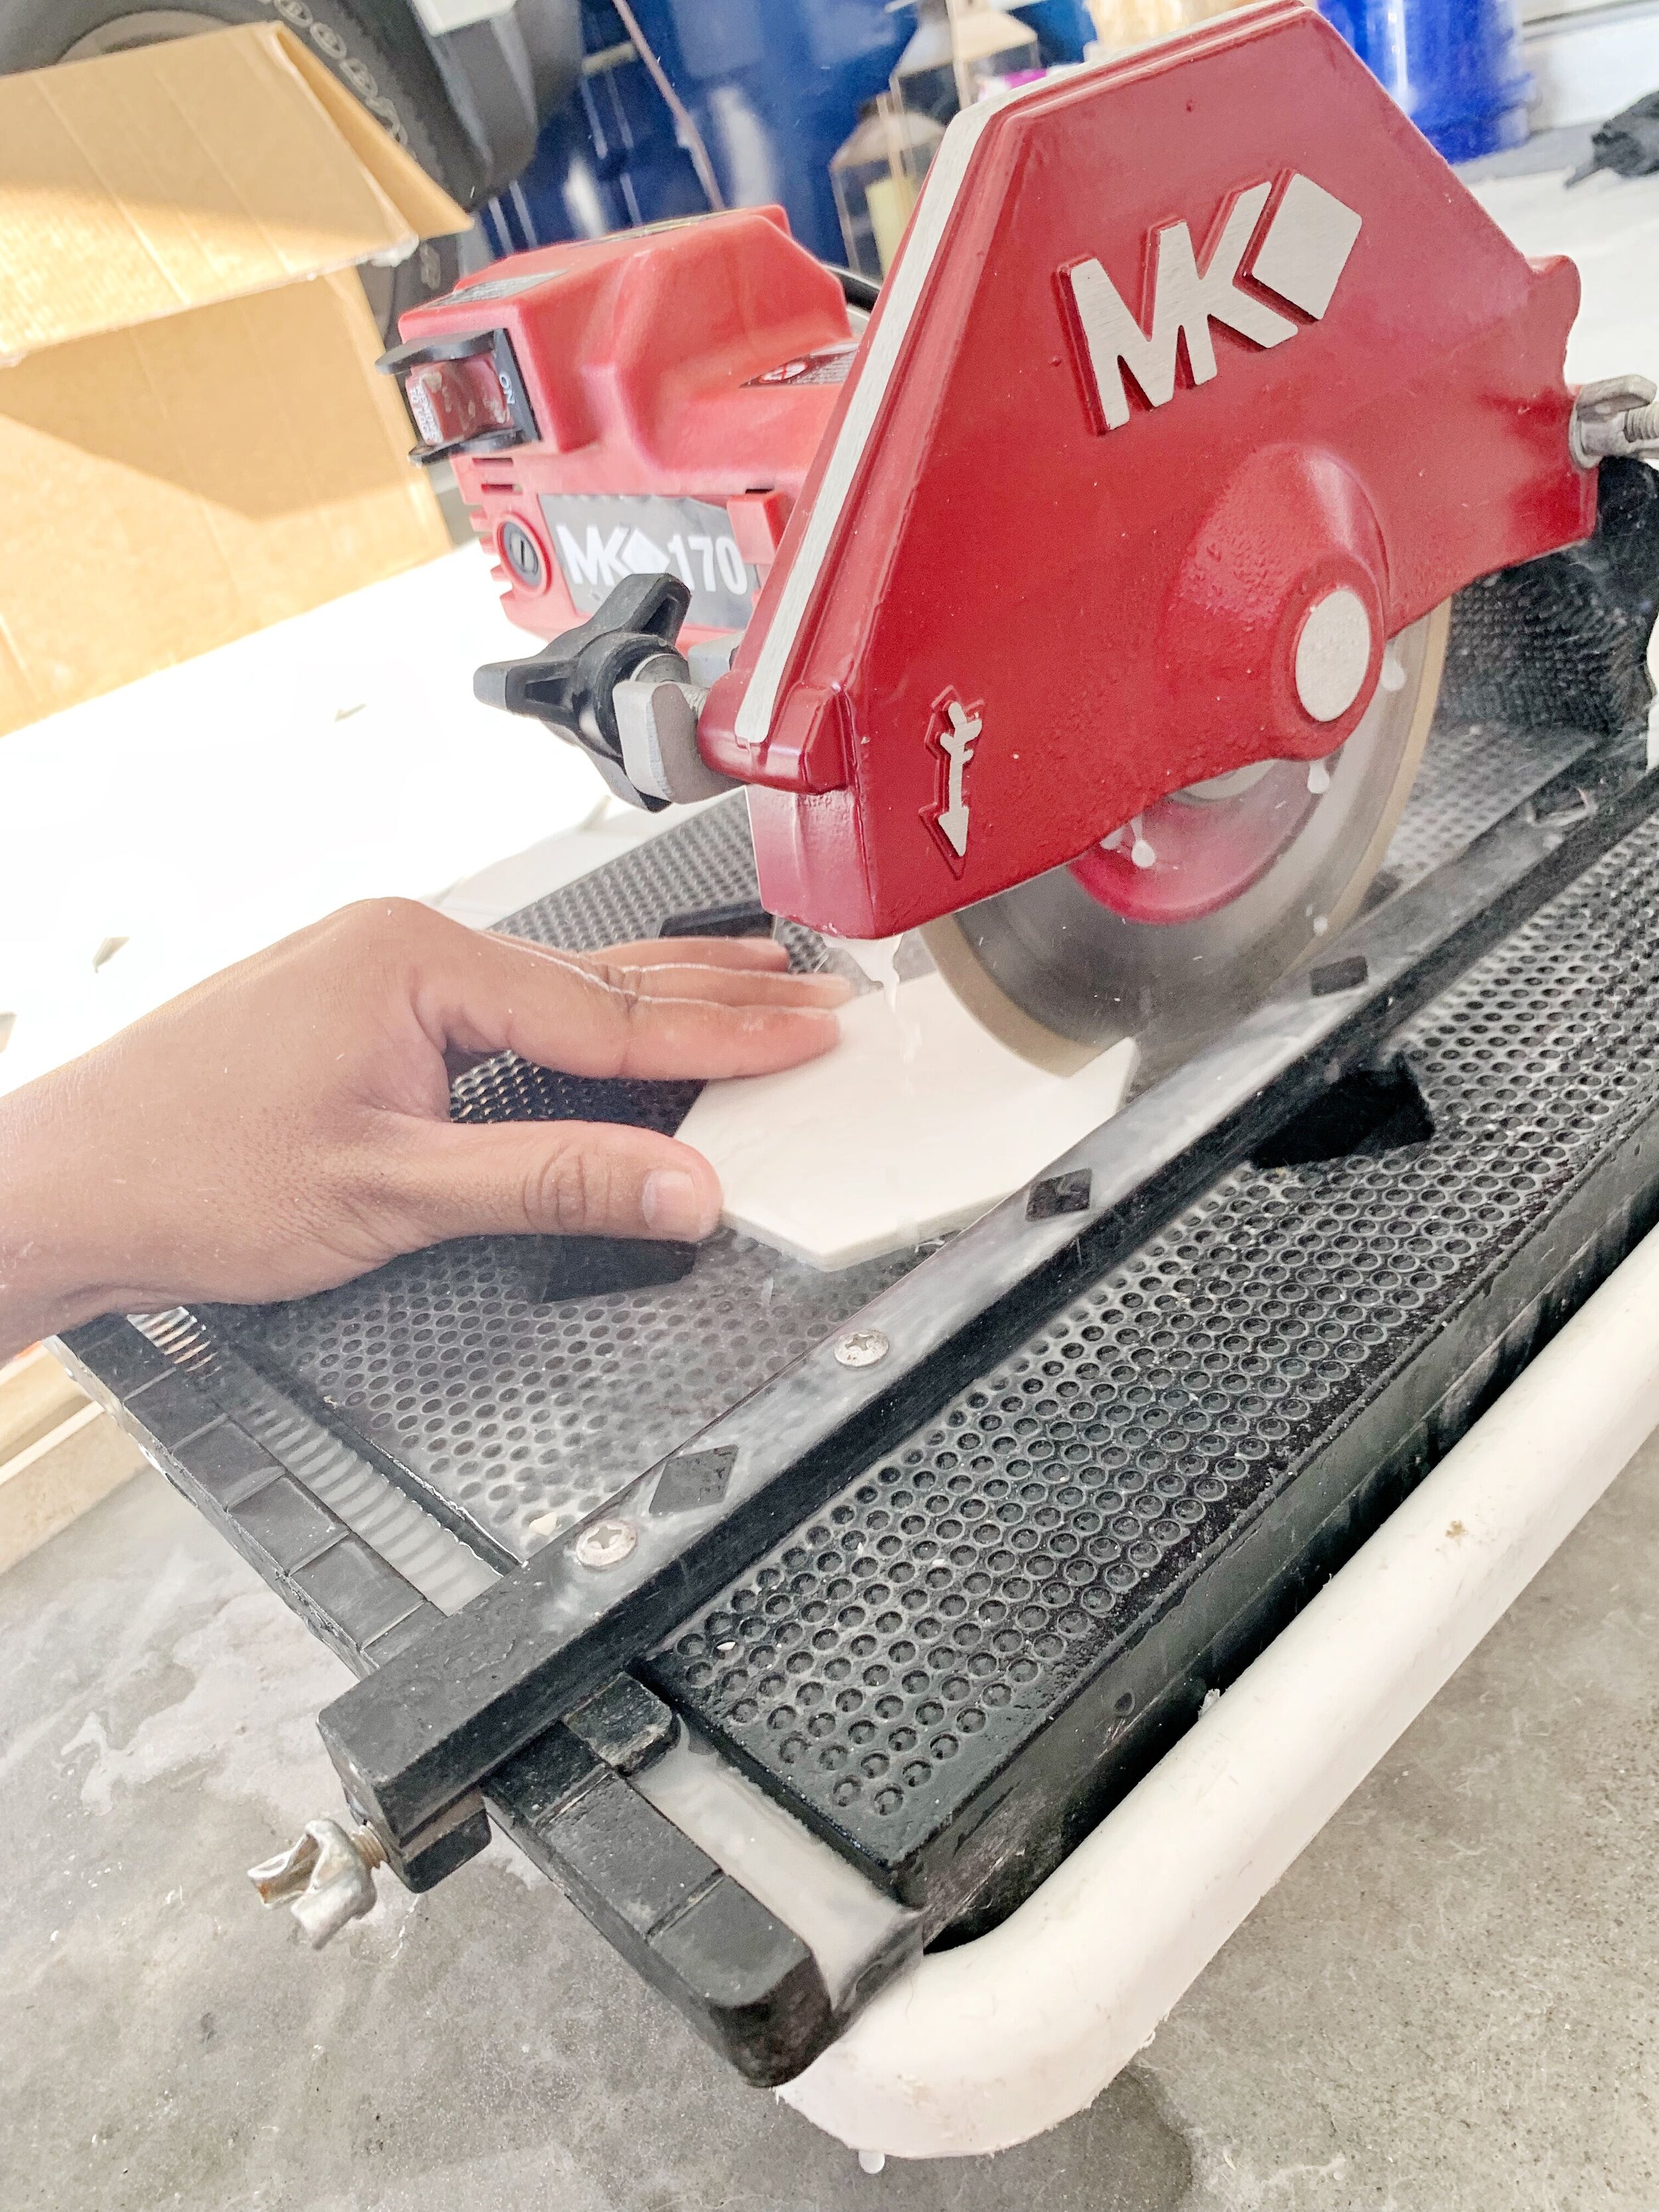
We rented this wet saw from Home Depot for 24 hours for only $28!
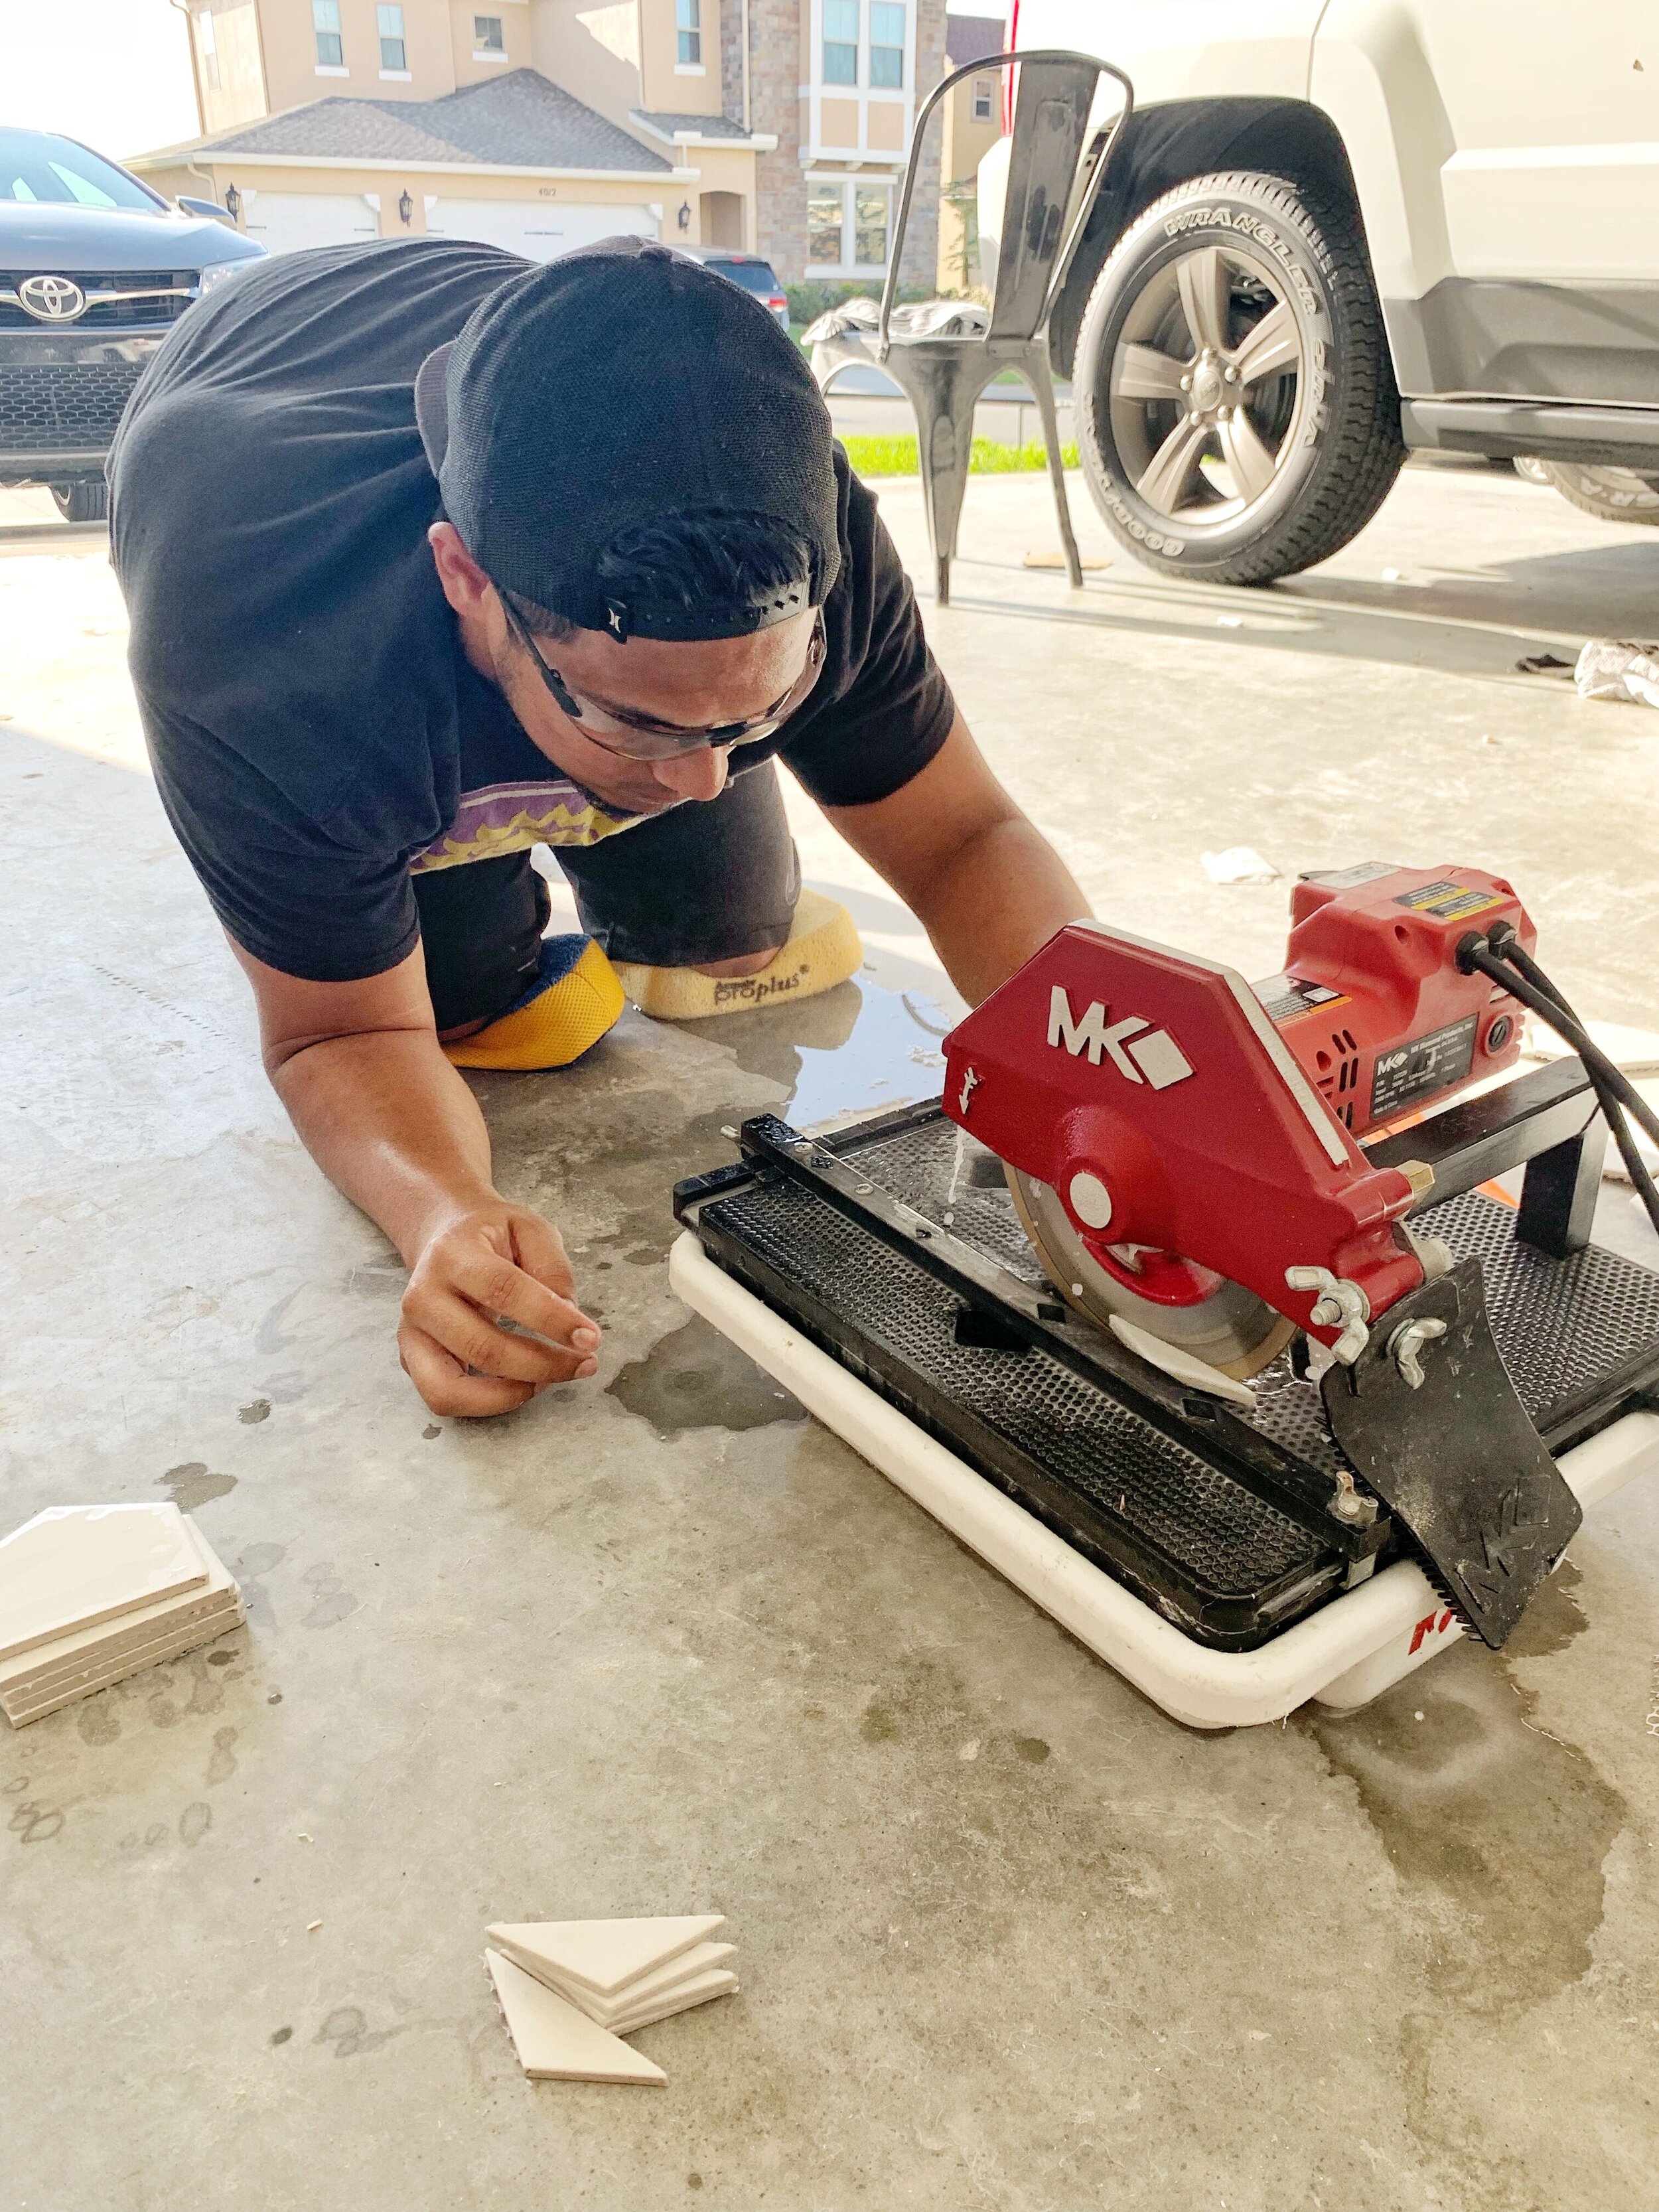
The concentration is real.
Another issue we had was having to do SO. MANY. CUTS. Since our tiles are hexagon shaped, we had to make a lot of small cuts on all 4 sides of the wall. We originally tried to use a tile cutter, with the score and snap method, but it wasn’t working in our favor, and we wasted a few too many tiles trying it out. So, we ultimately decided it would be better to use a wet saw, which we clearly don’t own since this was our first time working with tile, so we rented one! We rented one from Home Depot for only $28 for 24 hours. We will be doing the same thing next week when we lay the floor tile. The wet saw was so easy to use and went so quick, I definitely recommend using one for any tile job you may have!
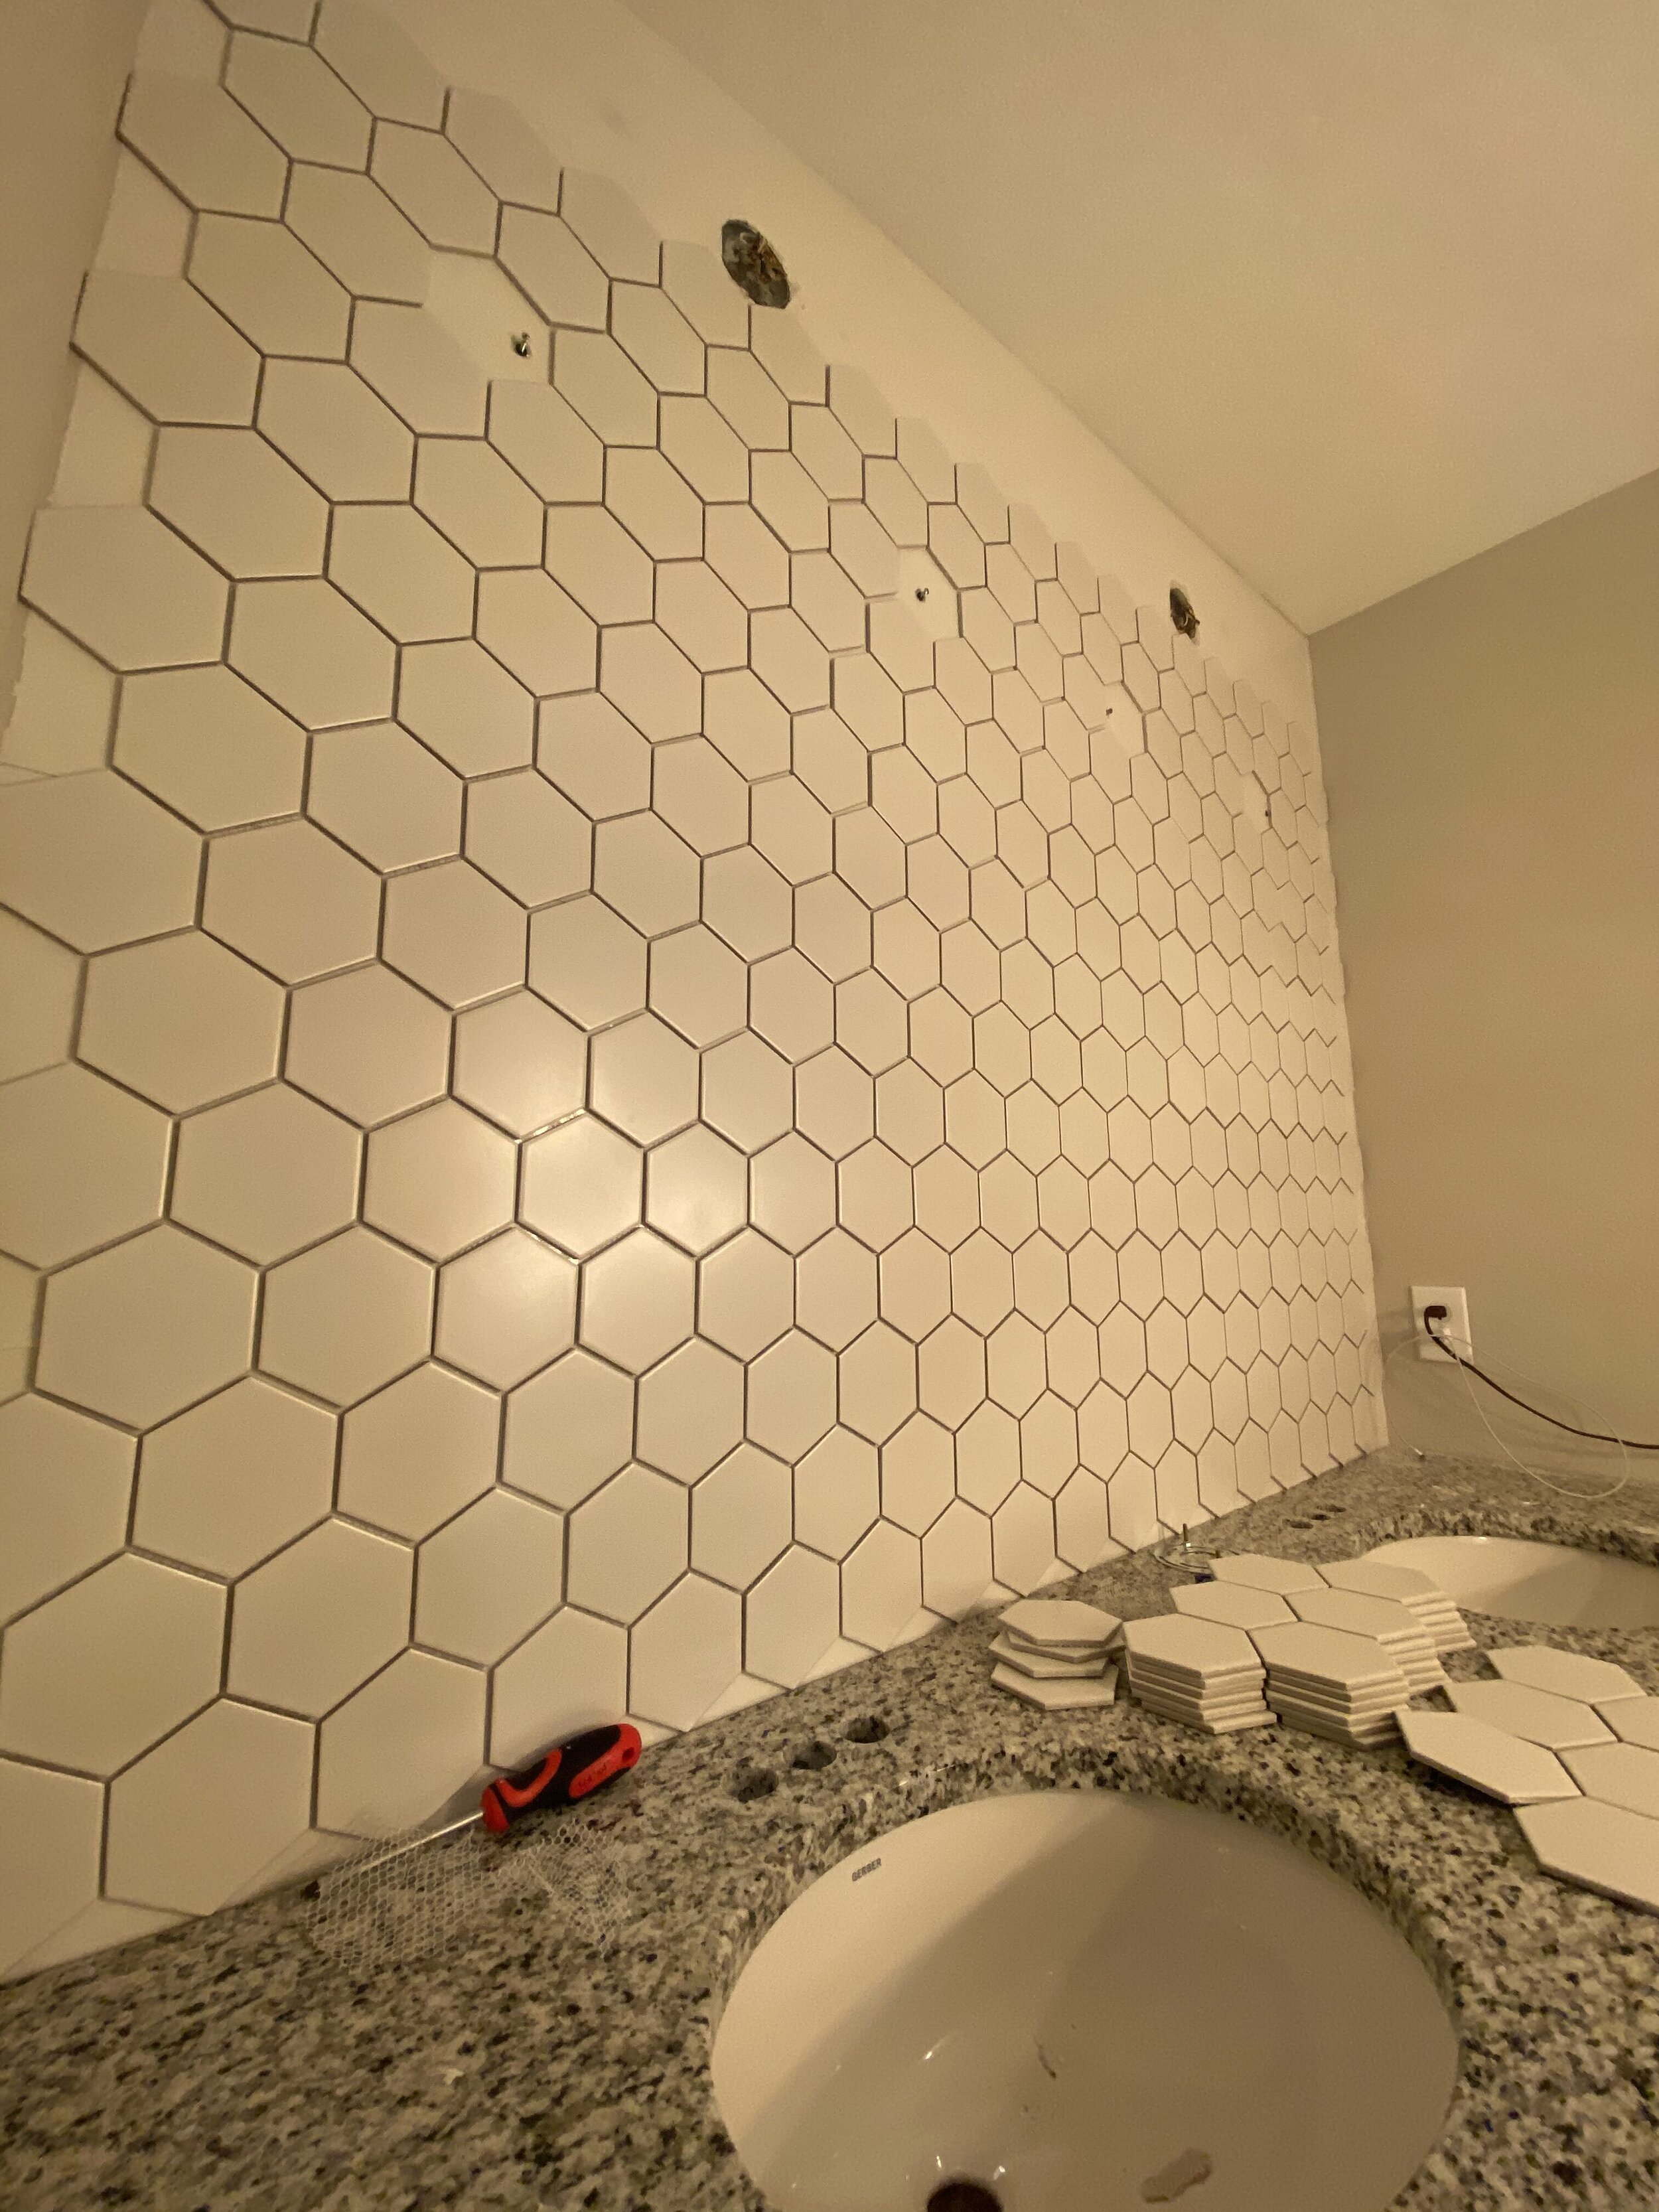
Almost done! So many small cuts to bed made.
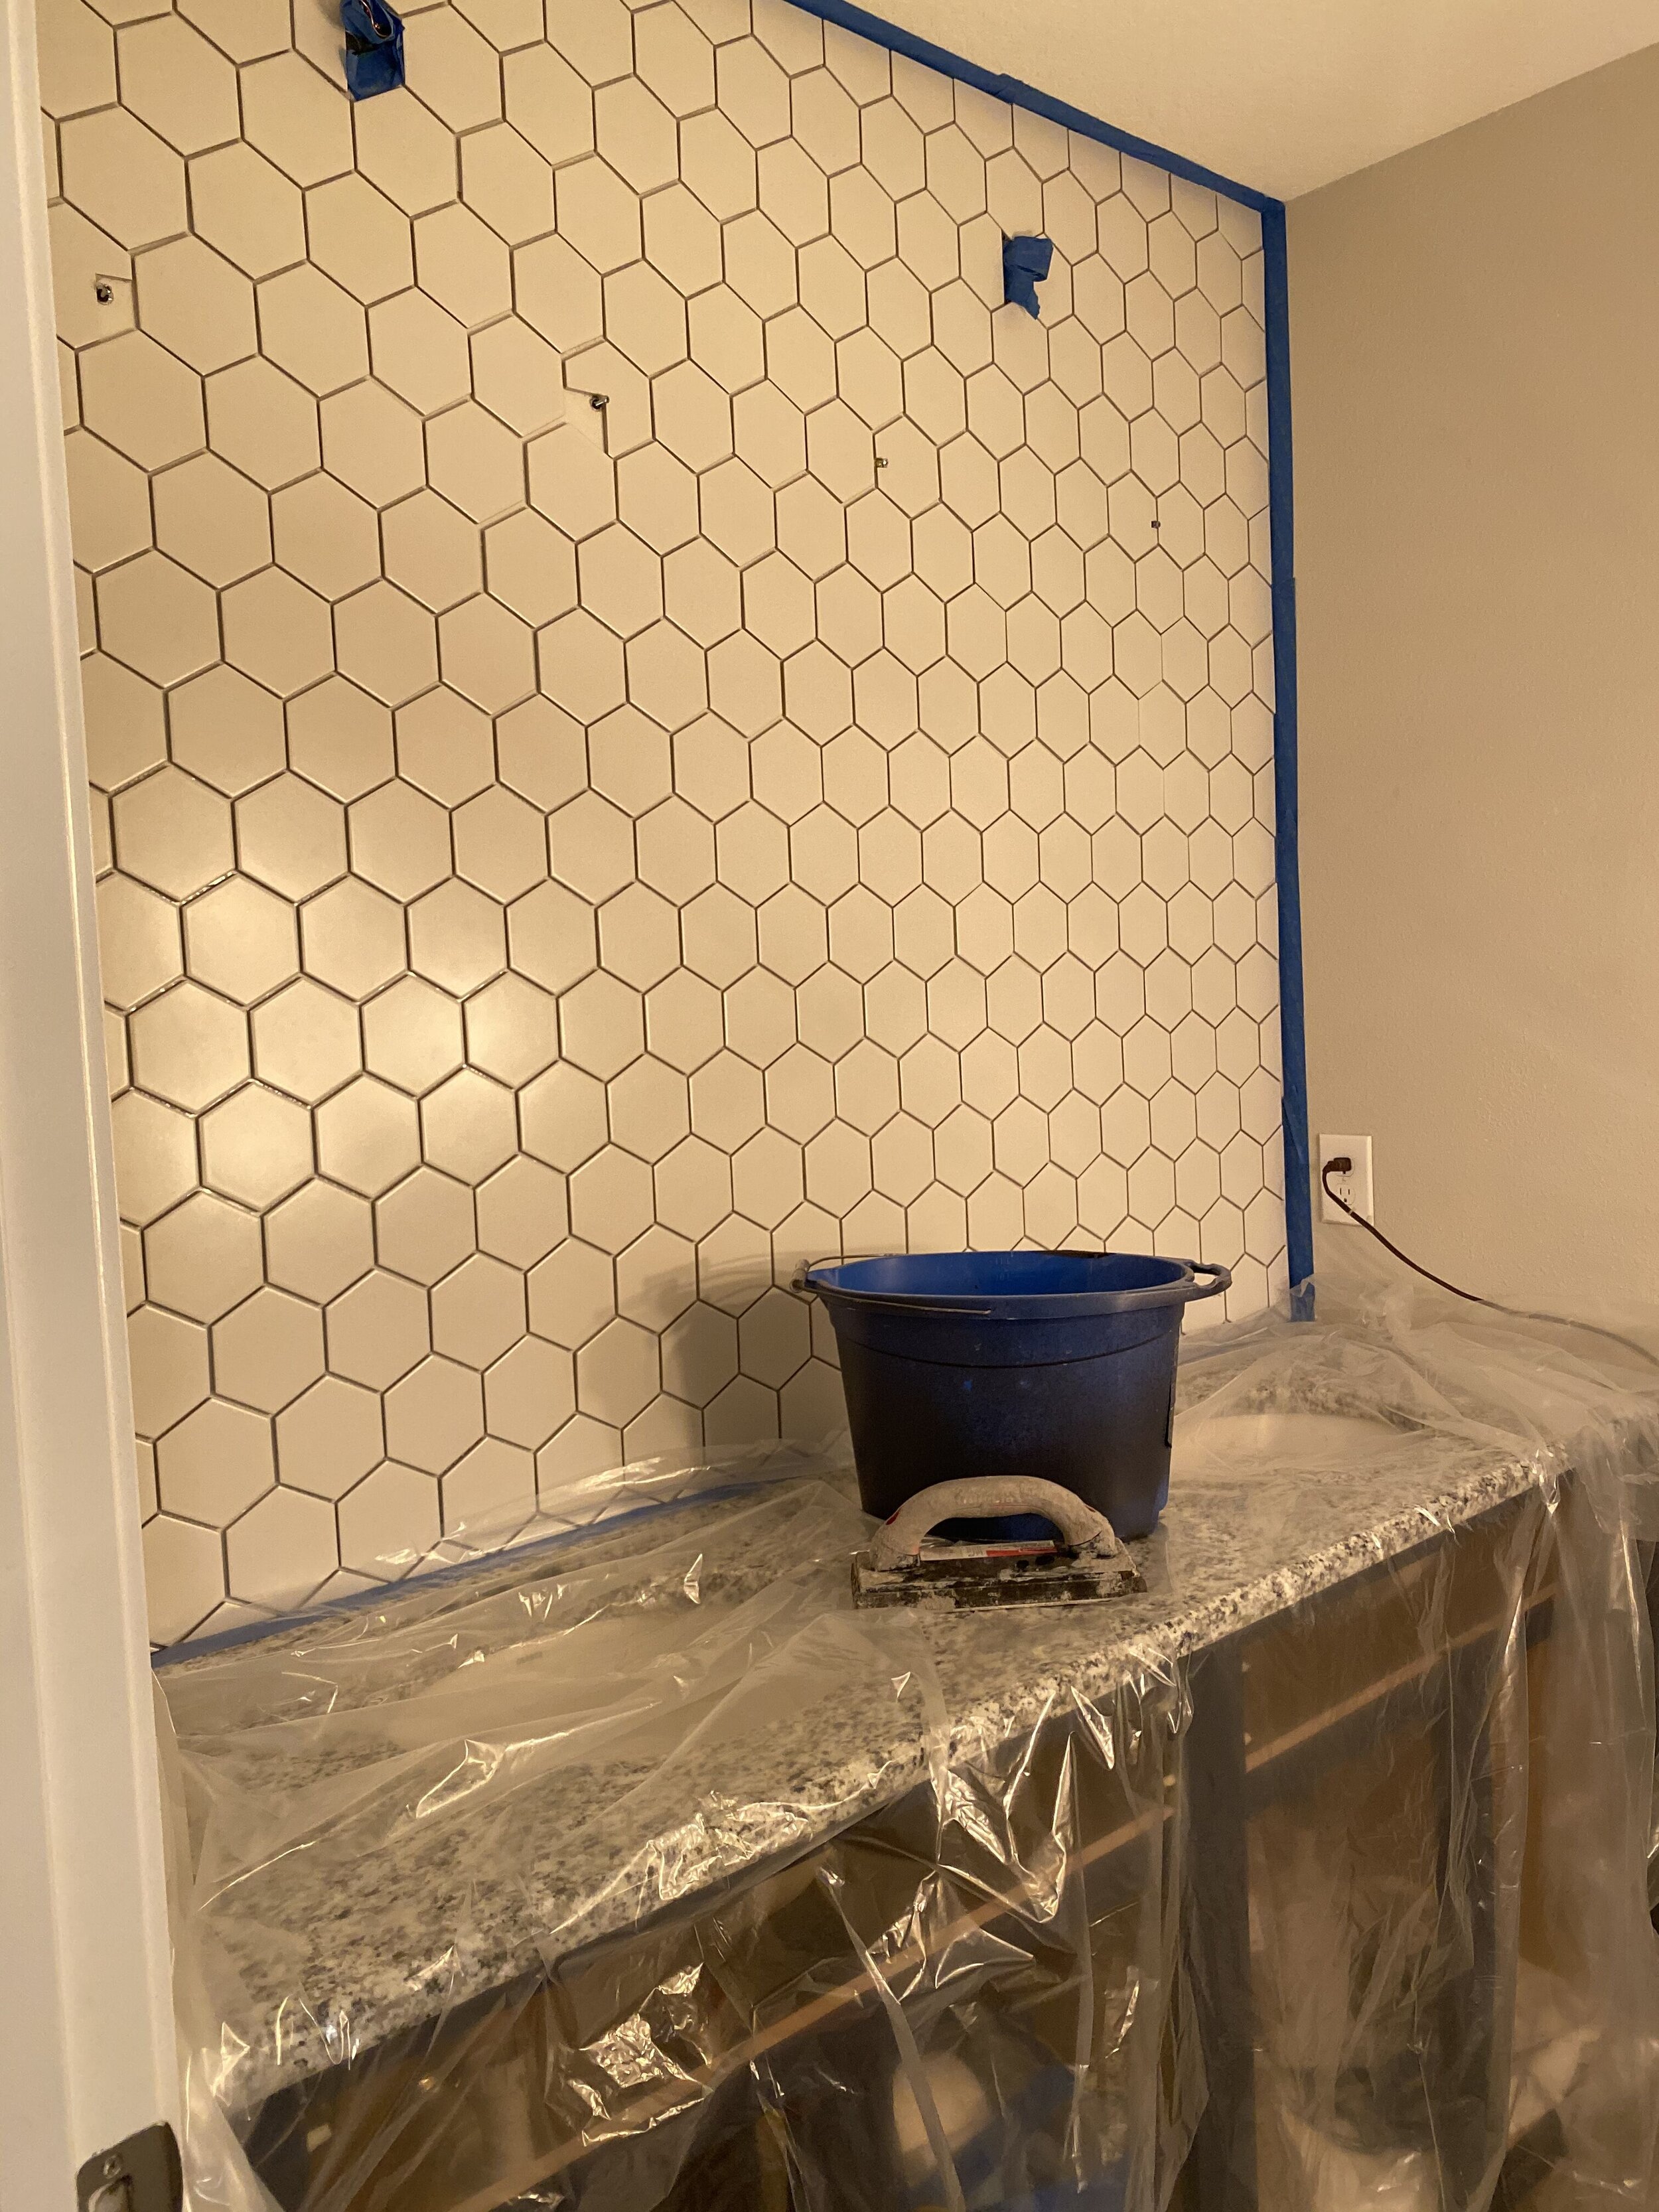
All the tile is cut and in place, walls taped off, and we’re ready for grout!
It was pretty exciting once we got all of the tile cut and in place, like we finished a giant puzzle, haha. Next, was the part we were both dreading, GROUT. We have watched a lot of Youtube videos in preparation for this day, and to be honest, we did alright! We did make quite a bit of a mess, but for the most part, it went pretty well!
We taped off the wall, put down some plastic sheeting on the counter, and had our sponge and bucket of water handy and we were ready to roll! We used charcoal Kersacolor sanded grout and mixed it up according to the package. We tagged team this to save time, I applied the grout, and Ryan went behind me with the sponge once it was ready to be wiped down! You want to be sure not to let the grout dry on the tile, so after about 10 minutes, Ryan went through with a damp (not wet) sponge and lightly wiped it down. This will leave a bit of a haze, that you need to go through after you’re all done and wipe clean.
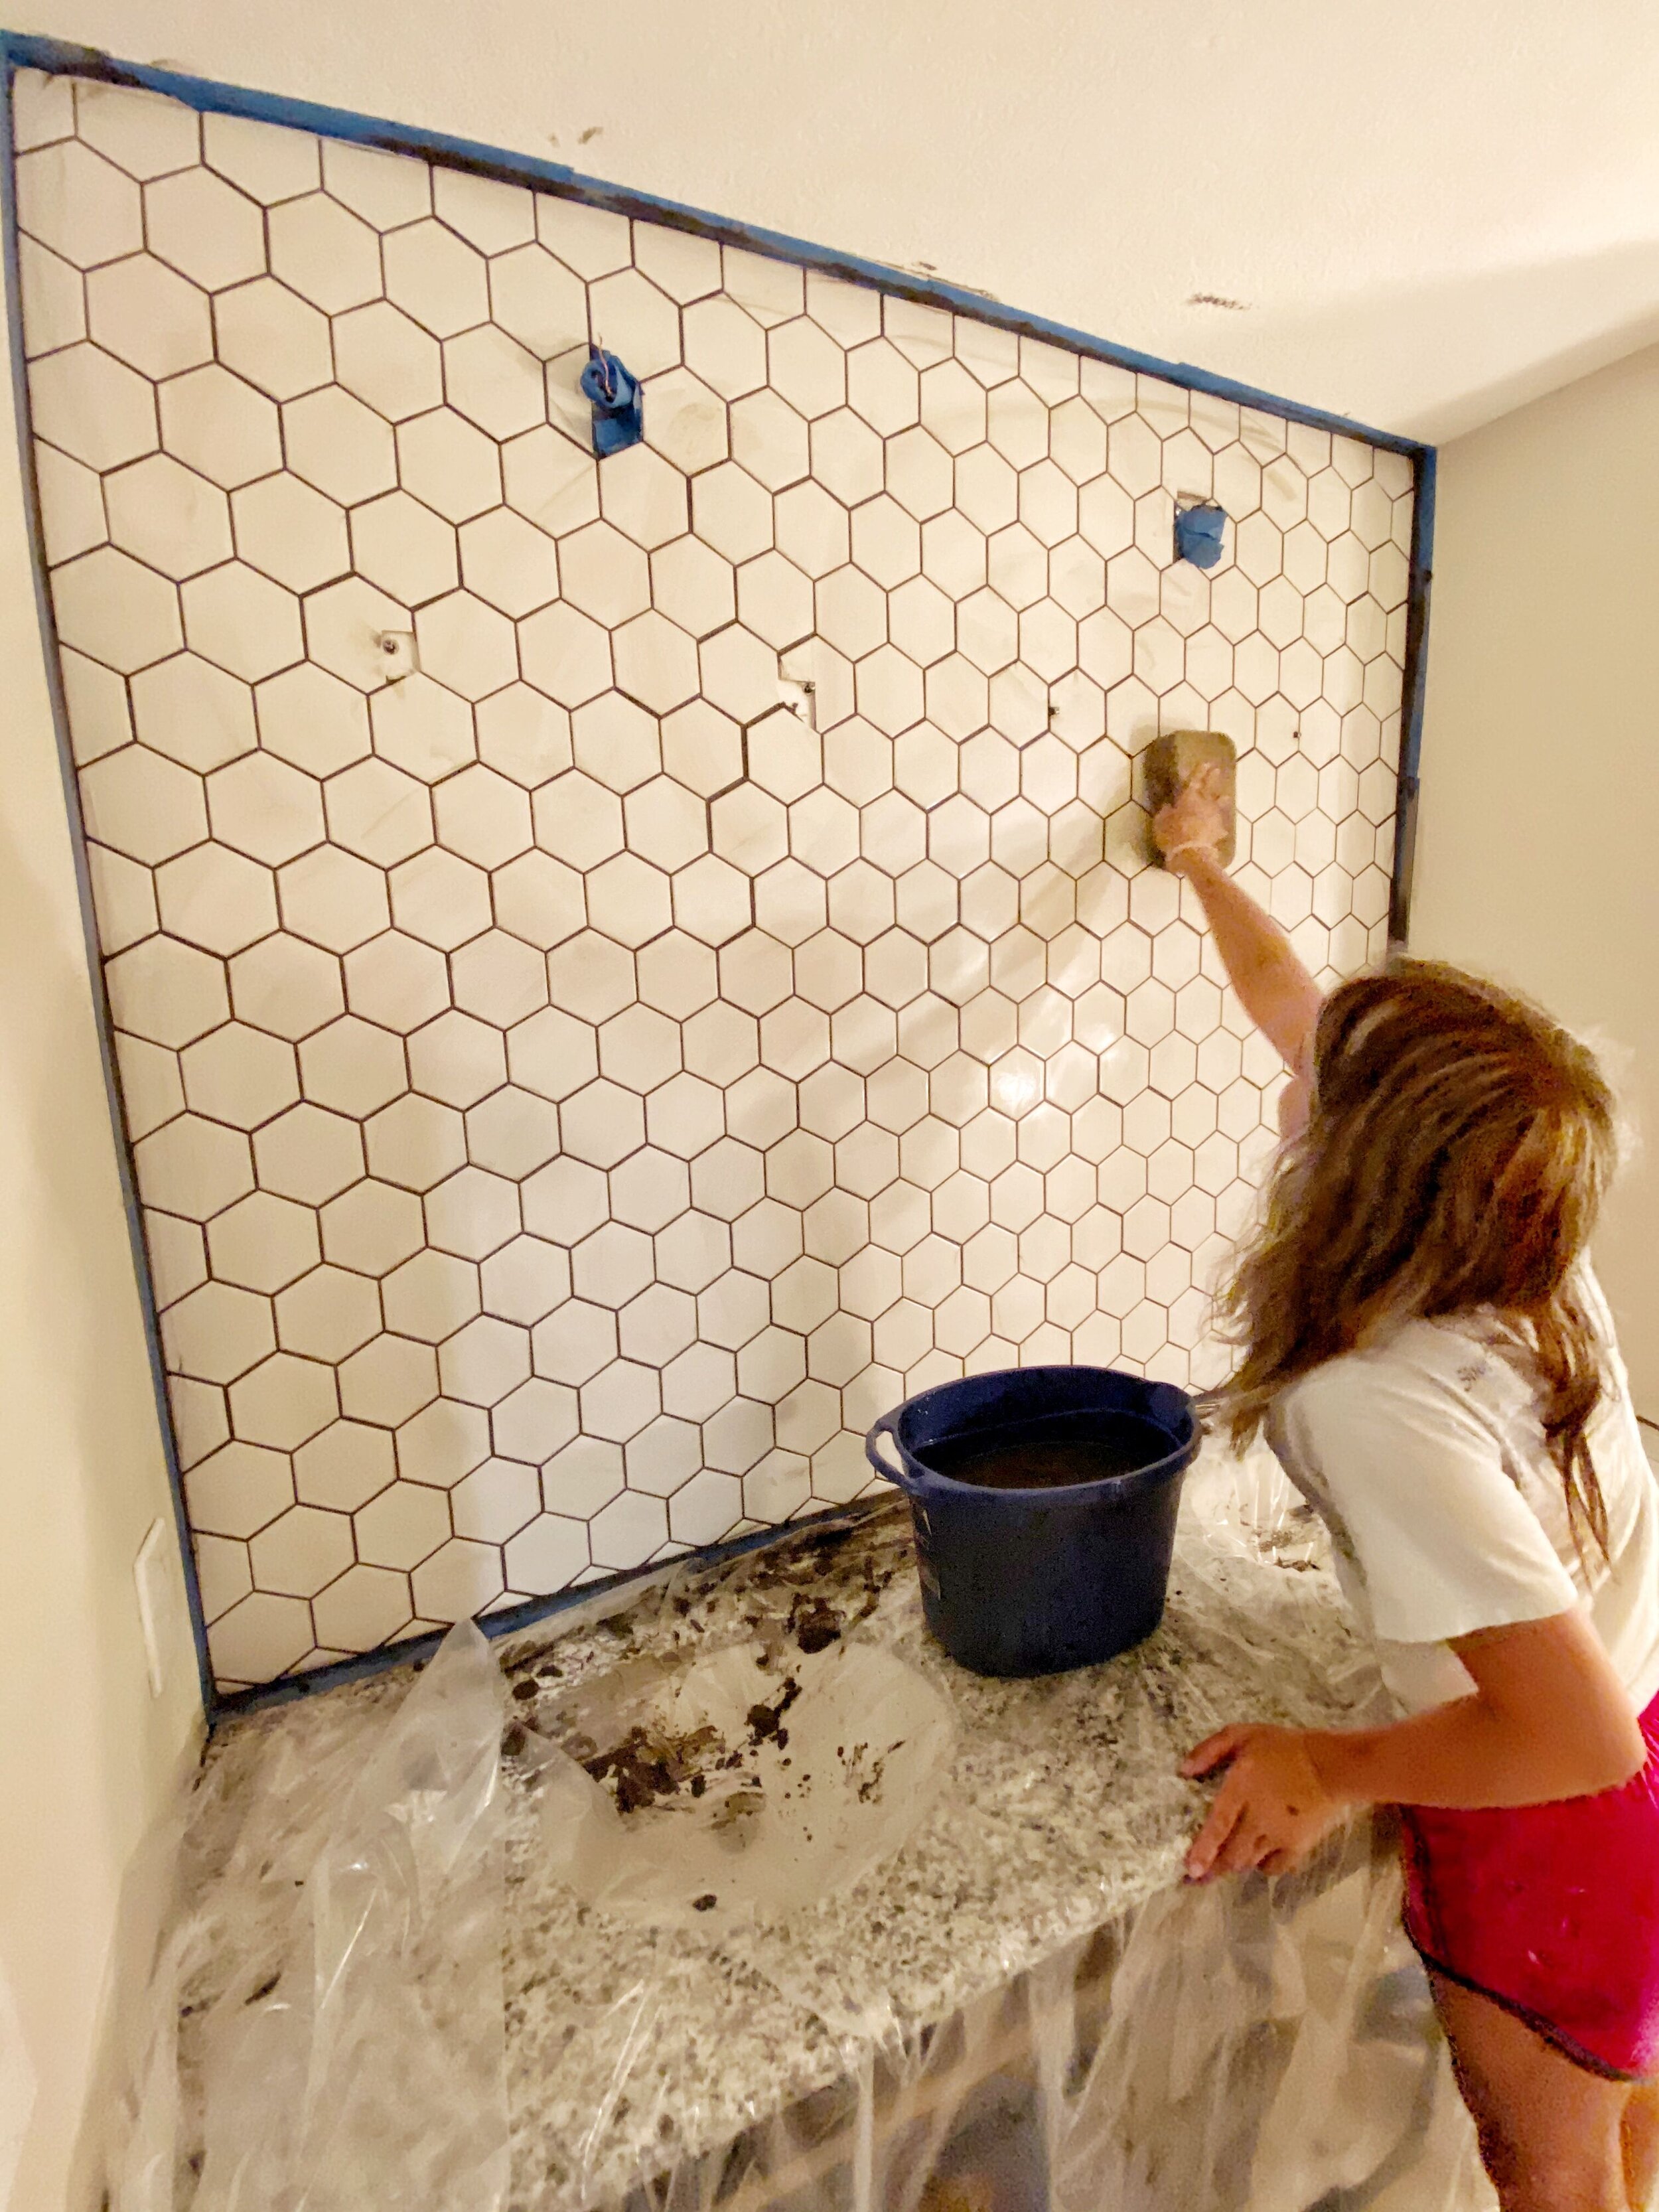
Take note of the huge mess of grout everywhere, oops!
Everything is slowly coming together, and its getting me so excited. The charcoal grout really makes the hexagon tile POP, and will compliment our other design choices nicely! I LOVE the way the wall looks already, and I can’t wait for the grout to dry so we can put up the mirrors and light fixtures! We want to keep the light fixtures a surprise though, so you’ll have to wait for the final reveal to see those 😉
Click here to check out our wall tile!
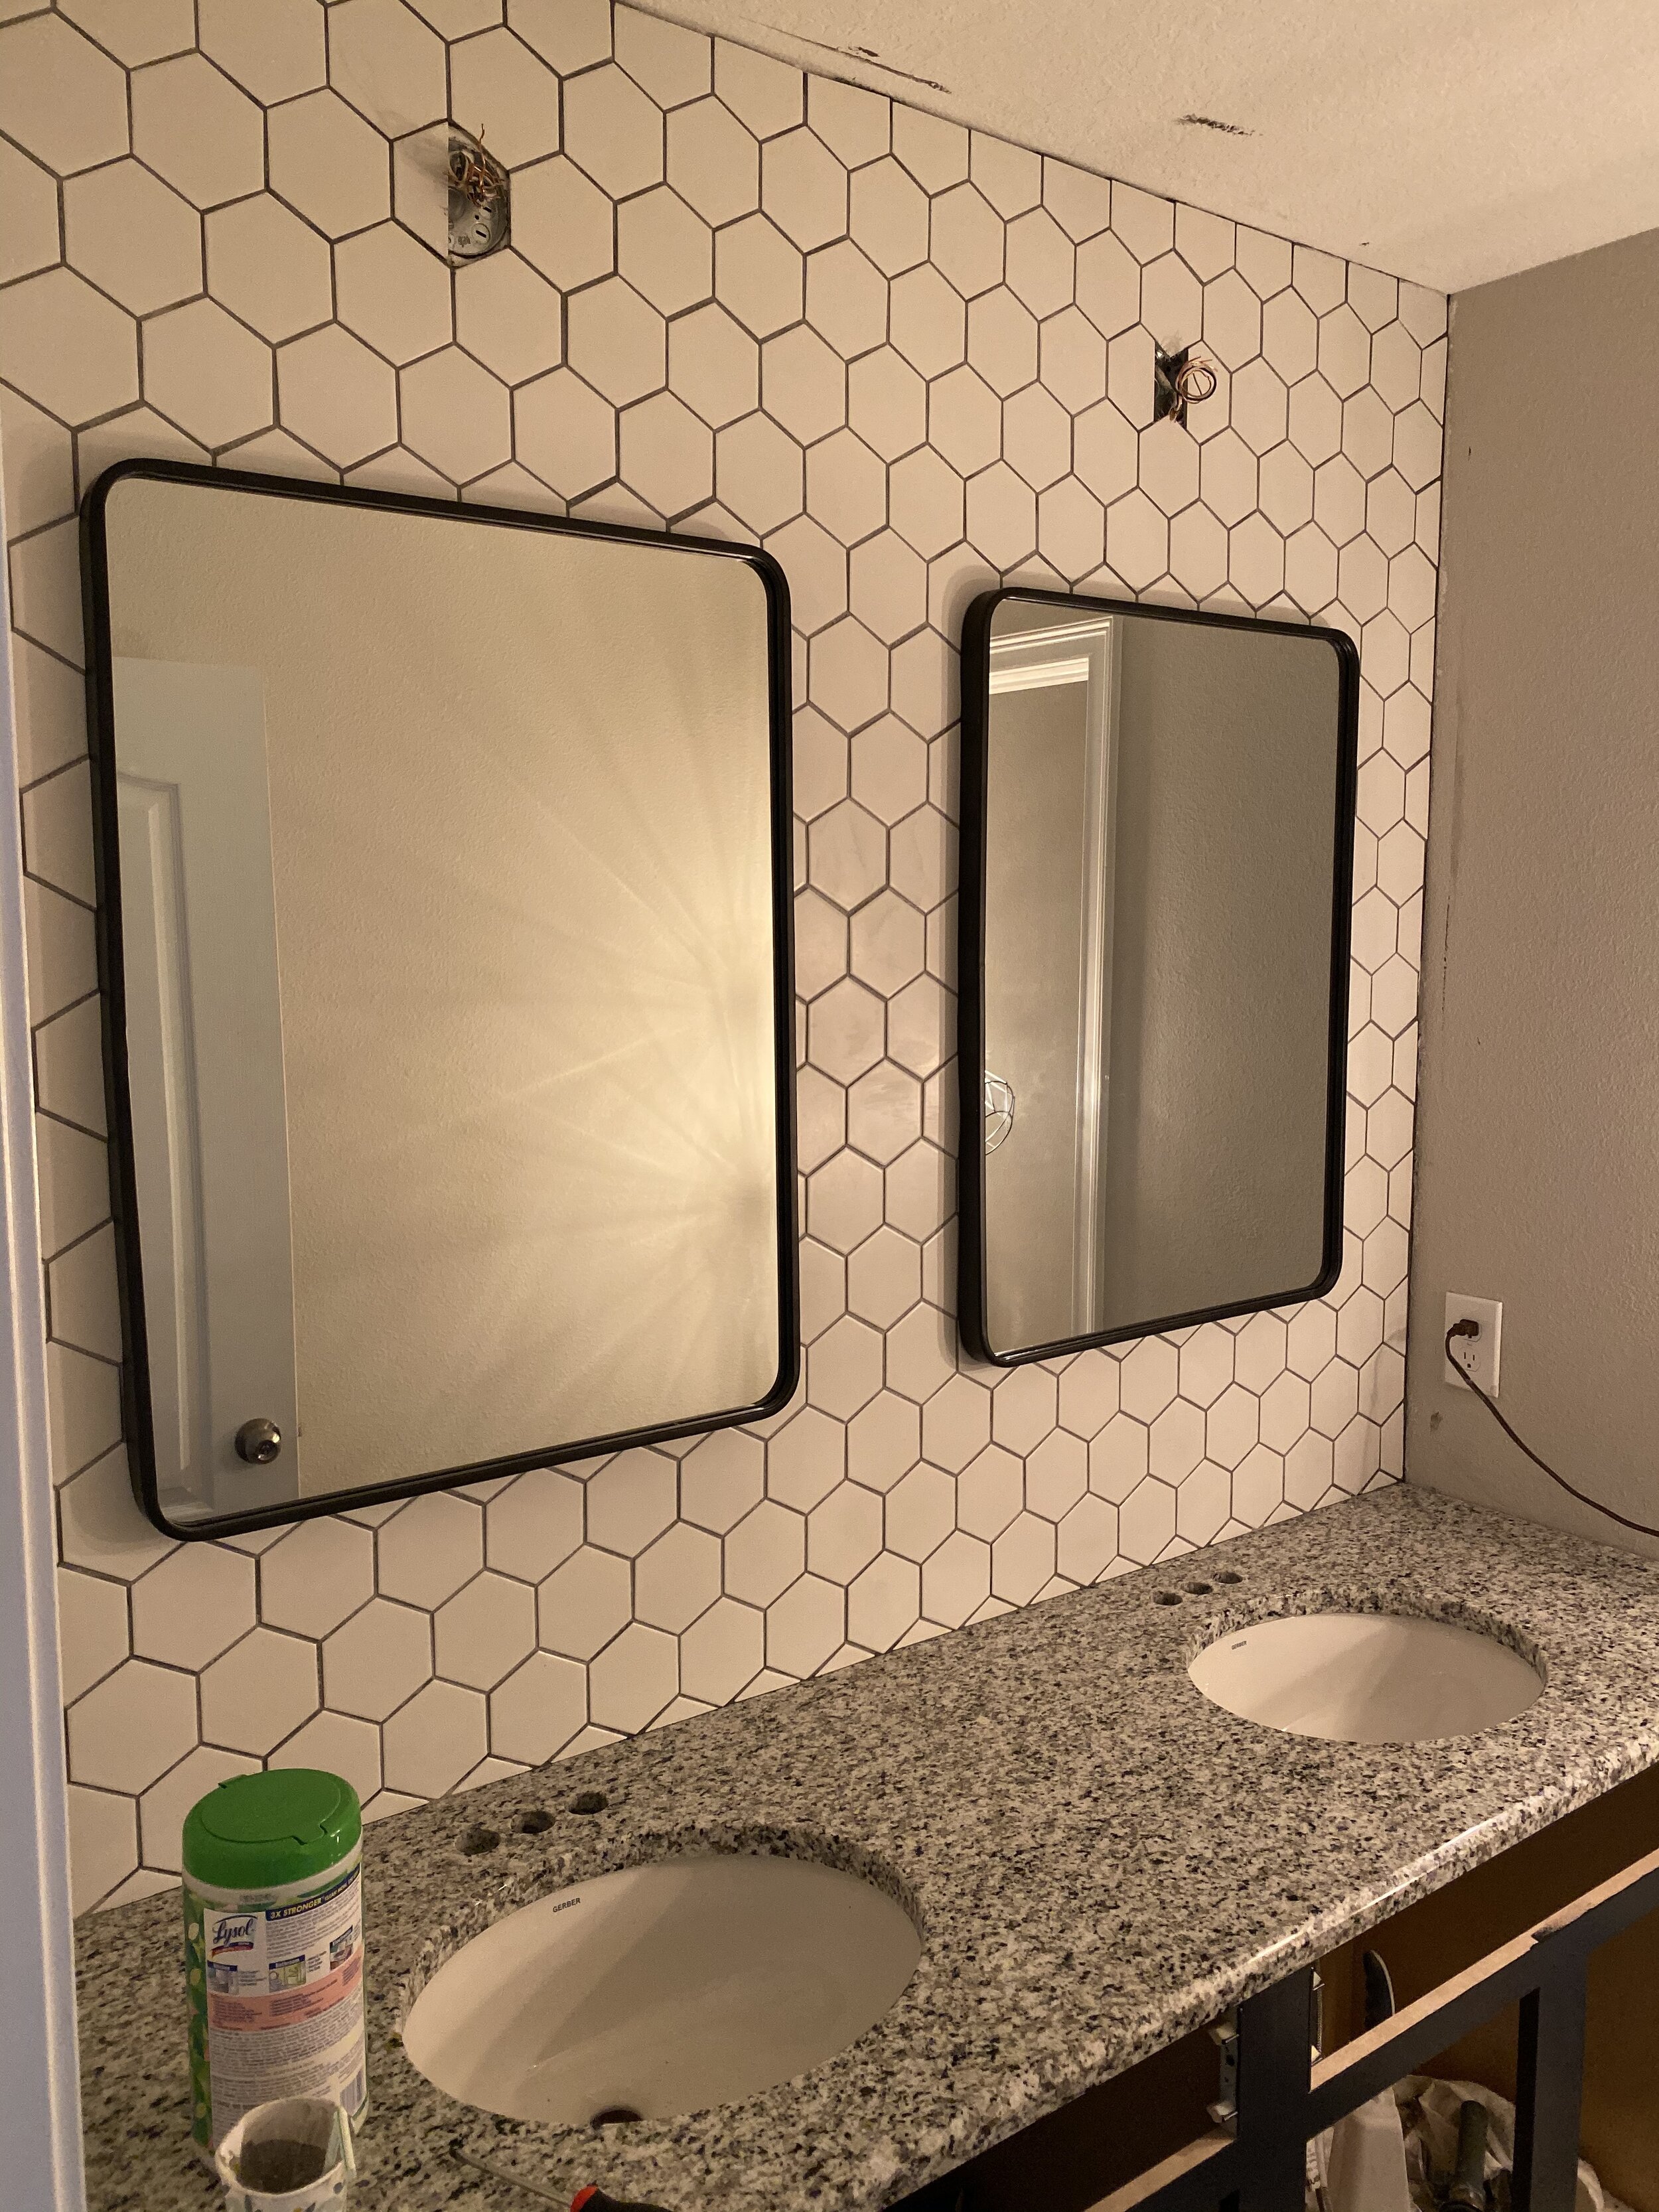
Grout is dry and mirrors are up!
How This Renovation Is Adding Value To Our Home
Even though our house is a new build, and only a little over a year old, this renovation will definitely increase the sell-ability of our home. Even though we plan on staying in our home for a long time, we will sell one day, so this is something we often think about before doing a DIY project!
Before this renovation project, our guest bathroom was very basic and builder grade. With both of the Jeffrey Court tiles we chose, its adding character and design to the space, so it isn’t so plain. We are also replacing the builder grade light fixtures, mirror, hardware and faucets, which will add more style and upgraded features to the space. These are all things future buyers will see as something they don’t need to replace later, saving them time and money.
We are also repainting the standard cabinets to a navy blue/gray color. We wanted to add color to this space, but also keeping it neutral. Using neutral colors can help prospective buyers create their own vision for the house and will also leave them with less work to do if they buy the house. While renovations and improvements like this aren’t “must-haves” for potential buyers, they are “nice-to-haves” and will make our home more attractive and stand out above other homes in their home buying search. If you are searching for a new home, whether you’re looking to buy or rent, then Homes.com is your one-stop shop for your home search! Its a simply smarter way to search for your new home! Check out some helpful links below!
Don’t forget to vote for your favorite designers each week, click here to do so!
Leave a Reply
Grab our FREE download
Wanna know the 5 must have tools you need before you start?
Considering a DIY Project?


Be the first to comment