


Freedom Outdoor Living Privacy Screen
Living in Central Florida, its ALWAYS patio season, so having an outdoor space that is cozy and that we love spending time in is important to us. Also, what comes with living in Central Florida is the fact that the homes typically DON’T have large yards and are close together, which results in not a lot of privacy. Yes, we have a privacy fence around our yard, and while we love our neighbors, we still felt like they were watching our every move when we spent time on our back patio…So we needed to find a solution!
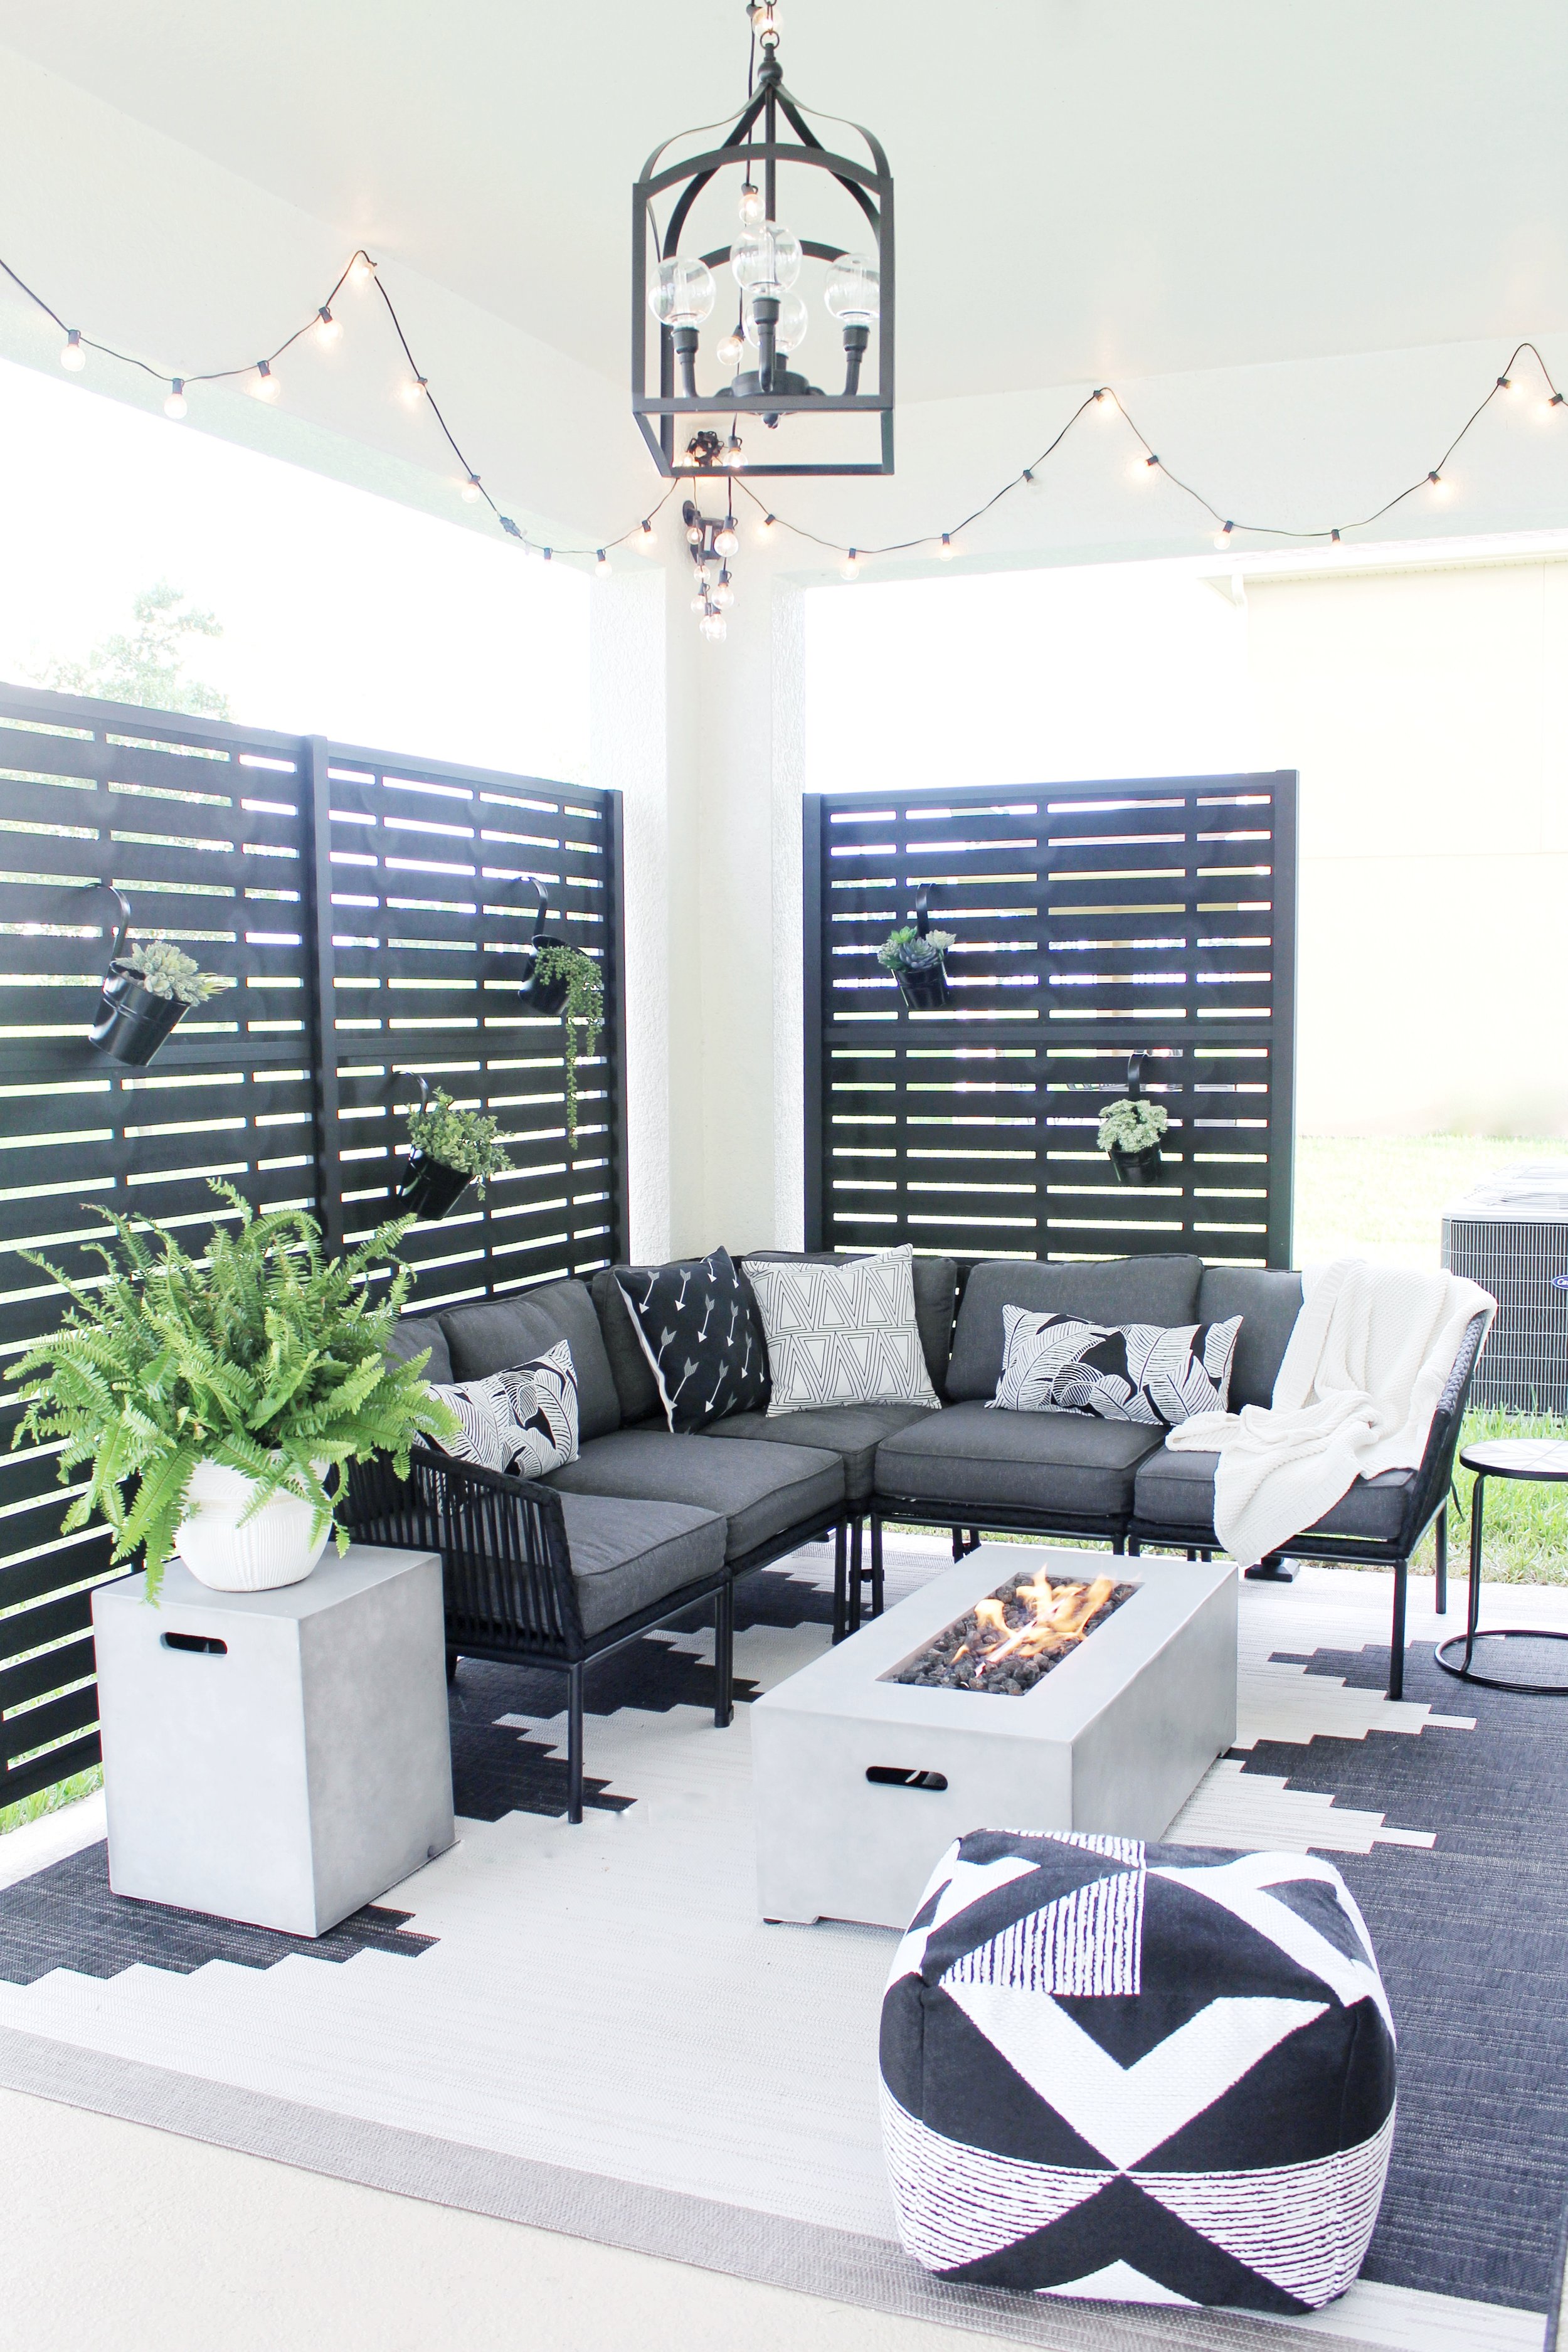
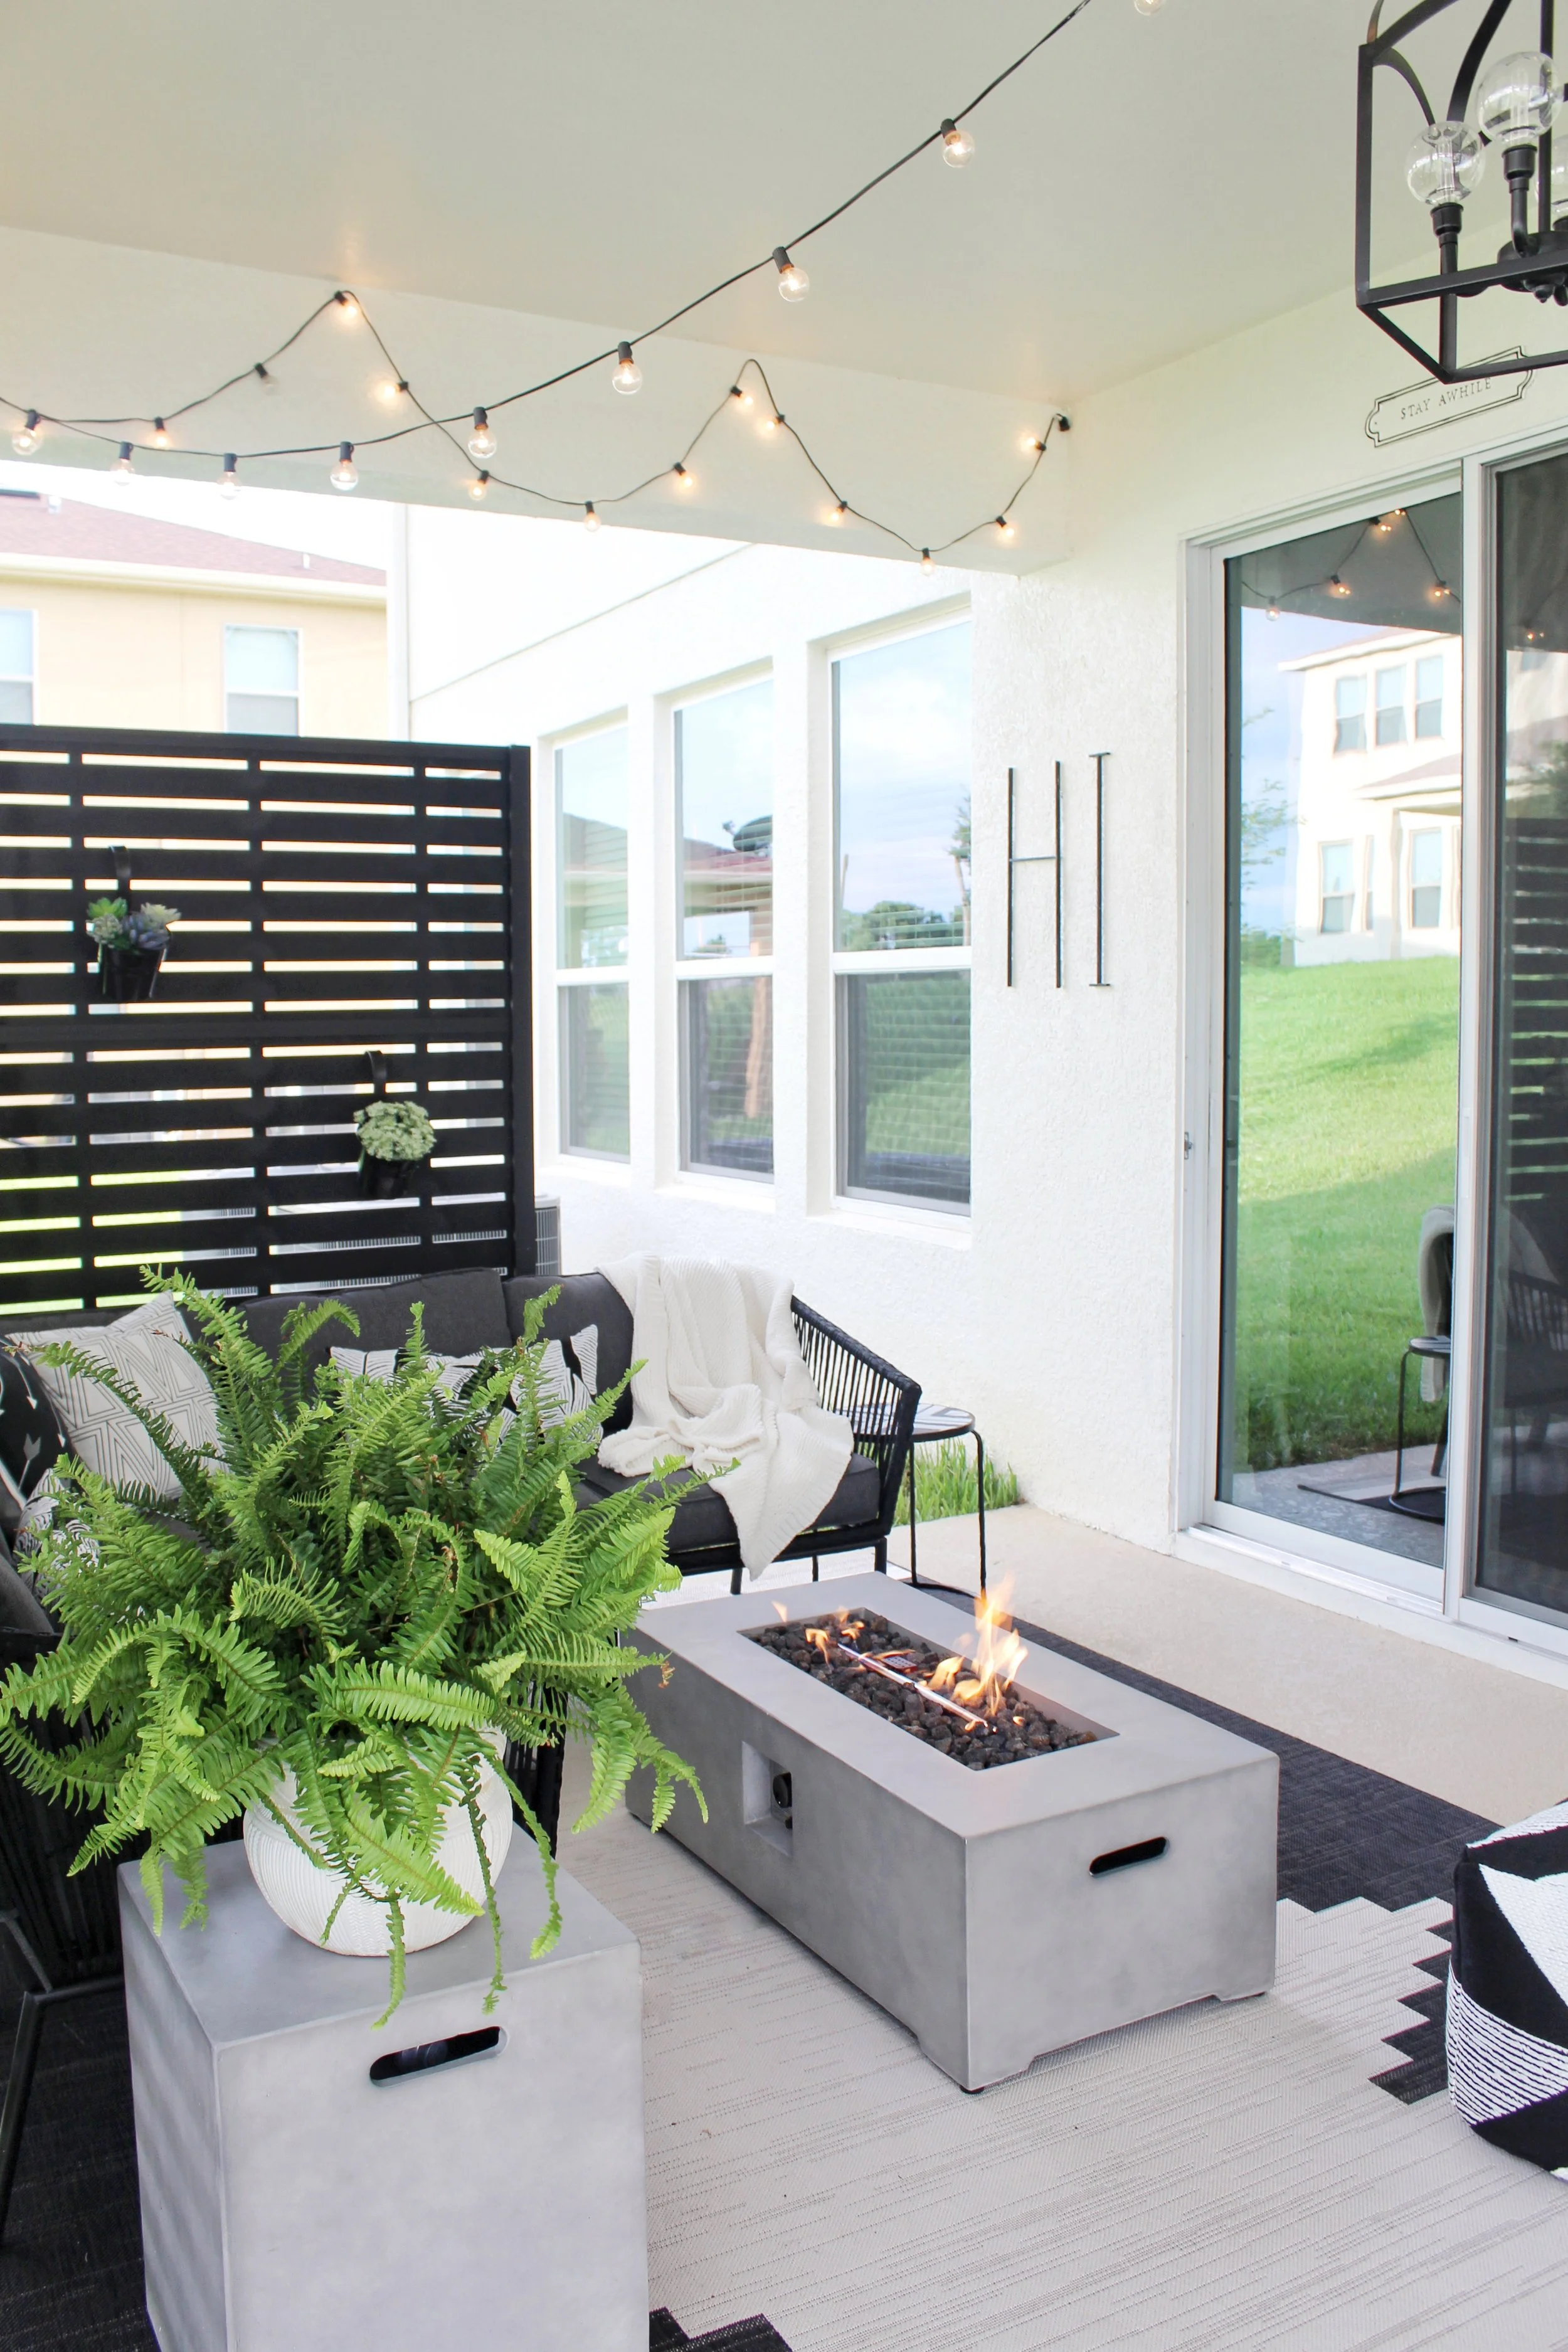
And found a solution we did! We partnered with Freedom Outdoor Living for this project, and we could NOT be any happier with the final result, it has totally transformed our outdoor space with minimal work involved! They provided us with decorative screen panels and frame kits that add the perfect amount of privacy and design to our outdoor space! Freedom Outdoor Living provides many different patterns and designs of their panels, but we chose their Boardwalk design in a matte black finish. Each design also offers four different color choices to choose from (and they are paintable!) so you won’t have any issue finding some that match your home or decor style. We were also provided the frame kits to install the panels on, but those are not needed if you have something else to attach the panels to-we did not. The frame kits are super handy though and I definitely suggesting using those to hold your panels.
Central Florida summers are brutally hot, and we get a lot of rain here, but Freedom Outdoor Living’s decorative screen panels resist warping, rot, twisting, splitting, discoloration and scratching. The low-maintenance, impact-resistant material will ensure that our screen will stay stable in extreme climates and will be as strong as it is attractive- and with Hurricane Dorian quickly approaching Central Florida, we are about to have the ultimate test!
*This project is sponsored by Freedom Outdoor Living but the opinions stated in this blog are solely our own.
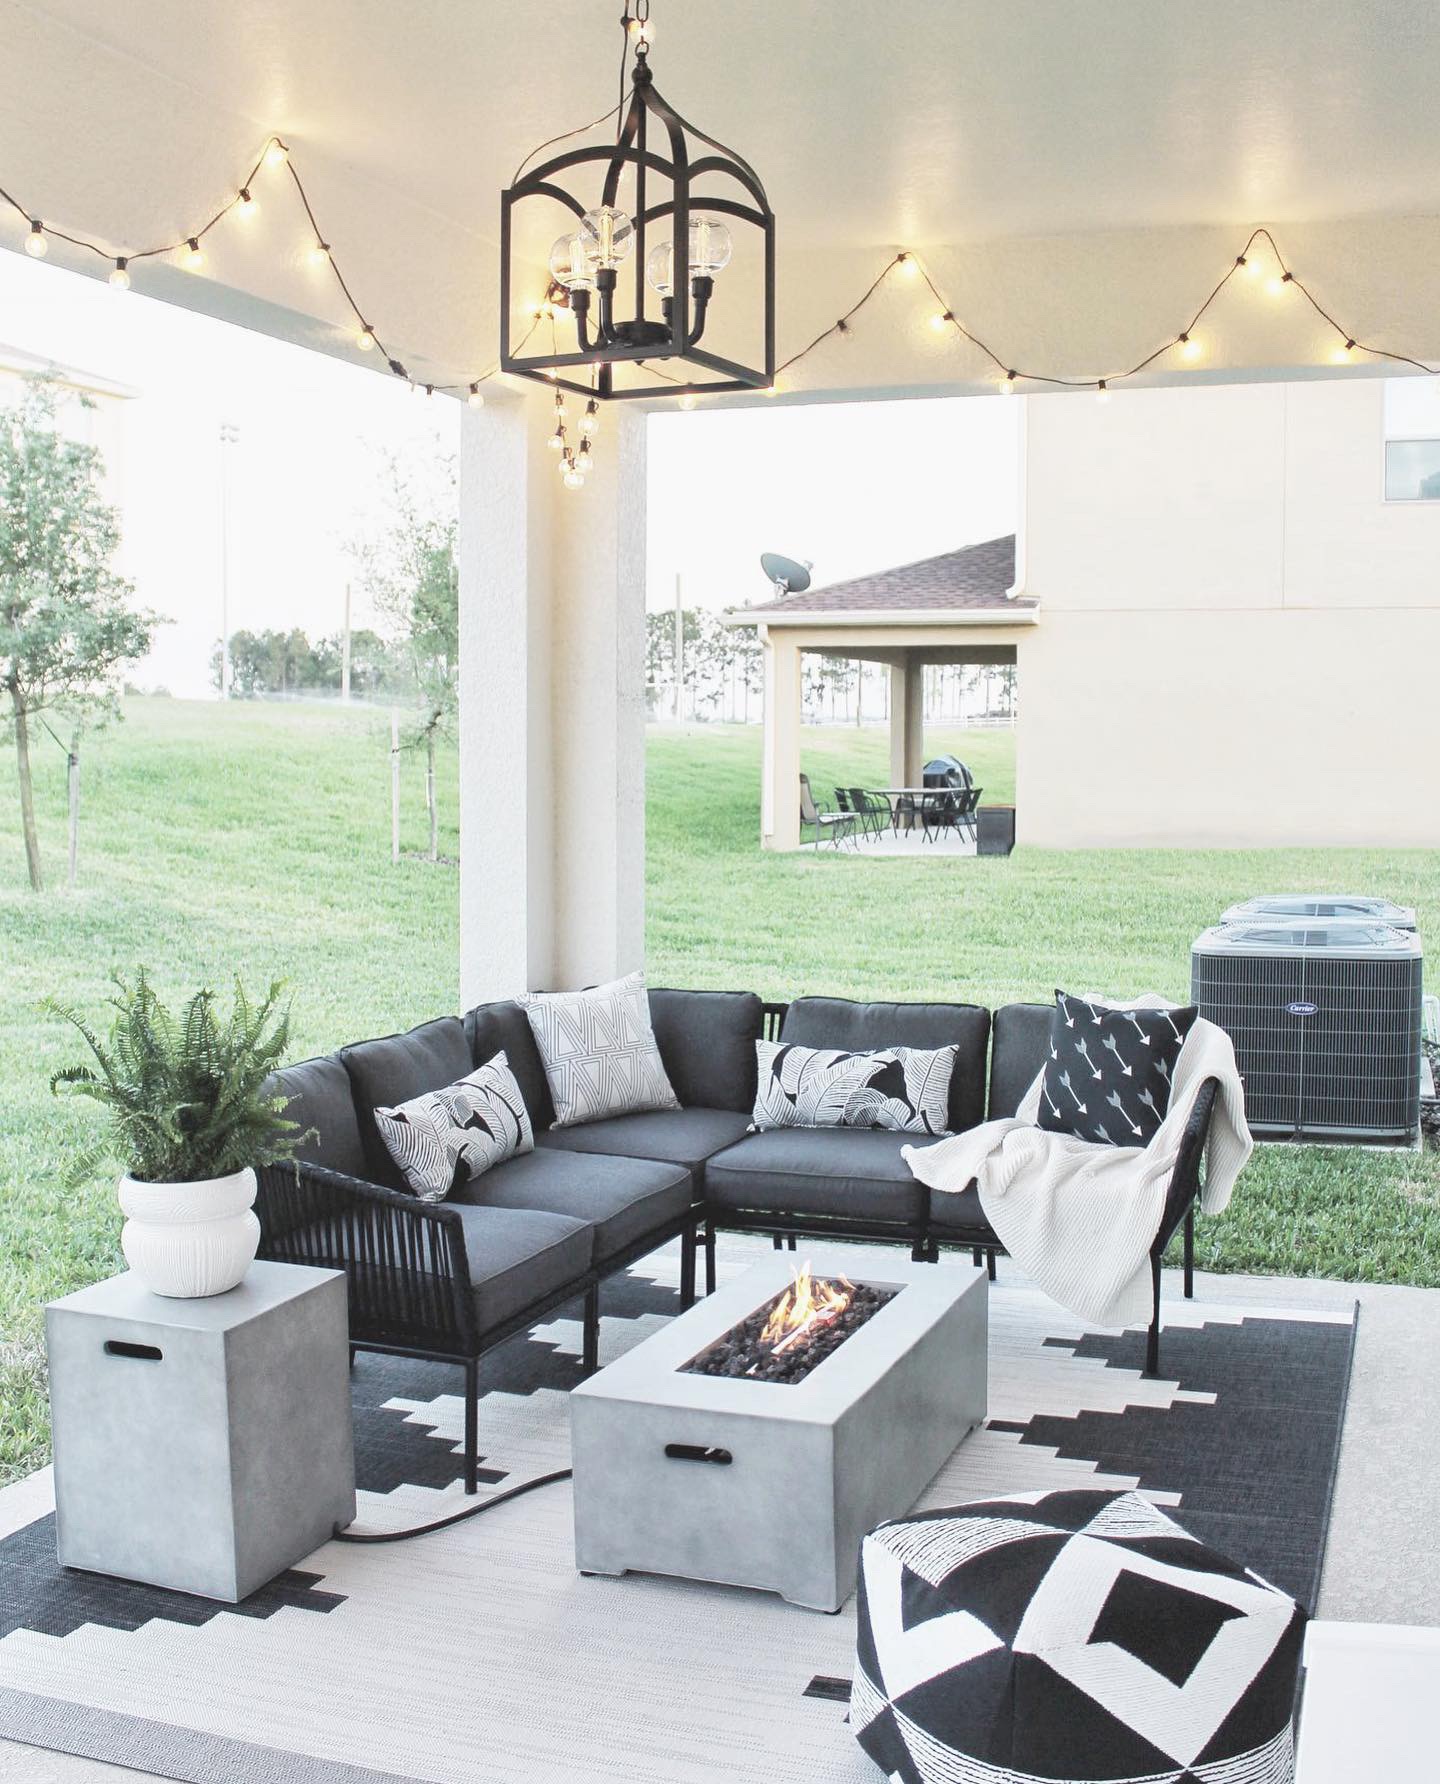
Everyone loves a good BEFORE picture right?
Even though the products come with instructions on how to build the kits/install the panels, I’m going to show you guys the step by step process of how we assembled and installed the decorative screen panels on our back patio, but first let me link the website and products for you:
Freedom Outdoor Living Website
Products at Lowes.com
Boardwalk Black Vinyl Decorative Screen Panel
Freedom Allure Decorative Screen Frame Kit
I’m not sure if this will be the case for you all, but our products came via freight shipment, so a delivery day/time had to be scheduled. We were contacted by the freight company and set up a delivery time that worked best for us, it was super easy!
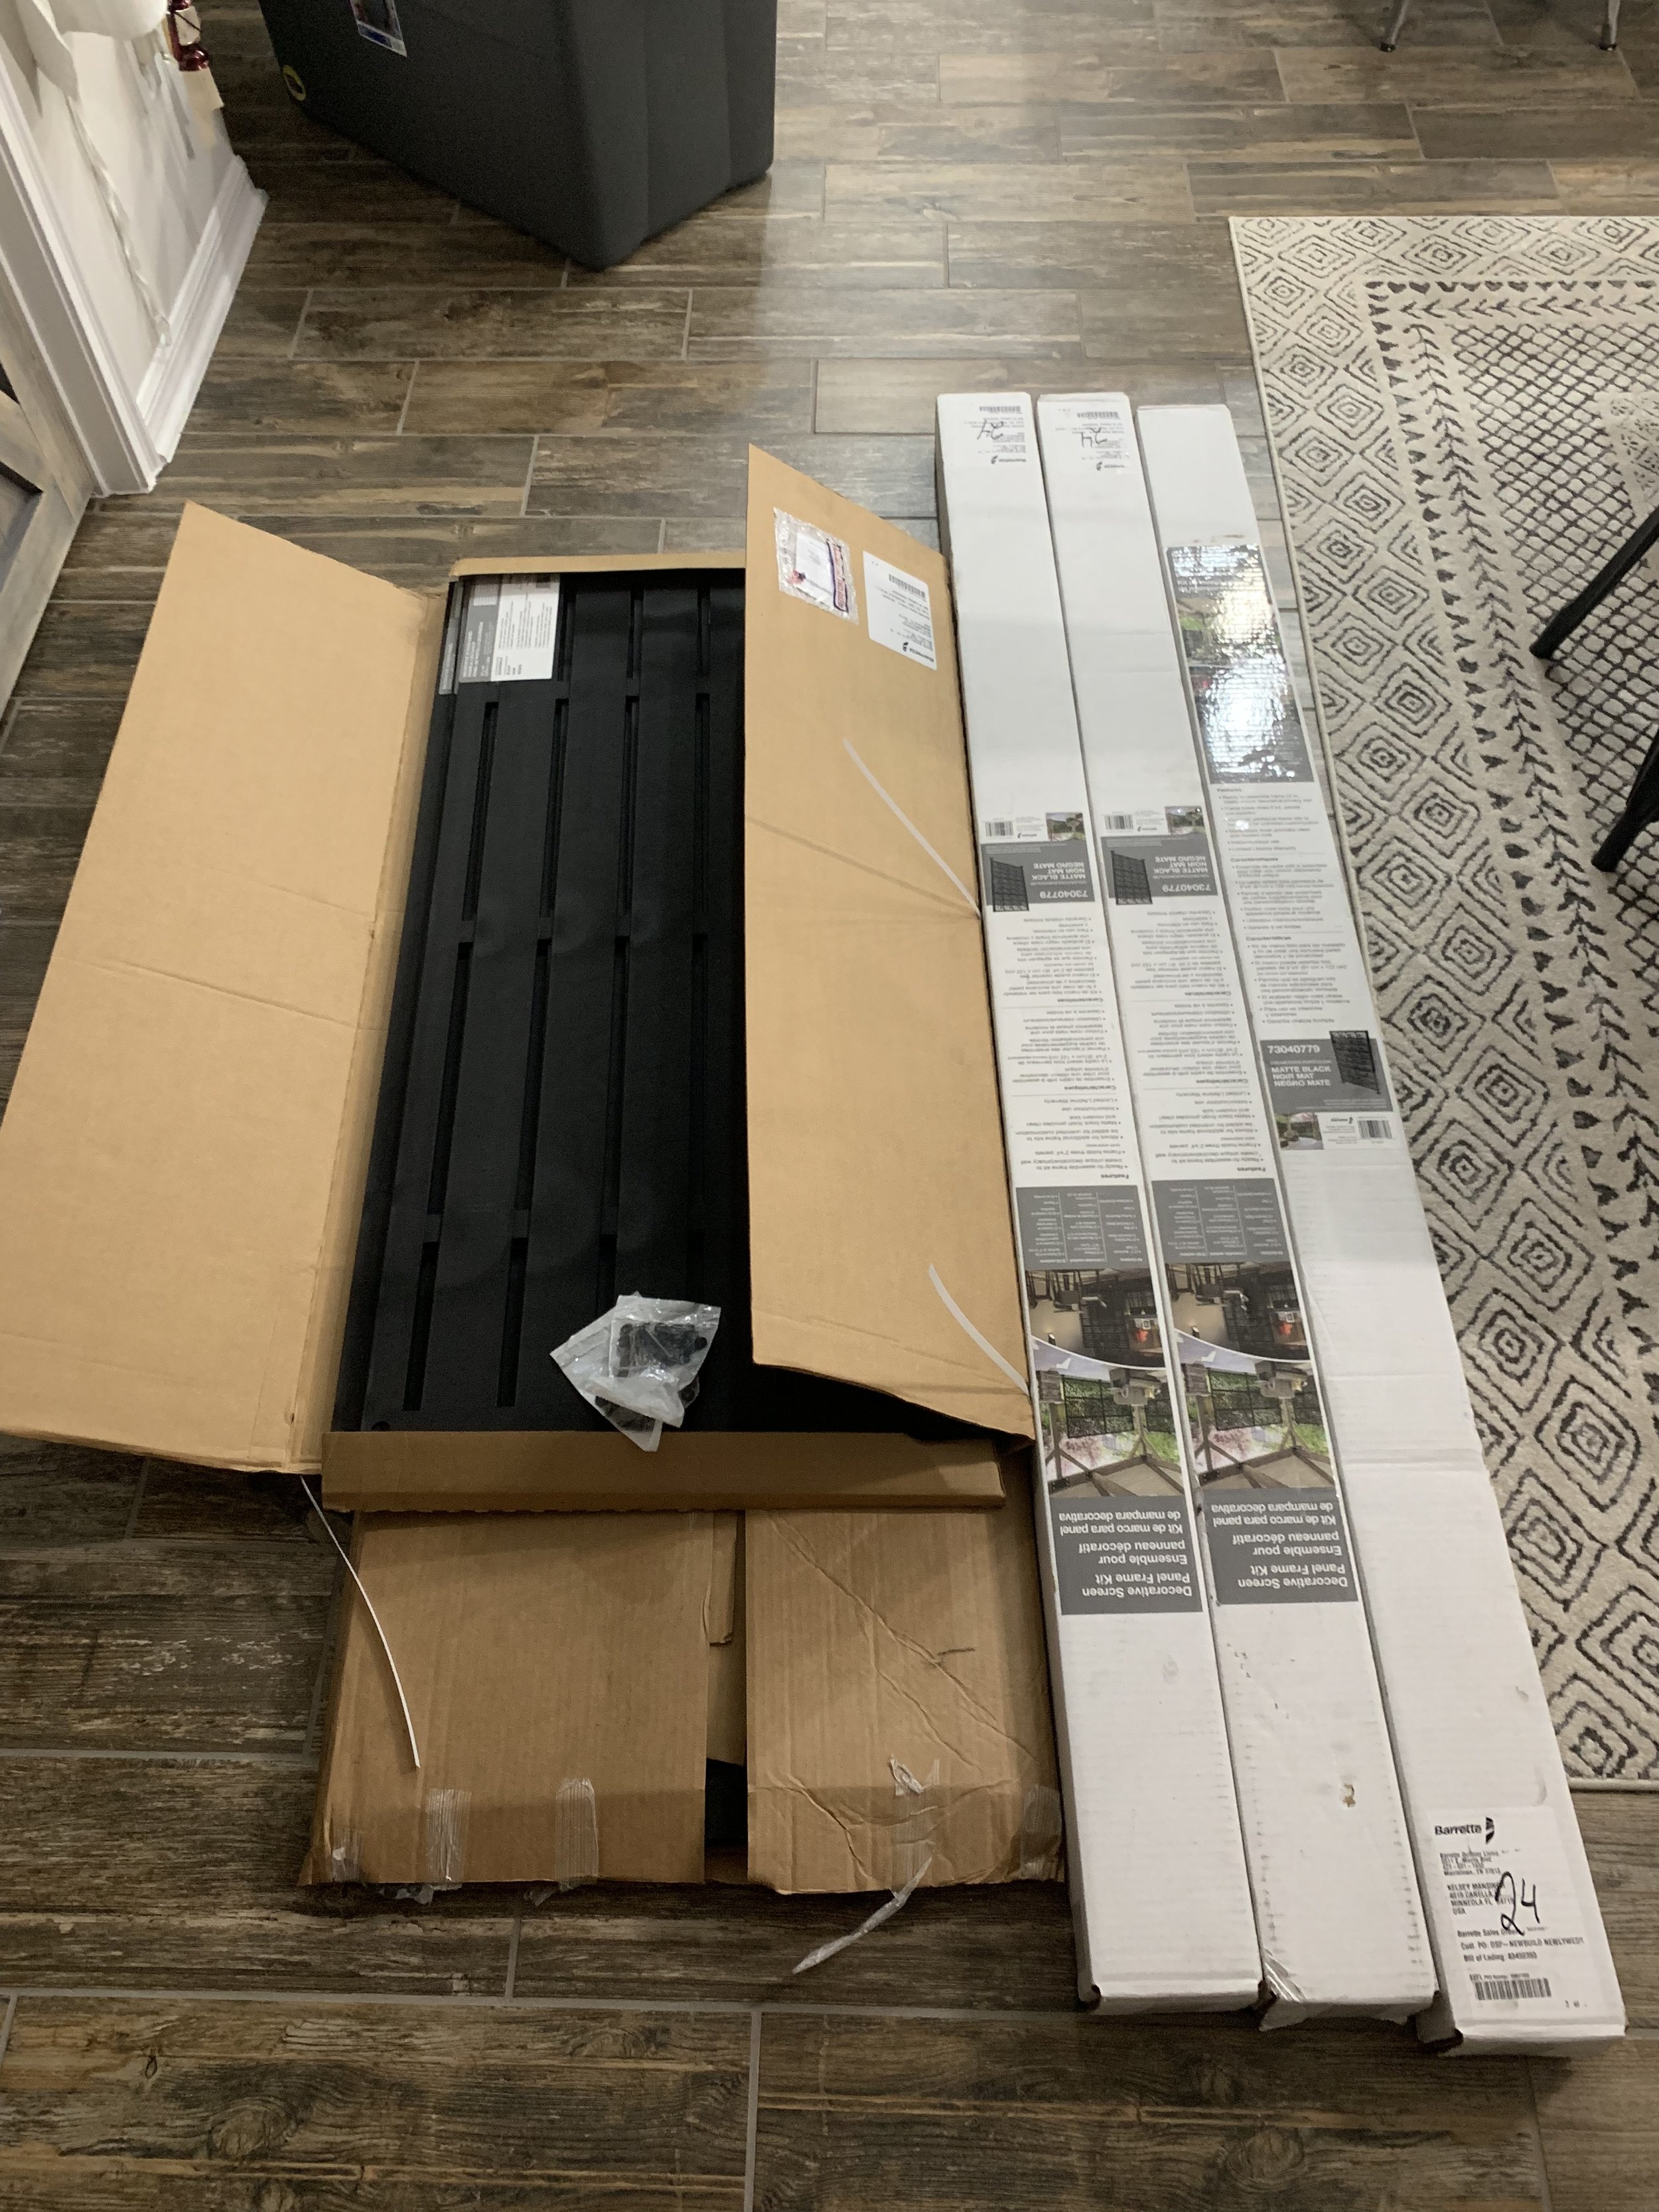
For our project we needed nine panels and three frame kits. Three panels fit into one frame kit.
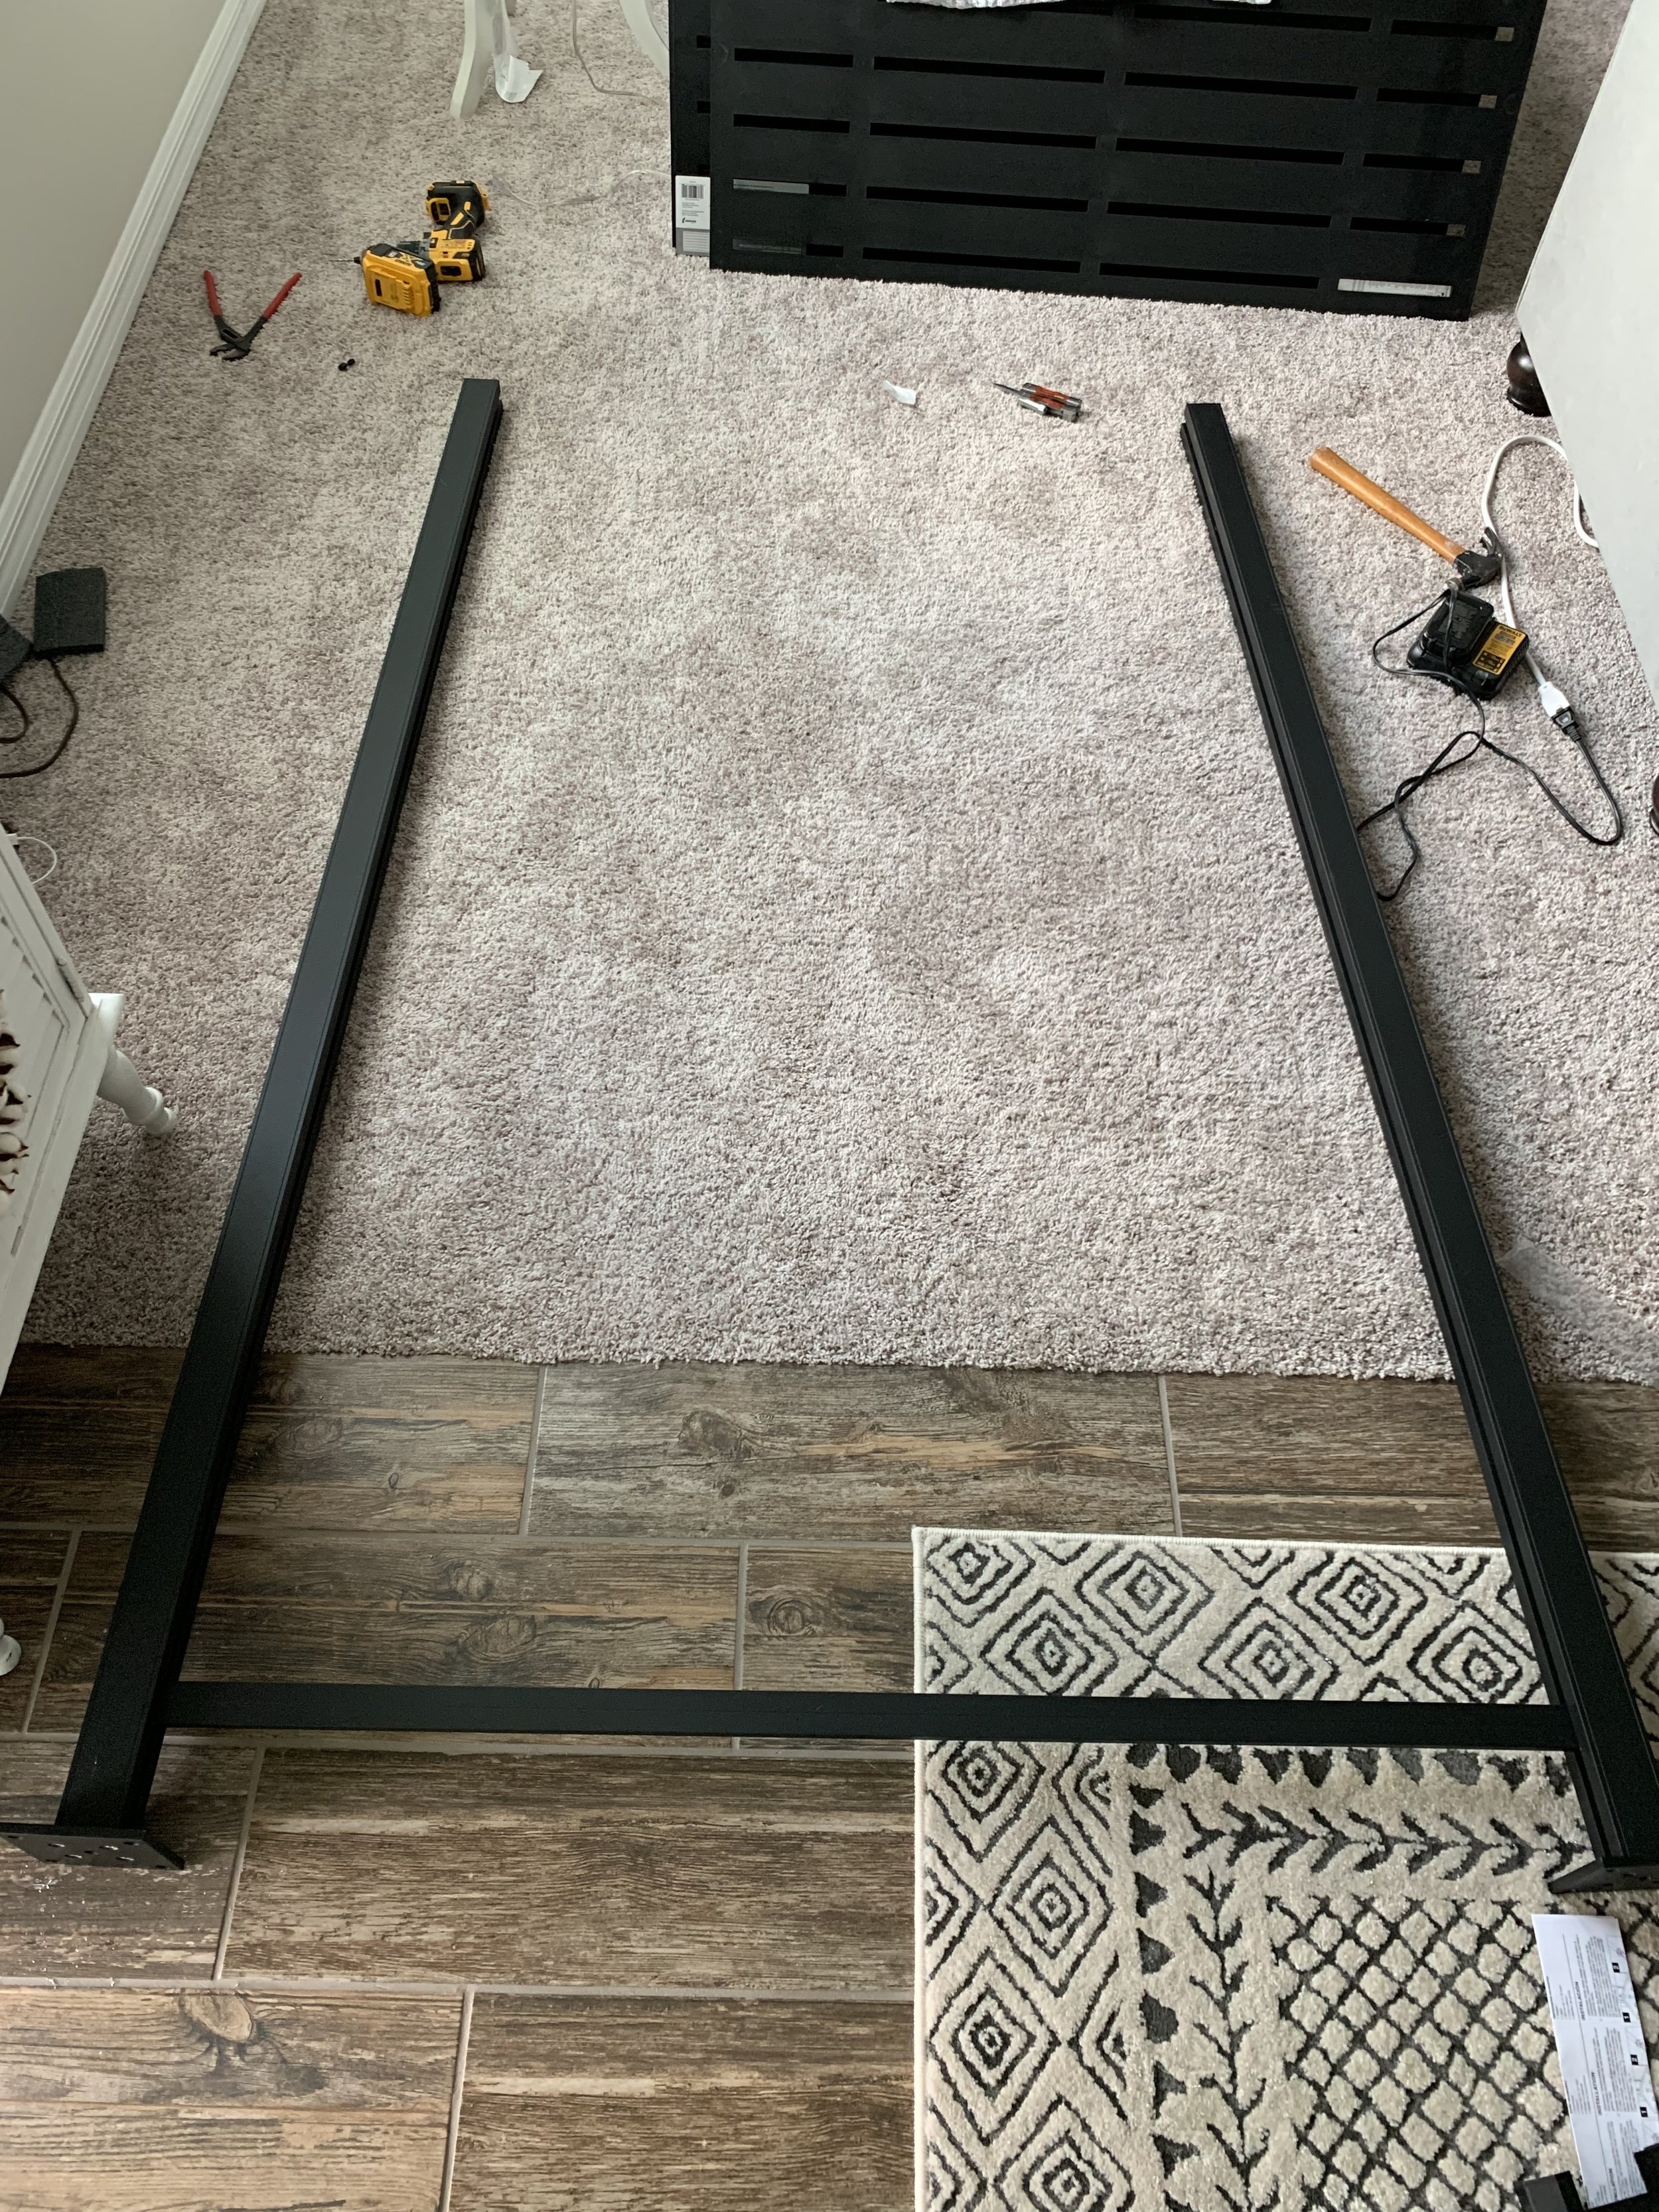
Per the instructions, the easiest way to assemble the frame kits and install the panels is by first anchoring the poles of the frame to the surface you plan on installing it to, but for us we were attaching it to concrete and didn’t have the 3/8” concrete screws we needed to do this, so we opted out of this portion. Although, I do agree it would have been easier assembling the frame kit the suggested way.
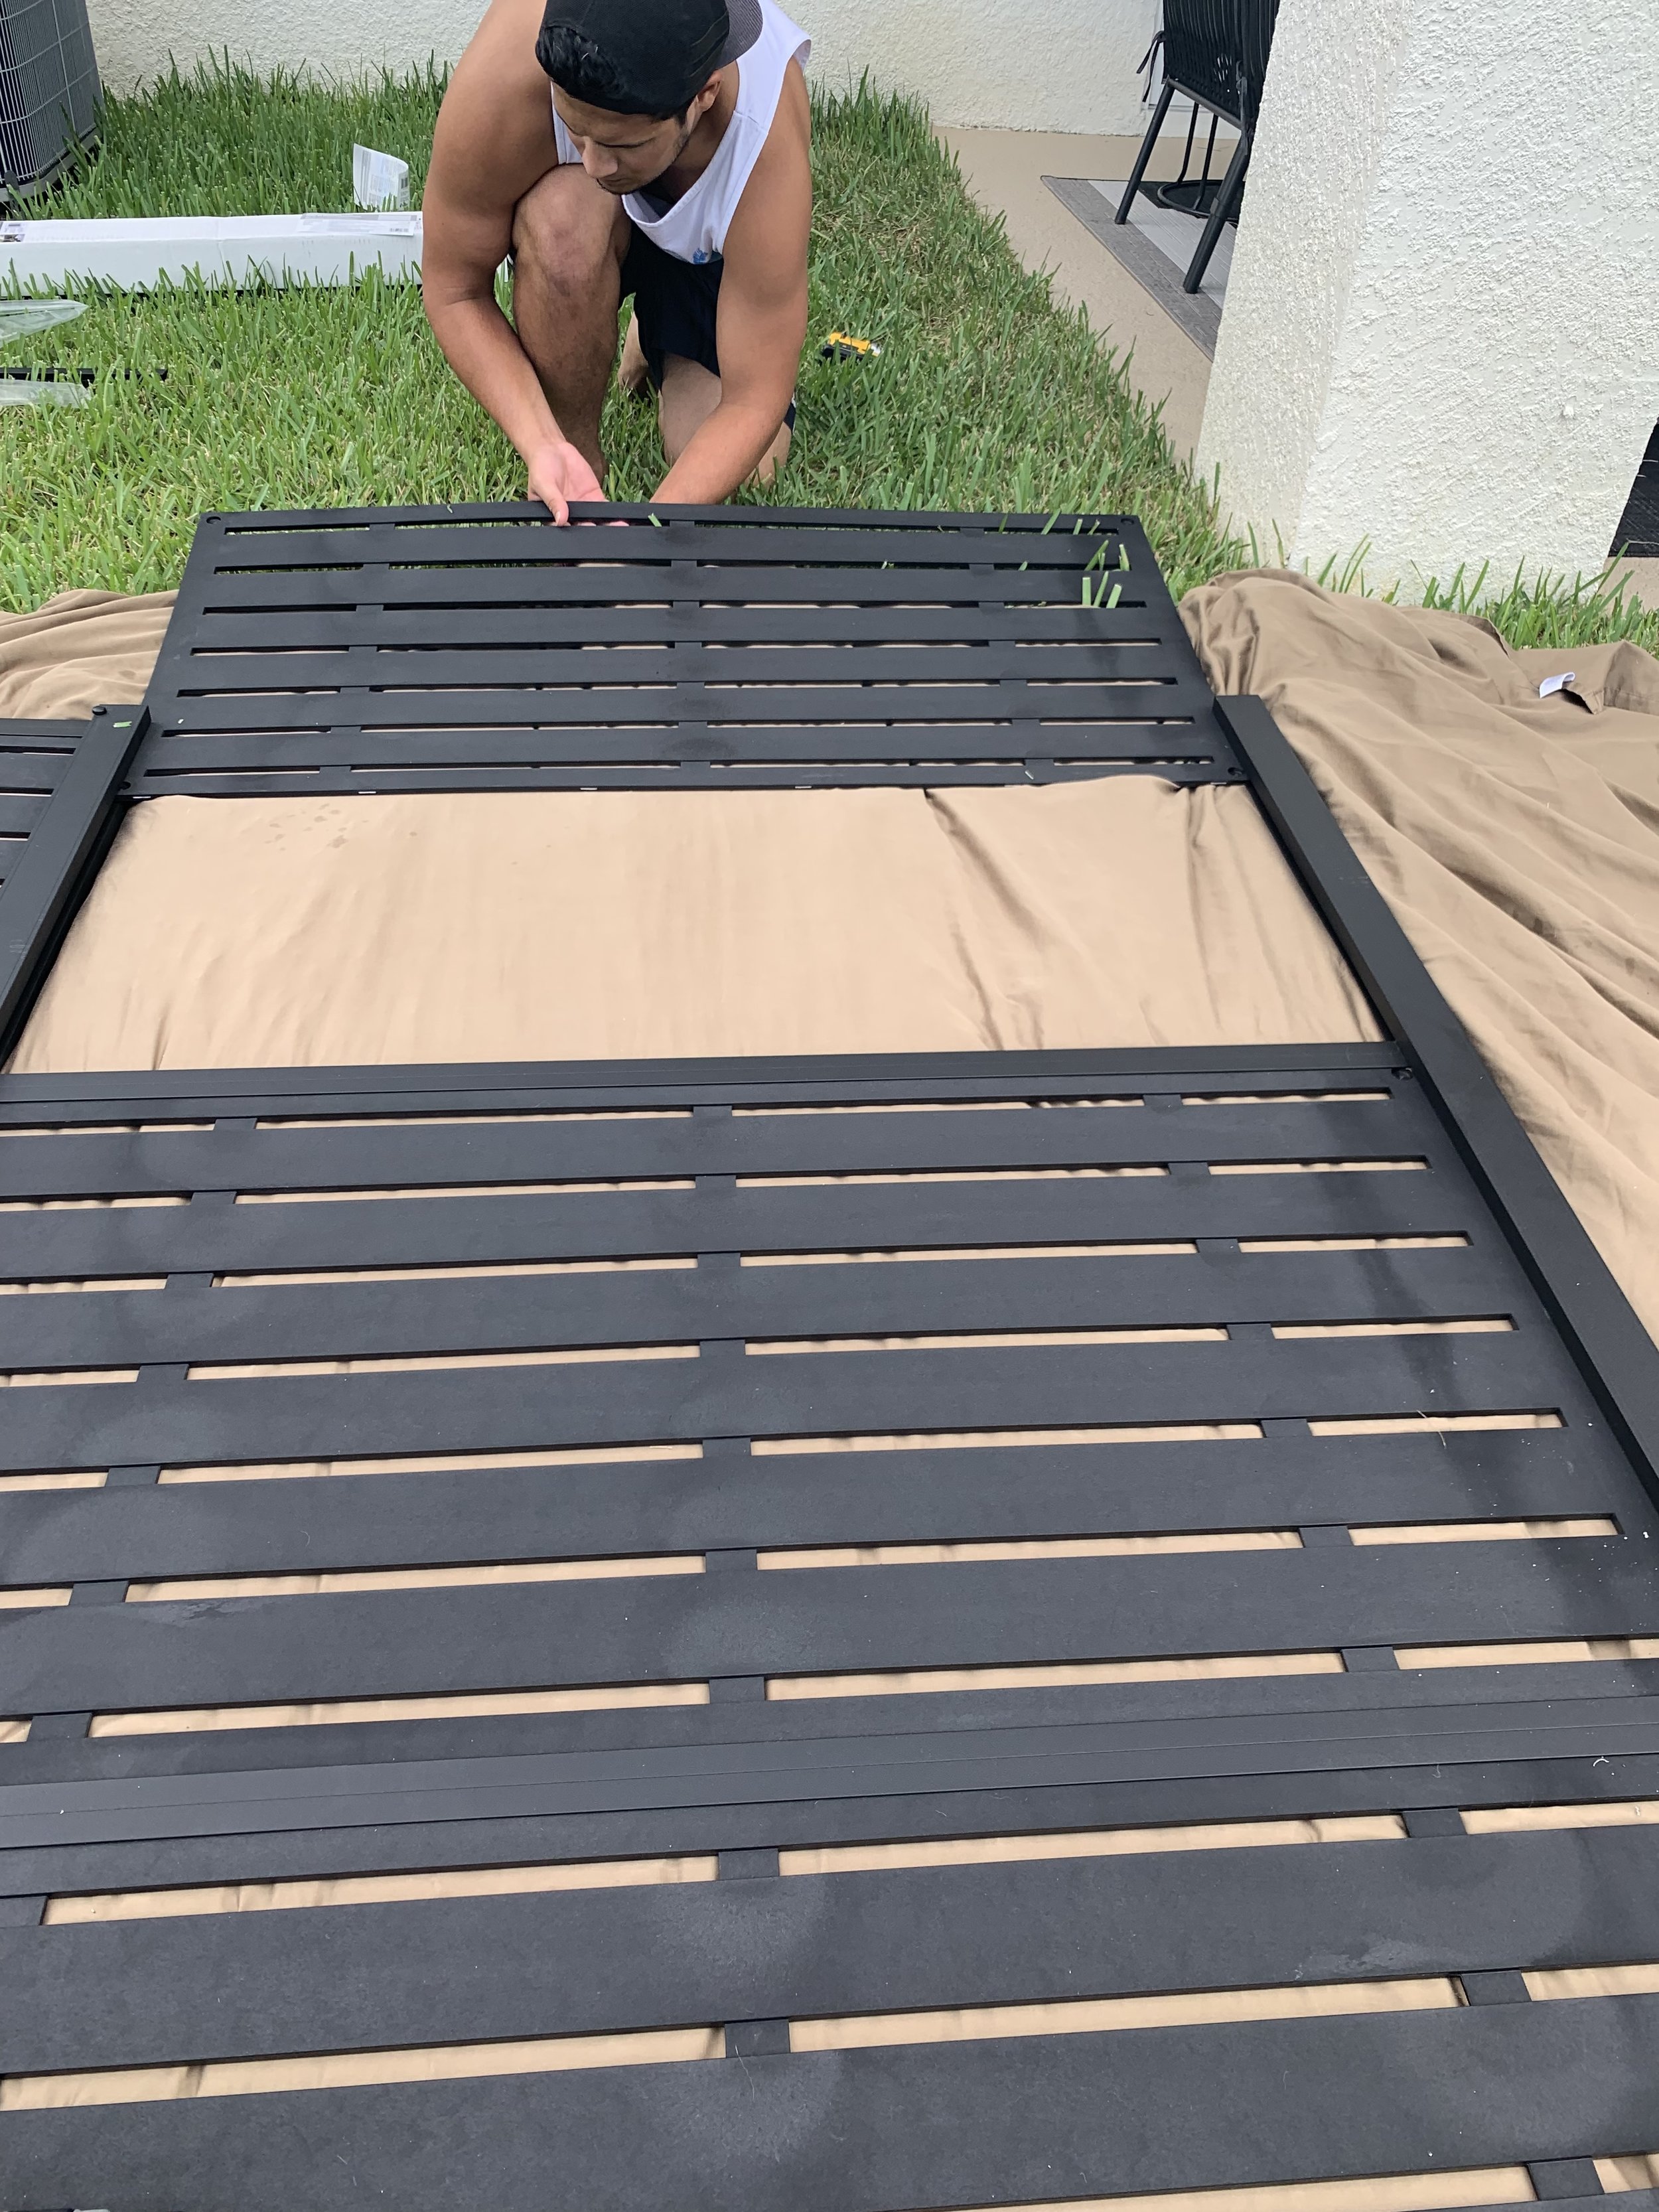
You start by attaching the bottom base plates to the poles with the provided hardware and drill bit. (They provide you with a square head drill bit that you’ll need to assemble the frame, which we thought was really awesome, and convenient!)
After you have the base panels attached, this is where you would anchor it to whatever surface you are mounting these to and assemble it standing up, but like I said previously, we opted out of this part and installed it with it laying flat on the floor.
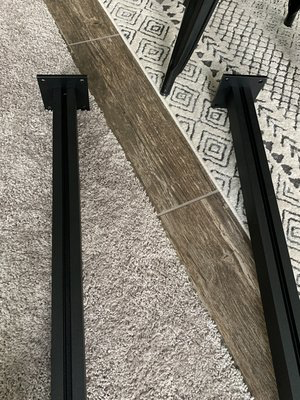
Next, take the rails and slide the first, bottom rail in. You need to space it 3-3 1/2” from the bottom of the frame. There are middle rails that have double sided grooves for the panels to slide into, so make sure you grab one of the end rails, as they only have one grooved side.
This shows the bottom rail slid into place, make sure you grab one of the end rails, only one side should have a groove.
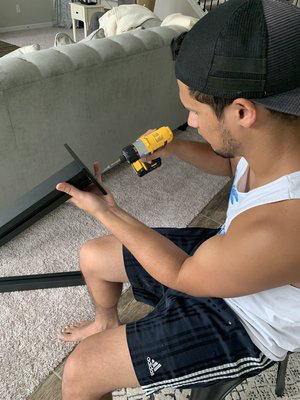
Once you have the bottom rail into place, you can slide in the first panel. Once the panel is in place, make sure the side rails are straight and the panel fits snug into all of the rails. You will then predrill holes on both sides of the frame. This is where you will drill in screws that ensure the panels stay in place.
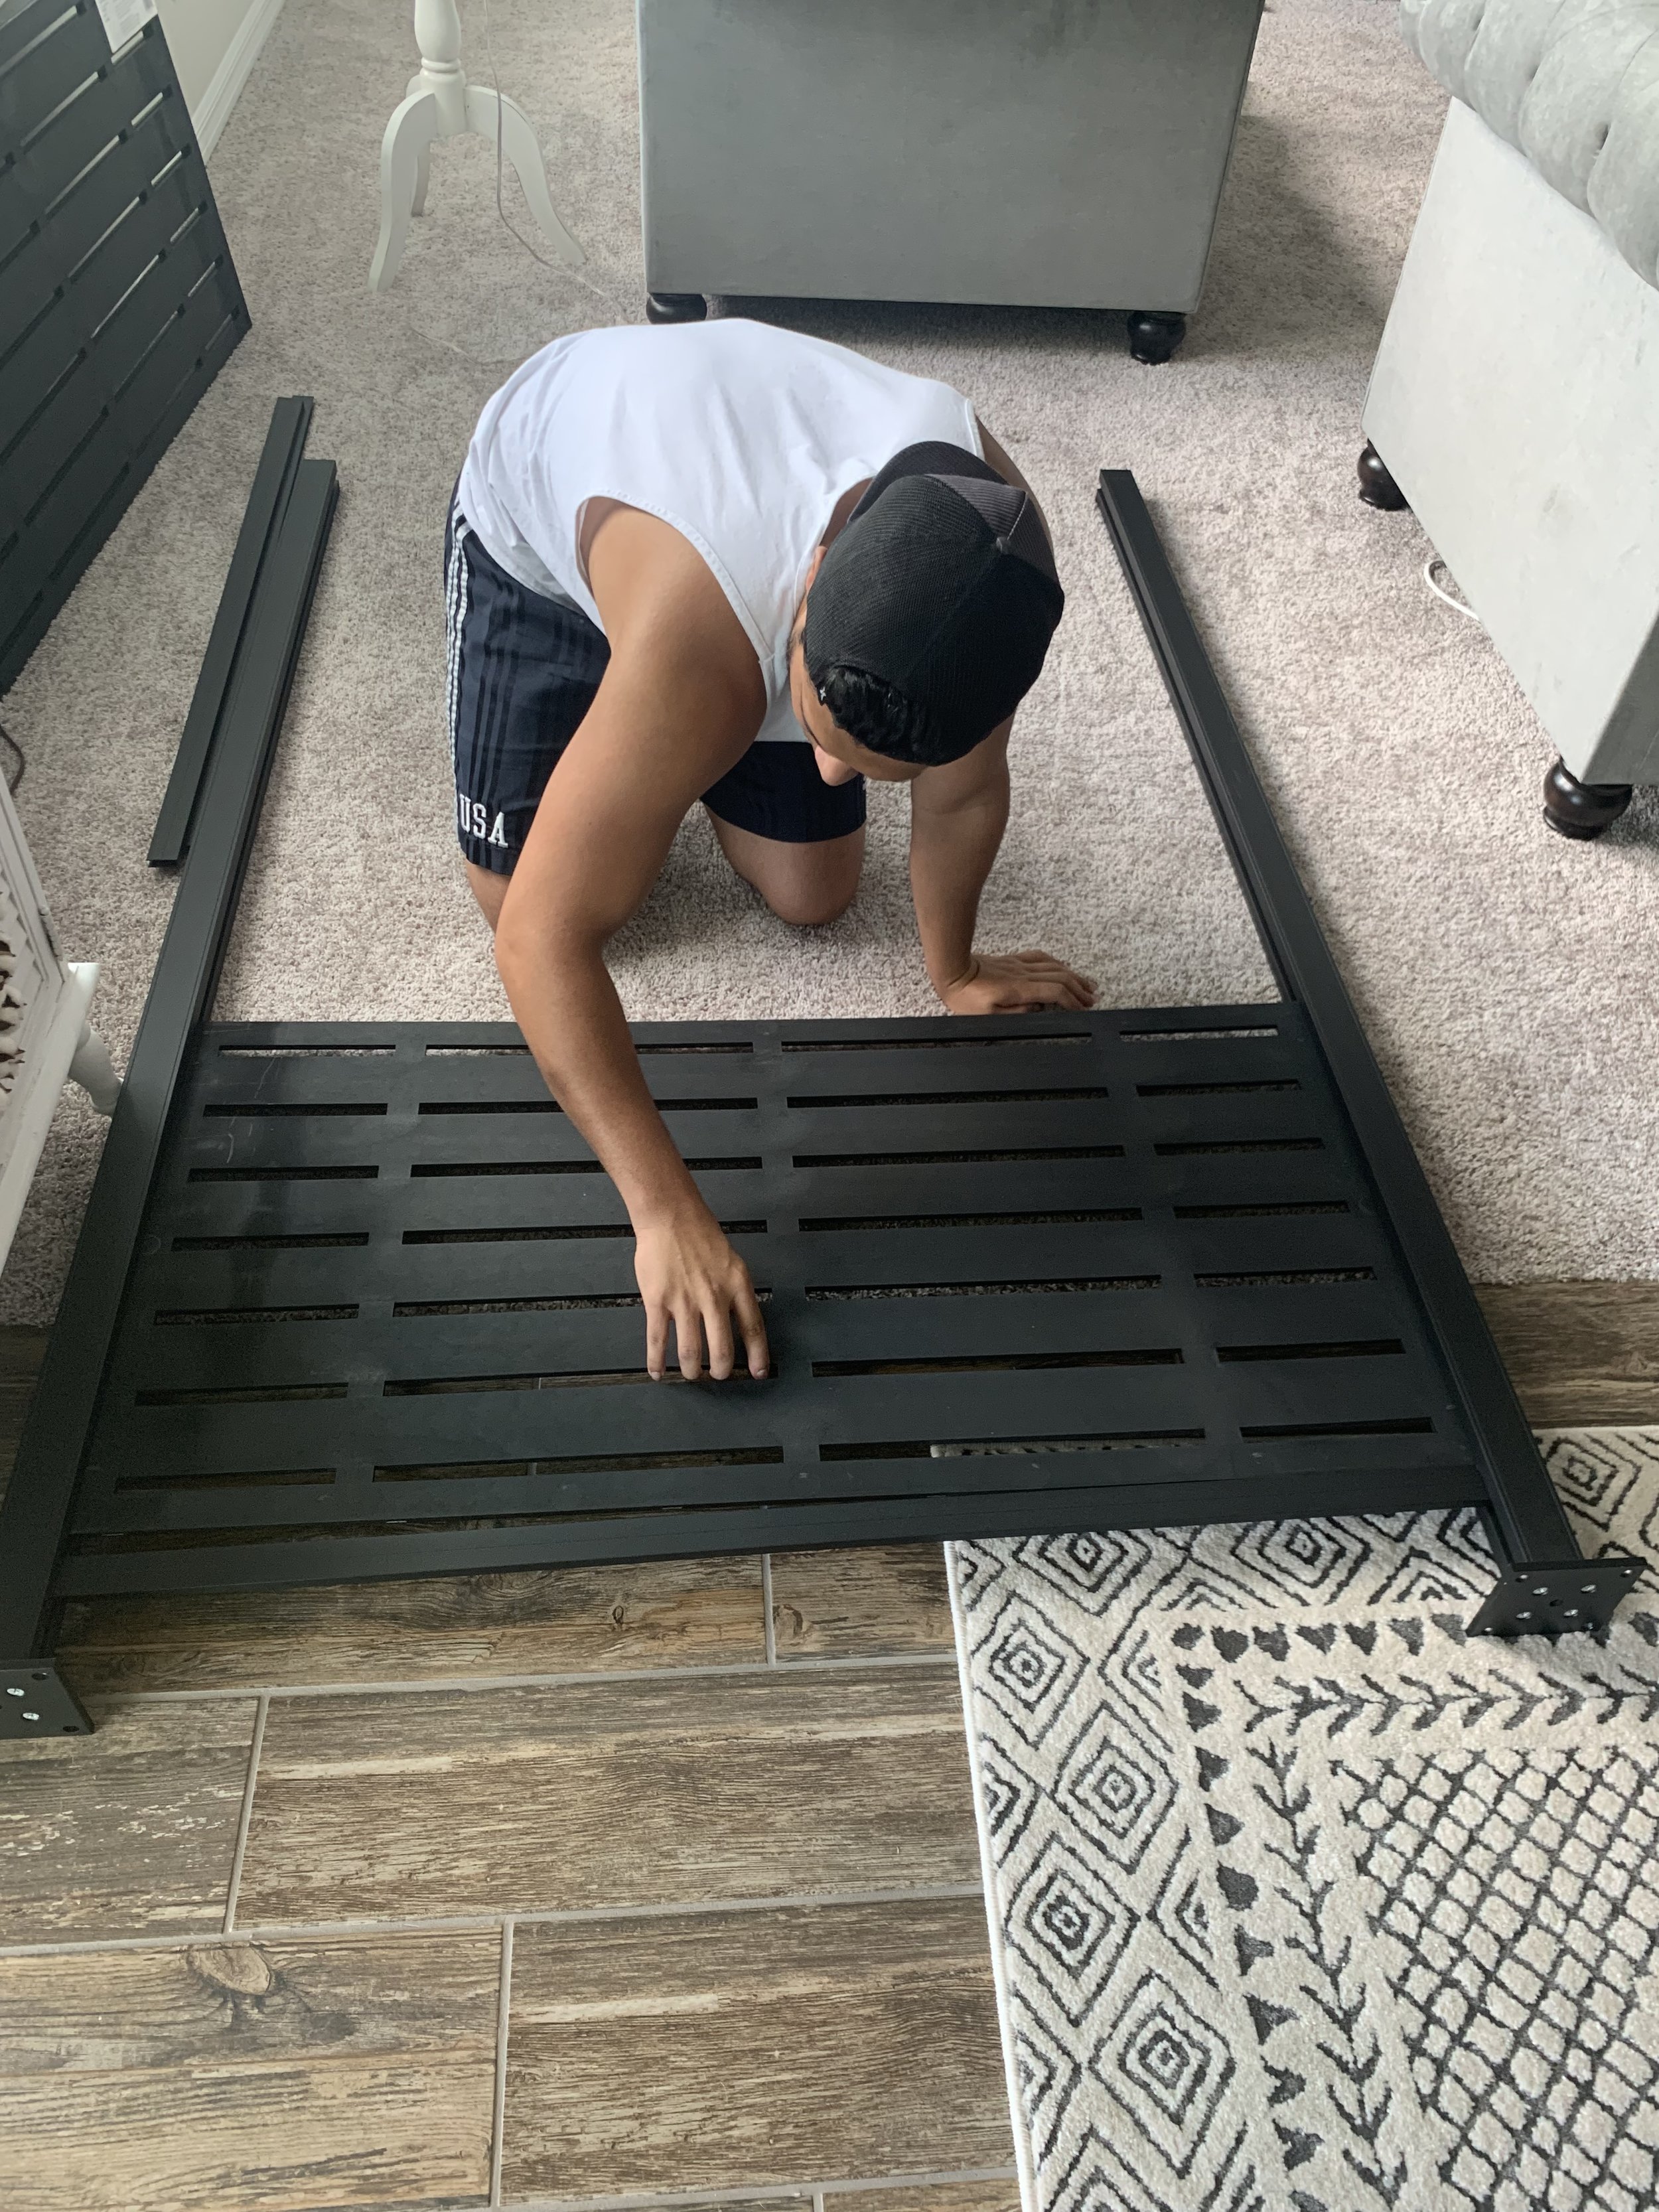
Make sure the panels clip into place in the horizontal rails.
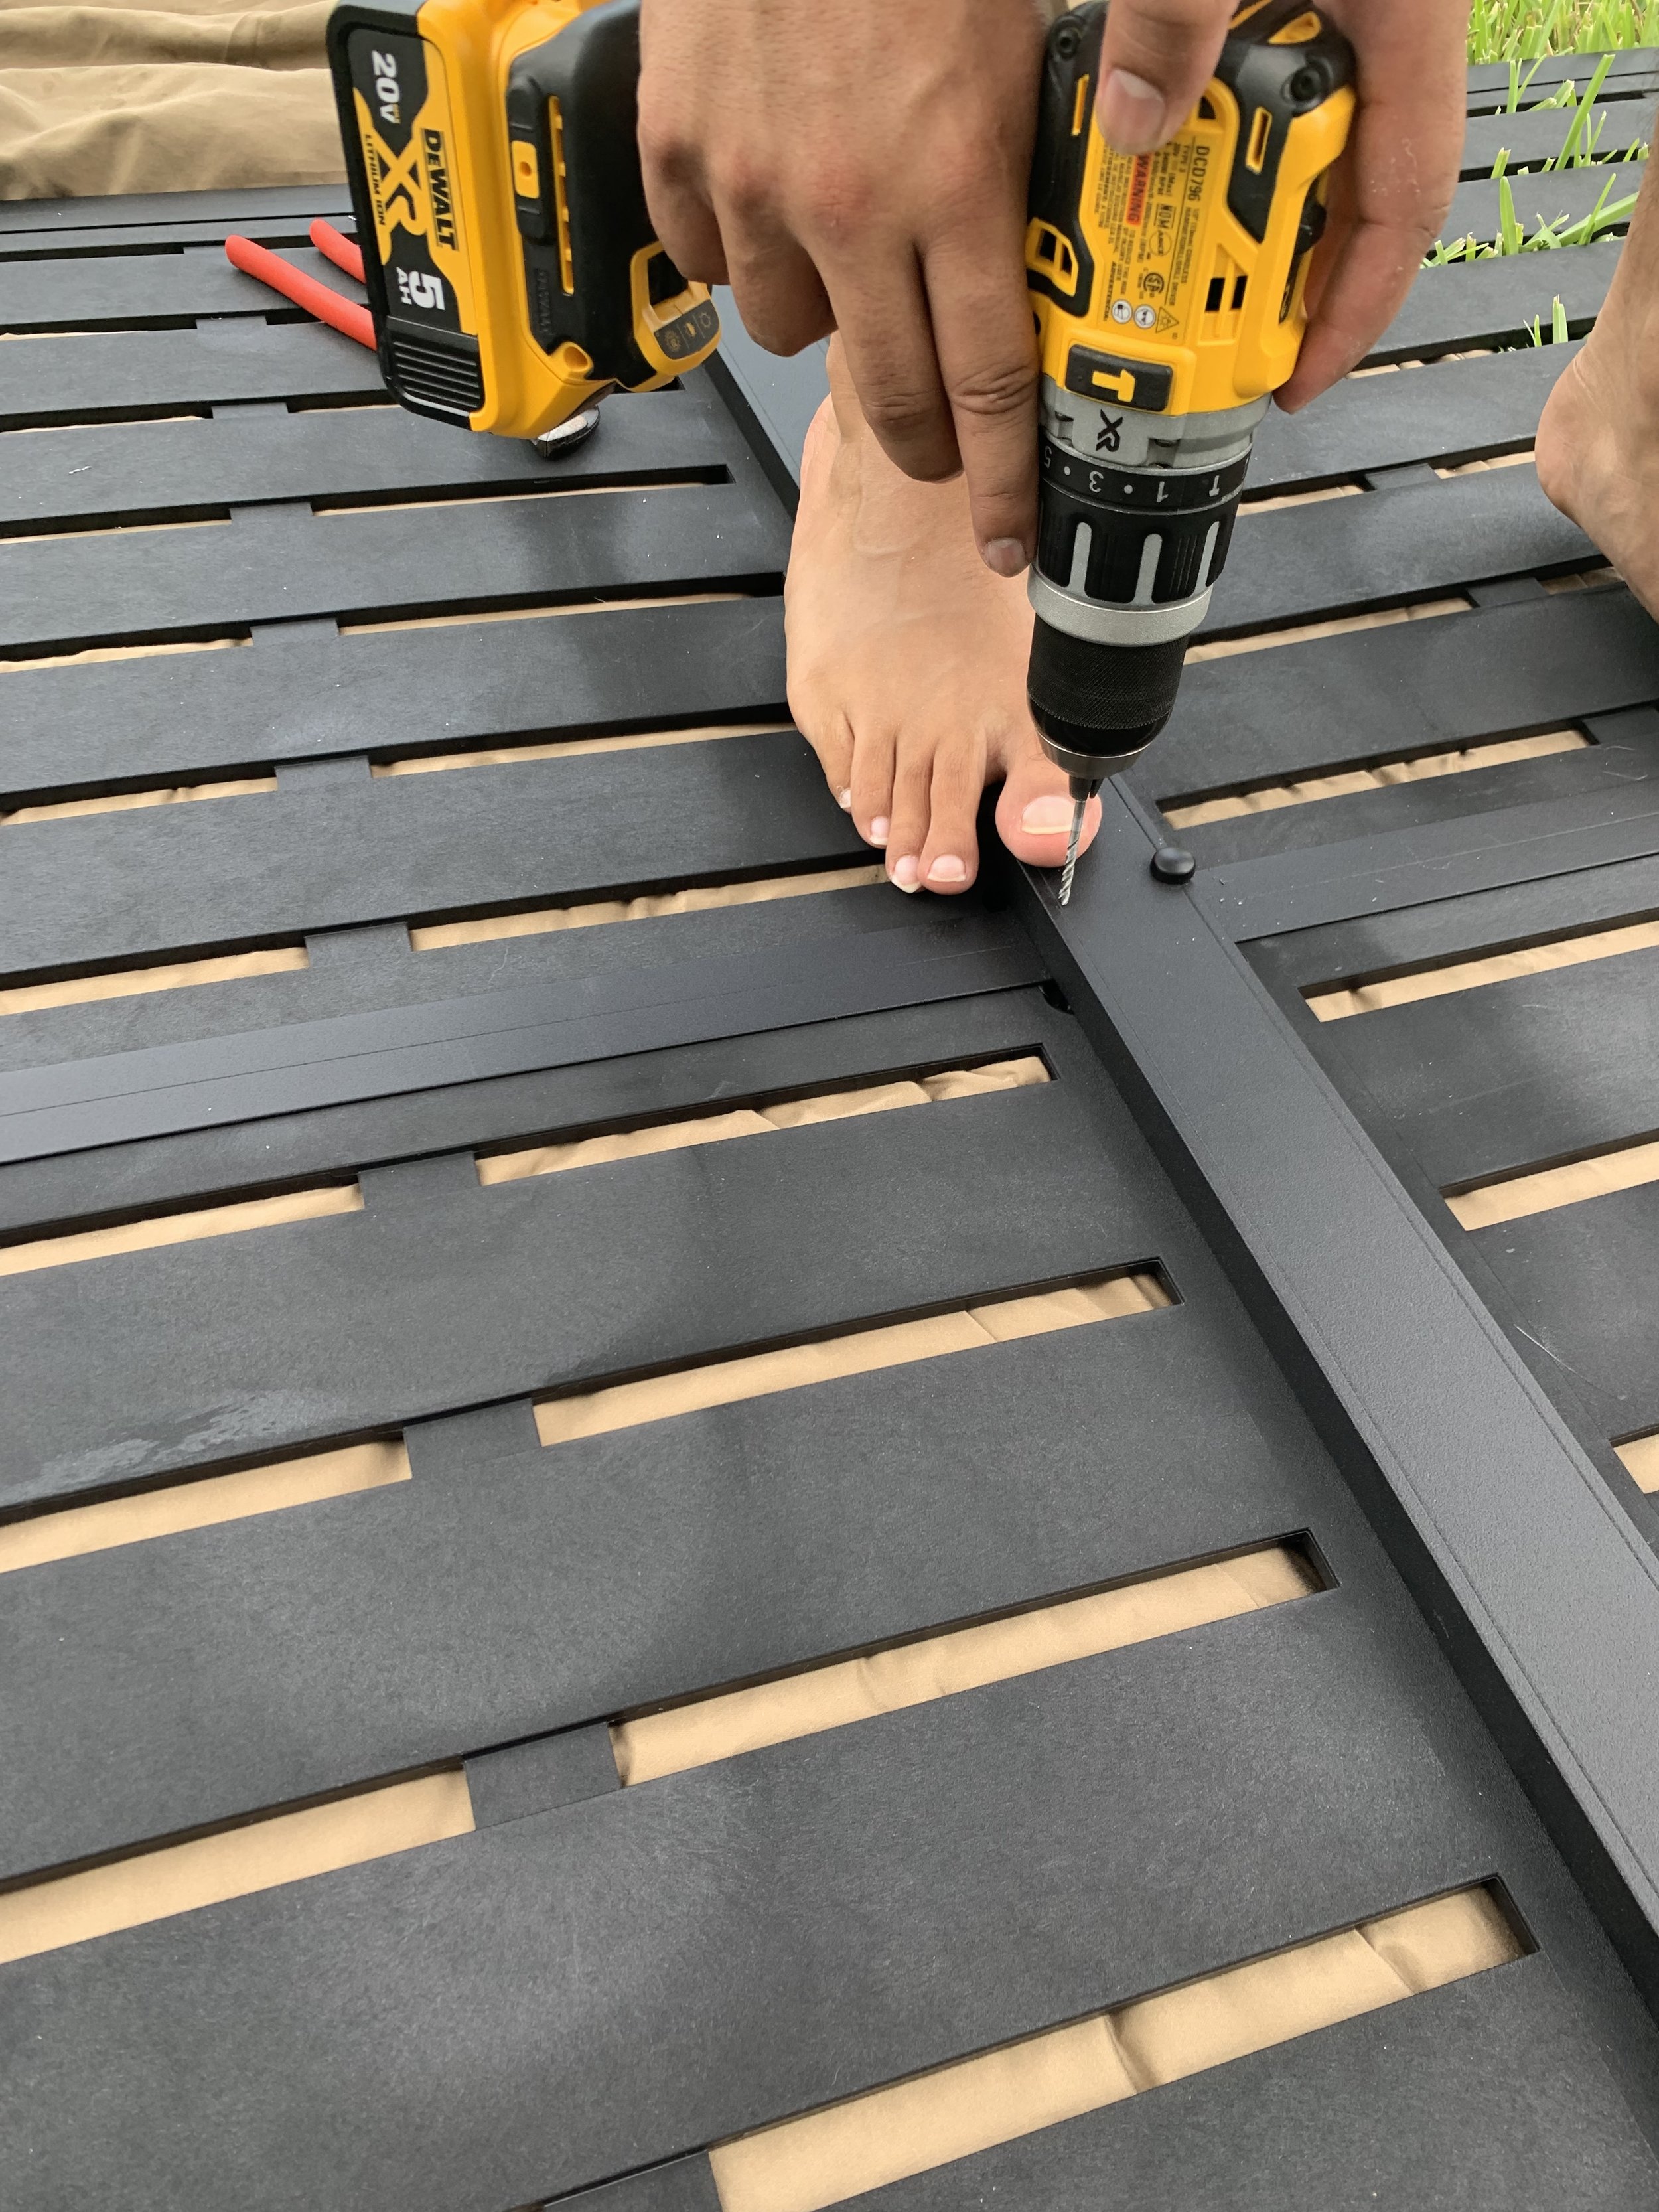
This shows Ryan drilling the screws into the metal frame to ensure the panels stay in place.
After you screw in the first panel, the rest will just follow suit. Continue sliding in the horizontal rails and panels and drilling them in place until you have one frame complete. If you are only doing one frame, then yay! You’re almost done. But if you are attaching multiple together, you still have more work to do.
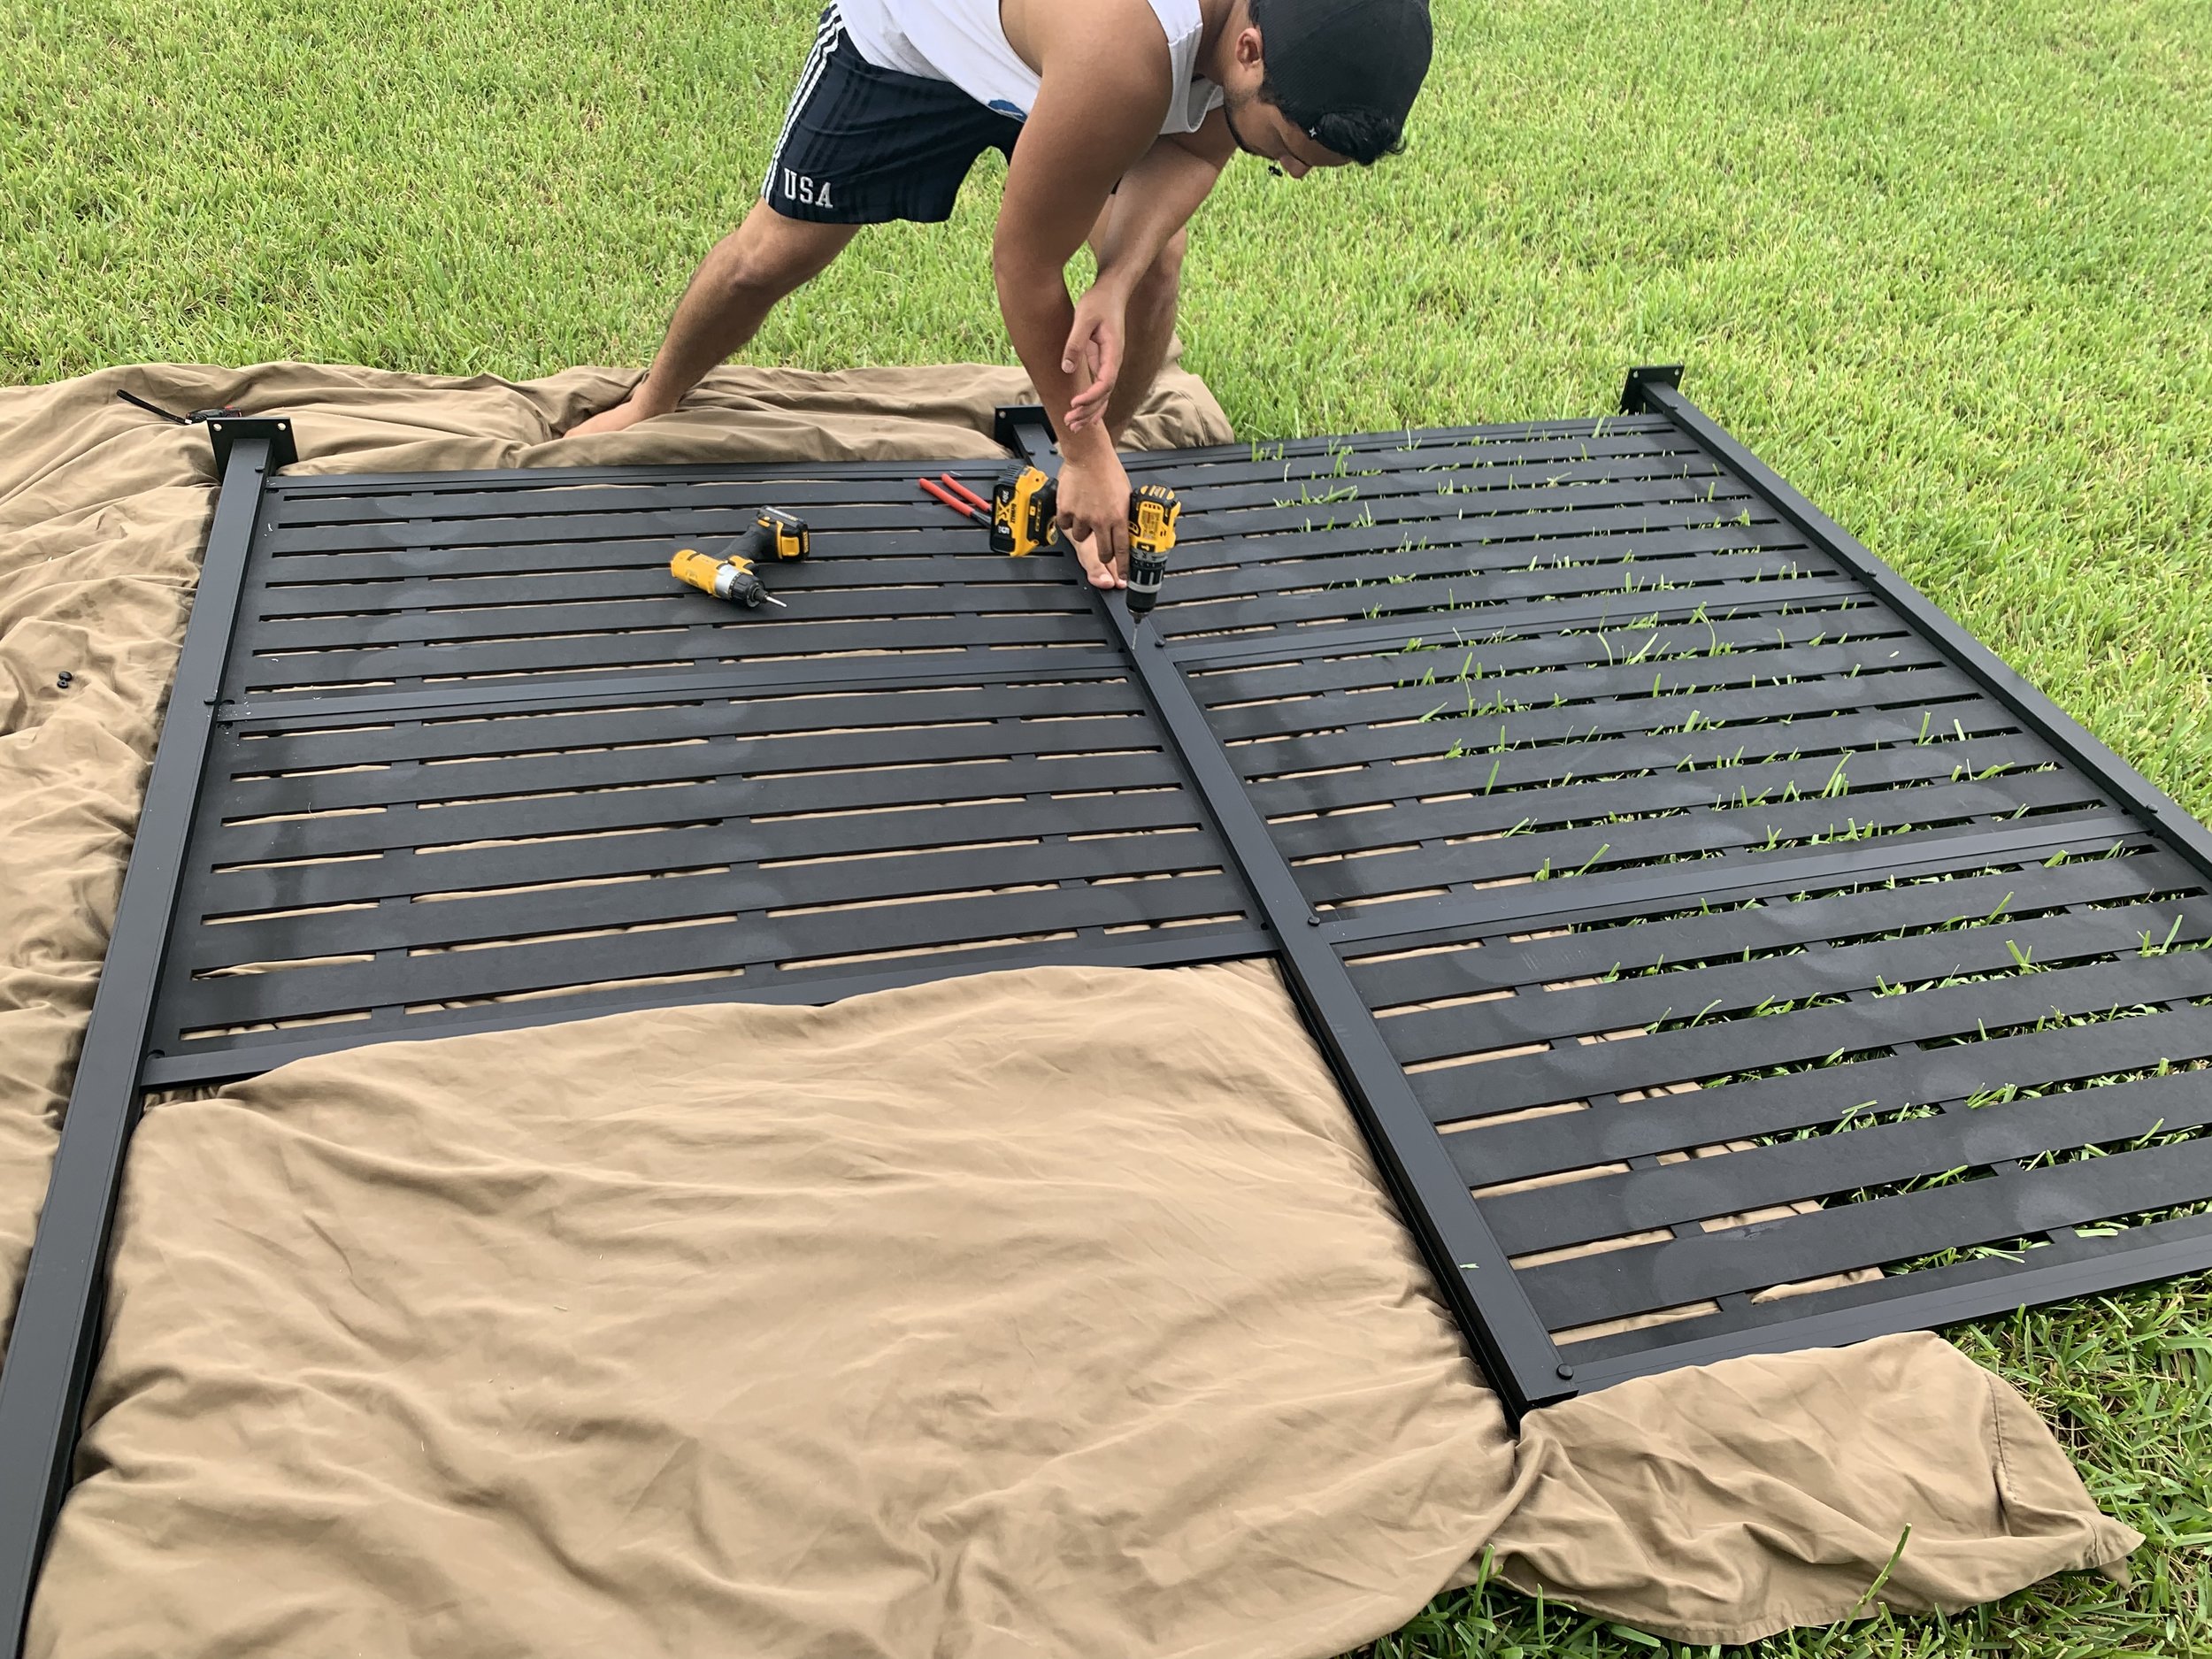
We had to move outside for the last two panels because we were attaching them together and didn’t have the room for this inside.
If you are attaching multiple frames together, you will follow the same concept, but only use one pole out of the kit, as it will share the other pole with the frame you already assembled. You slide in the rails and the panels just like before, and you will have to drill through the frame on both sides like before, even the one you already drilled through for the other panels. This will create one long piece as shown in the picture above. Be sure you put the caps on the tops of all the poles and slide the finishing piece on the sides of the frames.
After you have the panels and frames all assembled its time to anchor them to the ground (unless you did this part in the beginning, than YAY you’re done!) We were mounting to concrete, so we had to use 3/8” concrete screws. They ended up being pretty pricey for some screws, because we needed 20 of them ($62 to be exact!) They are pretty heavy duty though, so we feel confident these babies aren’t going anywhere!
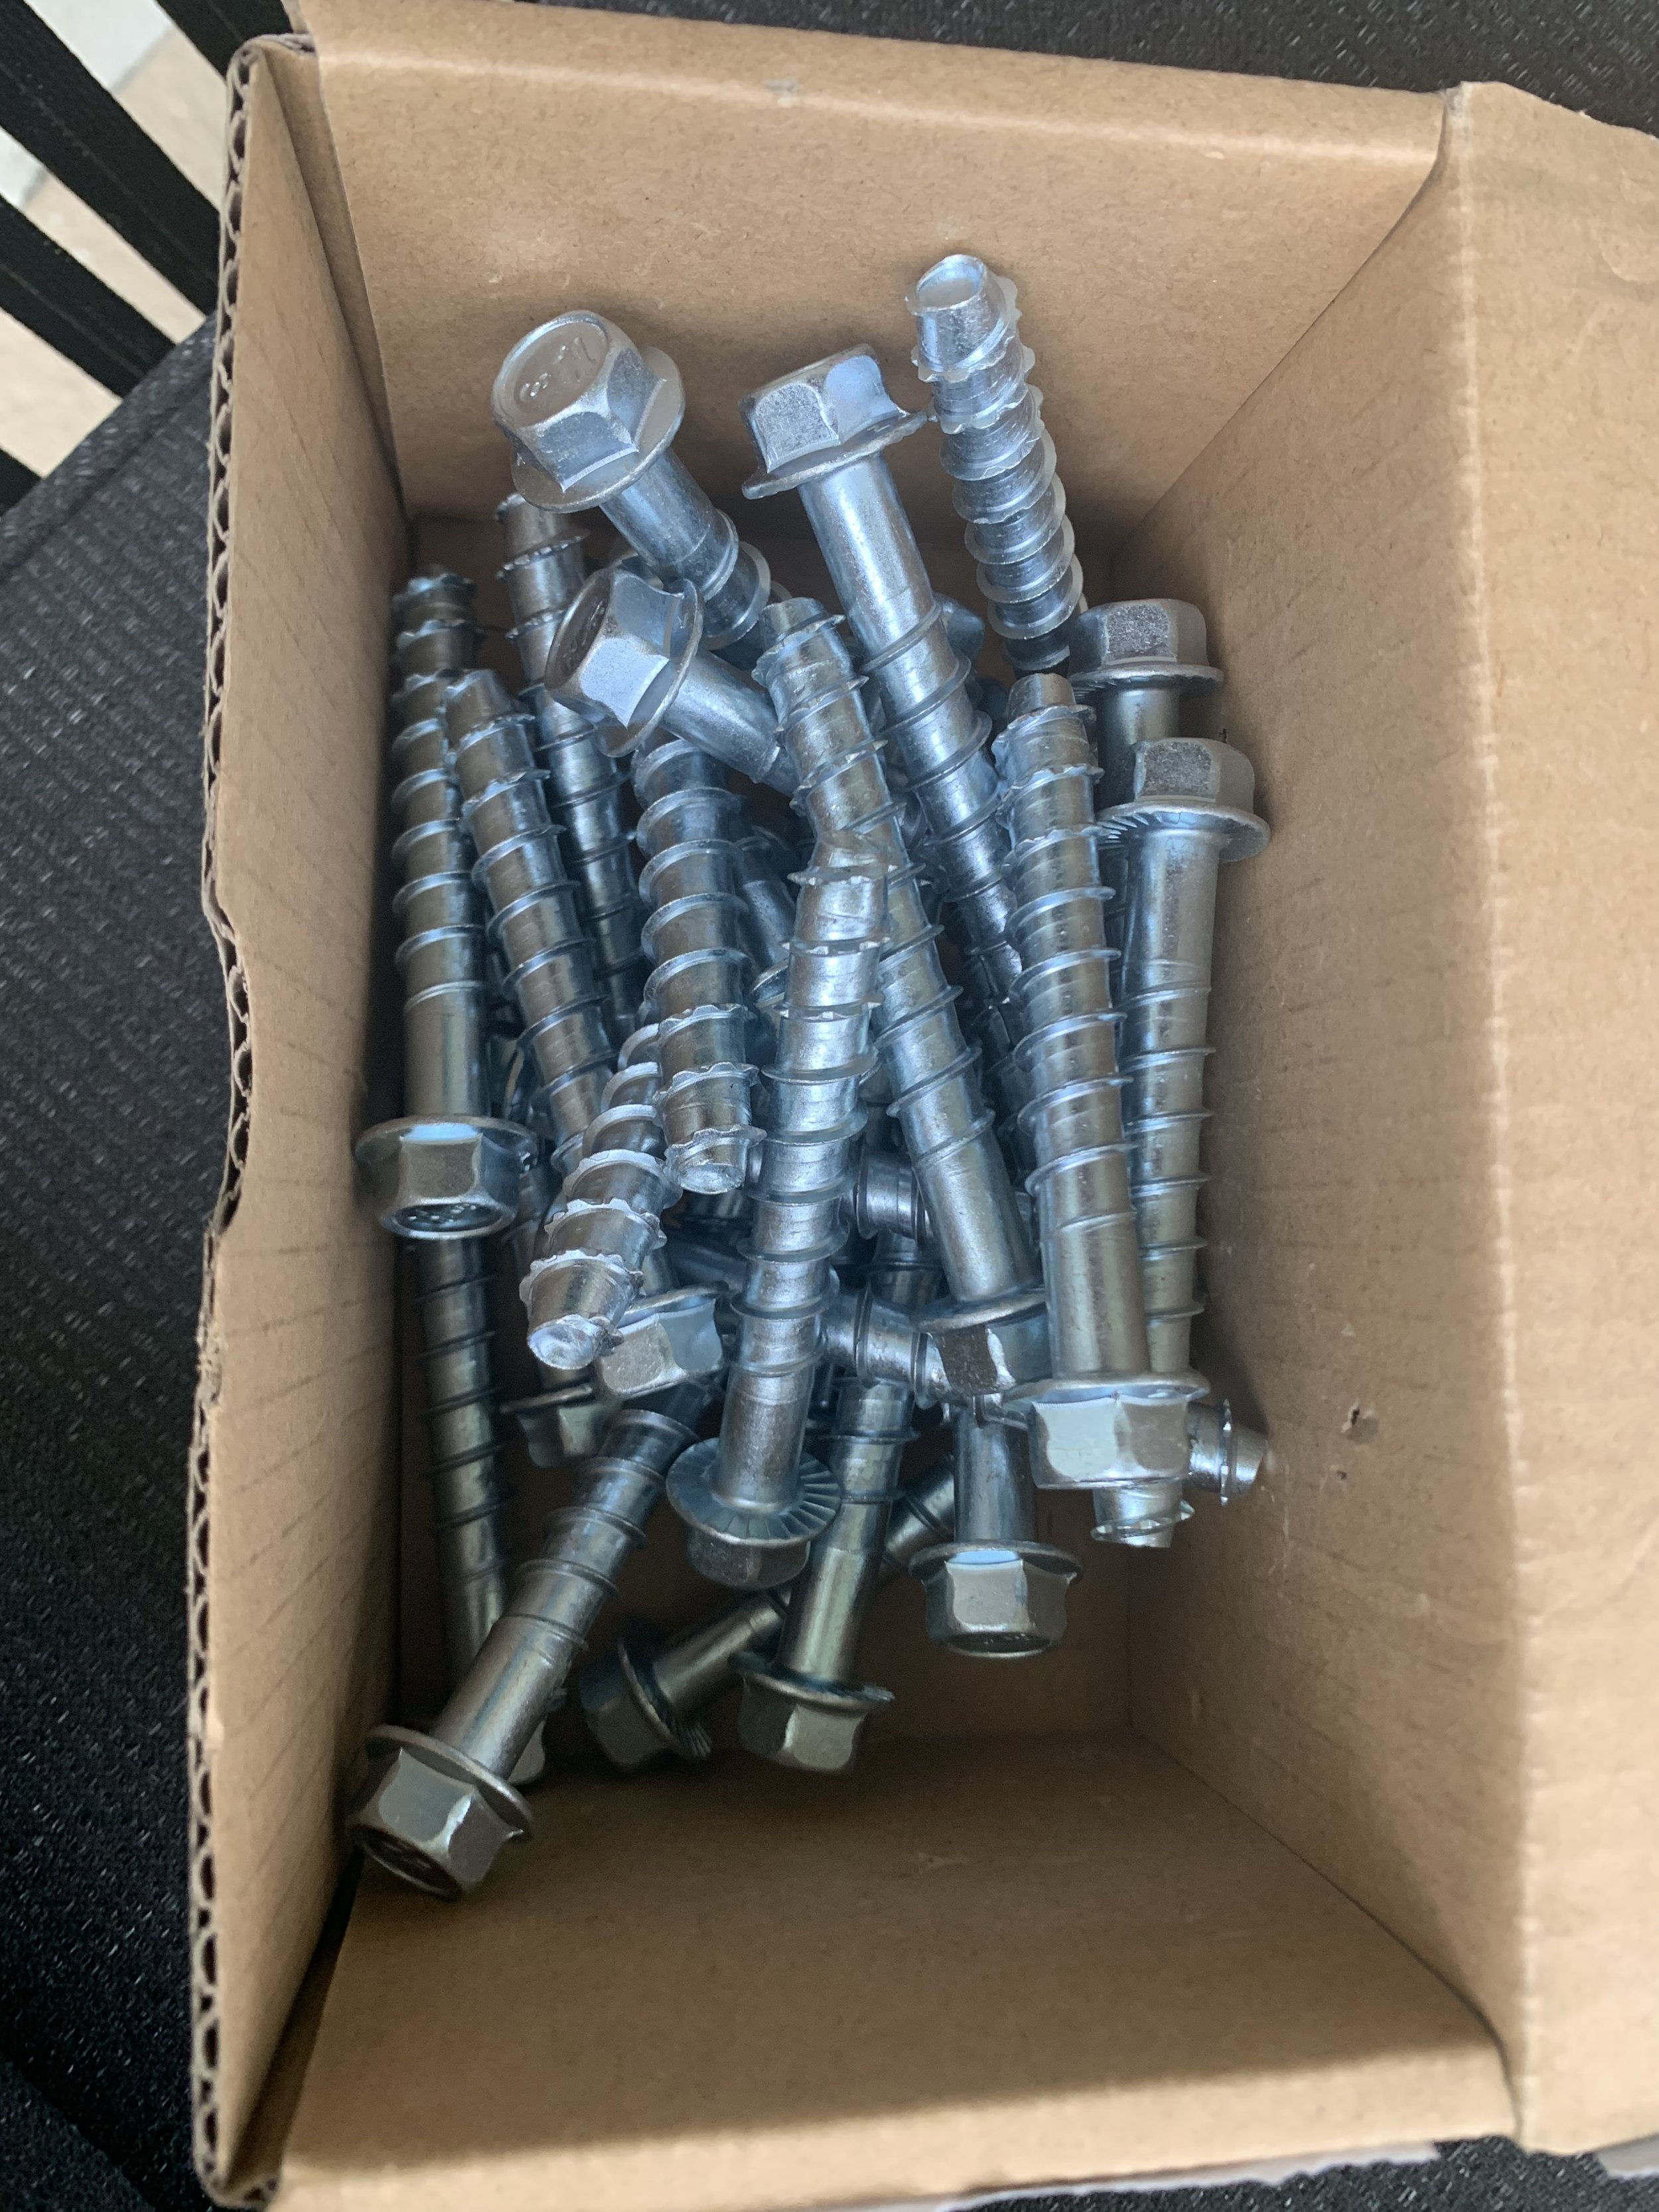
This is what the 3/8” concrete screws looked like.
You’ll need a concrete drill bit to predrill the holes for the screws (if you are attaching to concrete) and an impact gun to screw these into the ground, which we don’t have, but we do have a socket attachment for our drill which worked just as well. The kits also come with covers for you to cover the screw heads after, giving it a nice clean look.

Pre drilling the holes for the concrete screws with our concrete drill bit.
And thats it for the project! Hopefully our step by step wasn’t too confusing, the whole process was fairly simple and the assembly took minimal effort. Overall we are SUPER satisfied with how our privacy screen turned out, and we fully recommend Freedom Outdoor Living to anyone! They offer quality products- the panels and frames are heavy duty and I’m confident they will withstand the Florida weather. Go check out their website for more details!


Leave a Reply
Grab our FREE download
Wanna know the 5 must have tools you need before you start?
Considering a DIY Project?


Be the first to comment