


All Star Challenge: Putting the Pieces Back Together
Welcome to Week 4 of the Jeffrey Court All Star Renovation Challenge-sponsored by BEHR and FrogTape!
Man, this week as a productive one, and a tiring one! We got everything done that we wanted done-except waterproofing the shower, we did other stuff instead. We feel like we are caught back up and ready to power through the last two weeks of the renovation challenge!
We started off week 4 strong by starting to tile the main bathroom floor with our Teak Wood Porcelain tile. But first? We saved the coolest socks for our first day of tiling…Are you ready? I don’t think you are. We got our own one-of-a-kind Jeffrey Court socks made, check them out below!
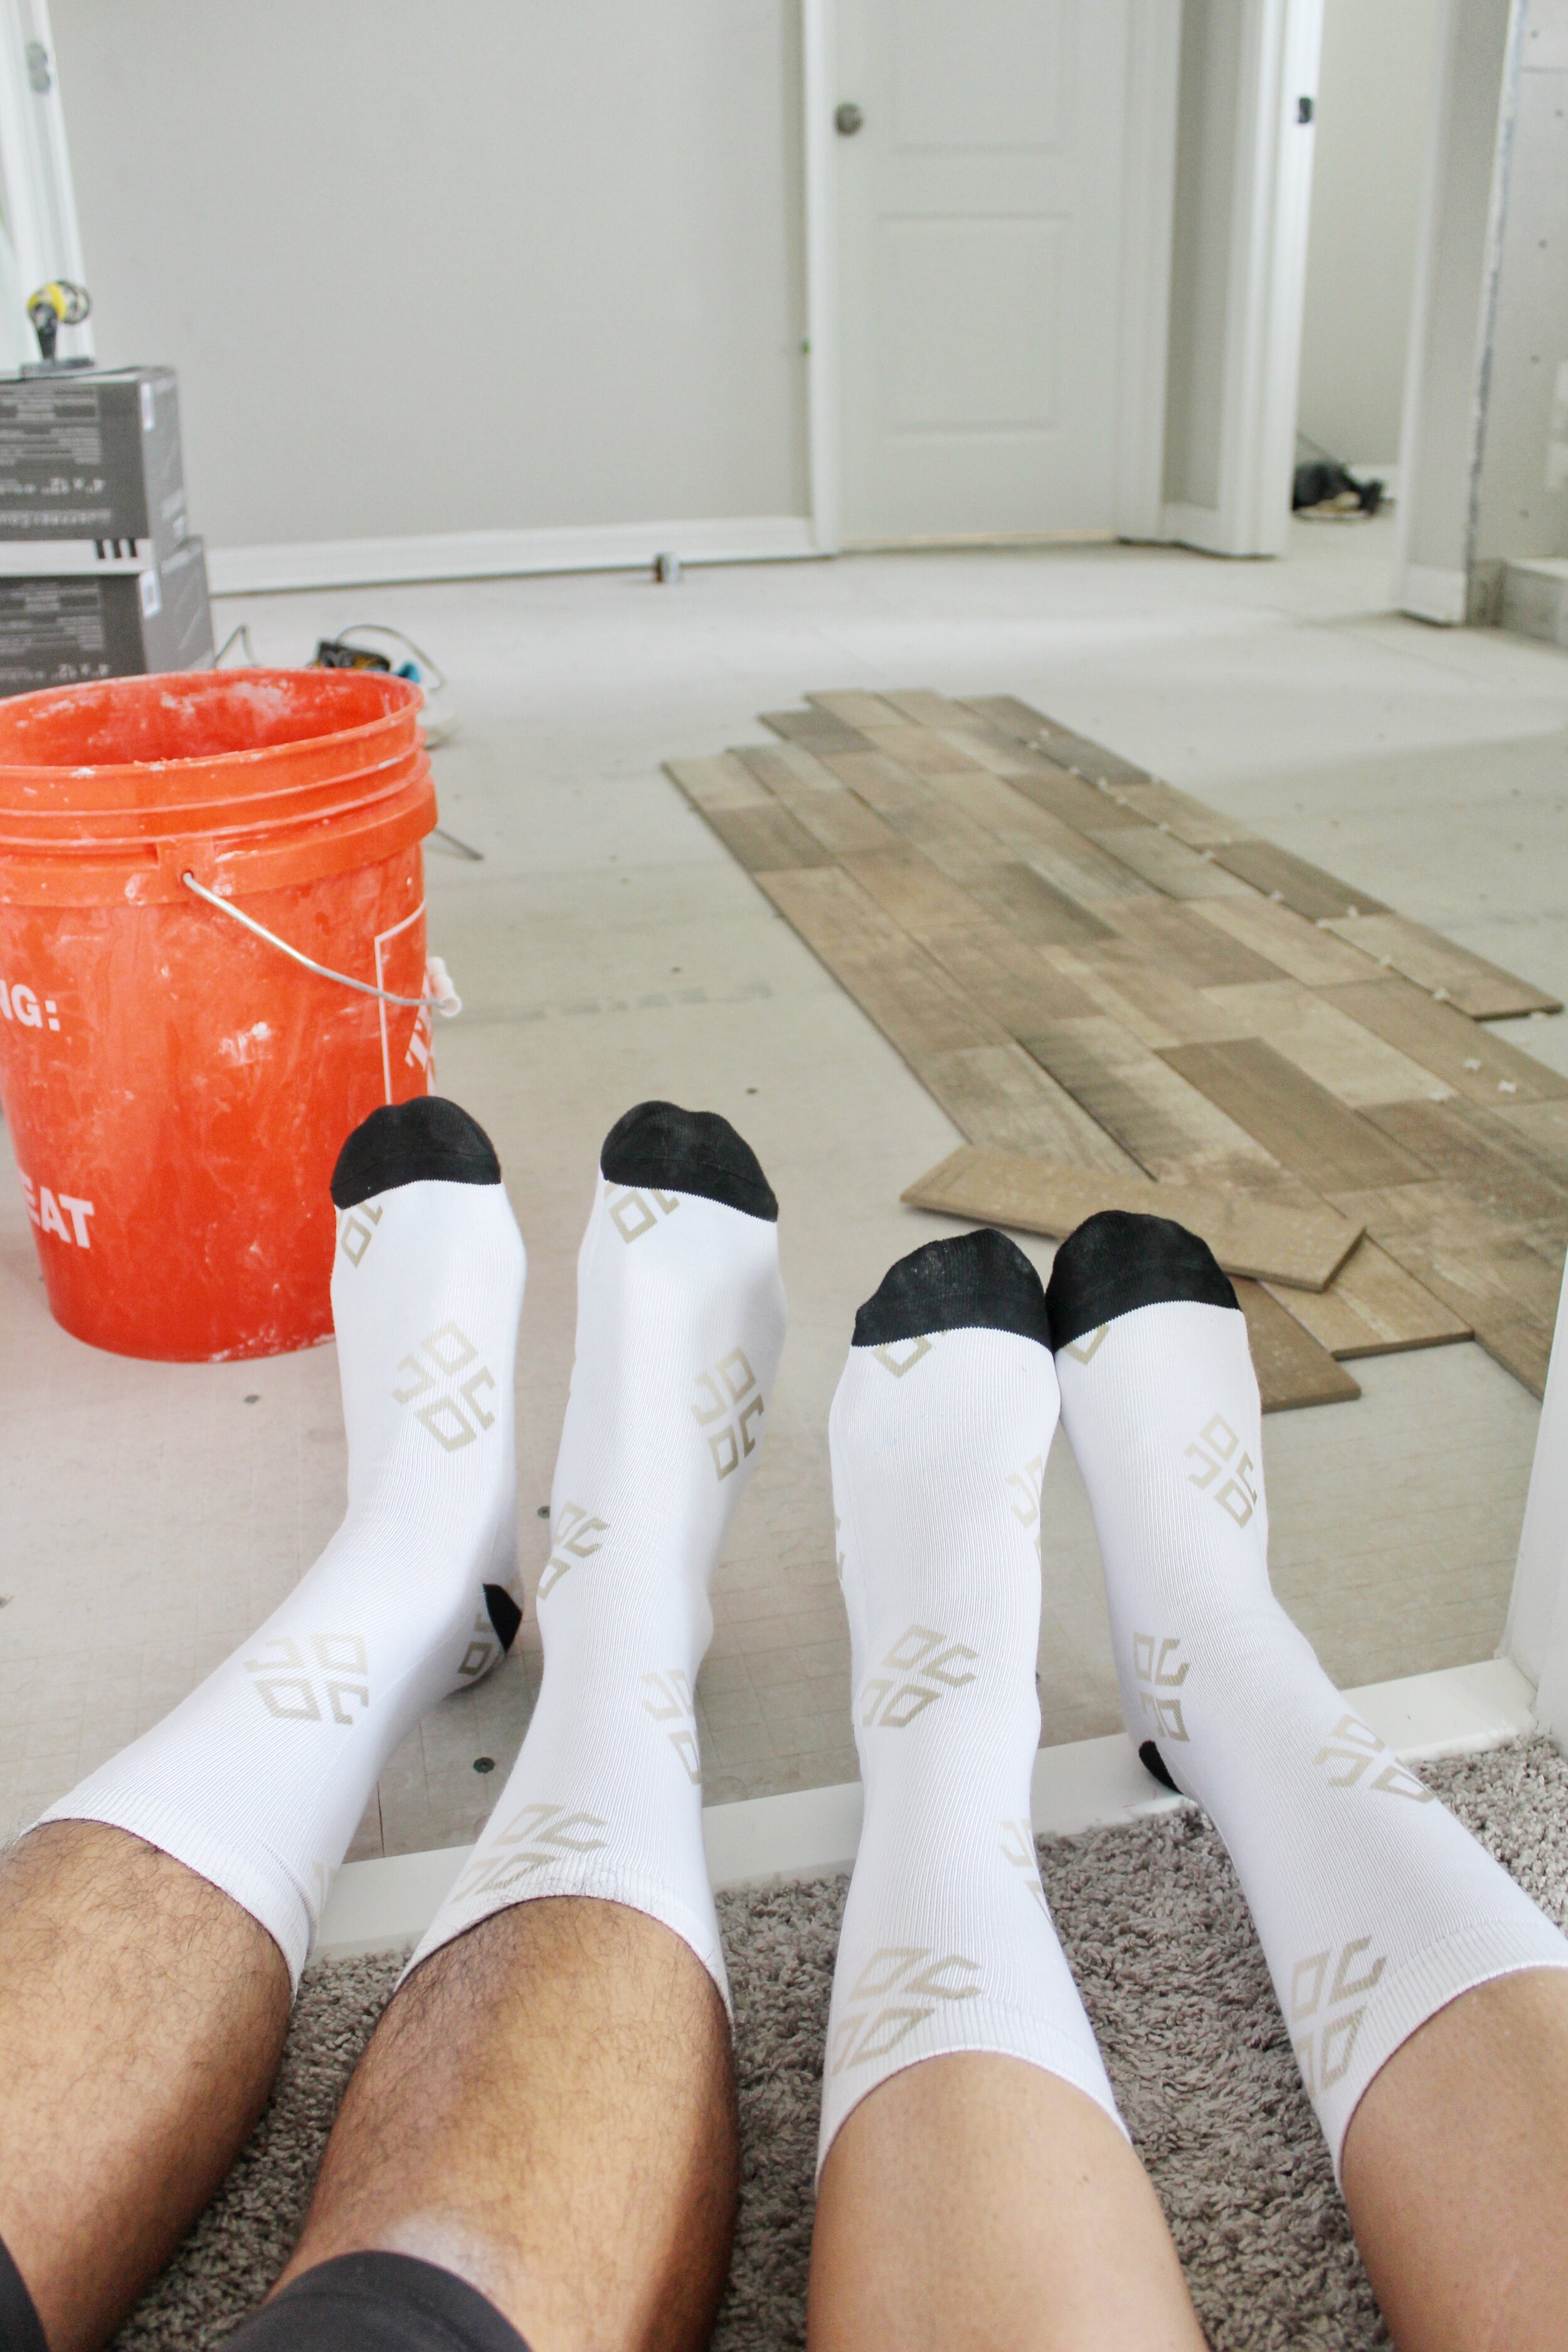
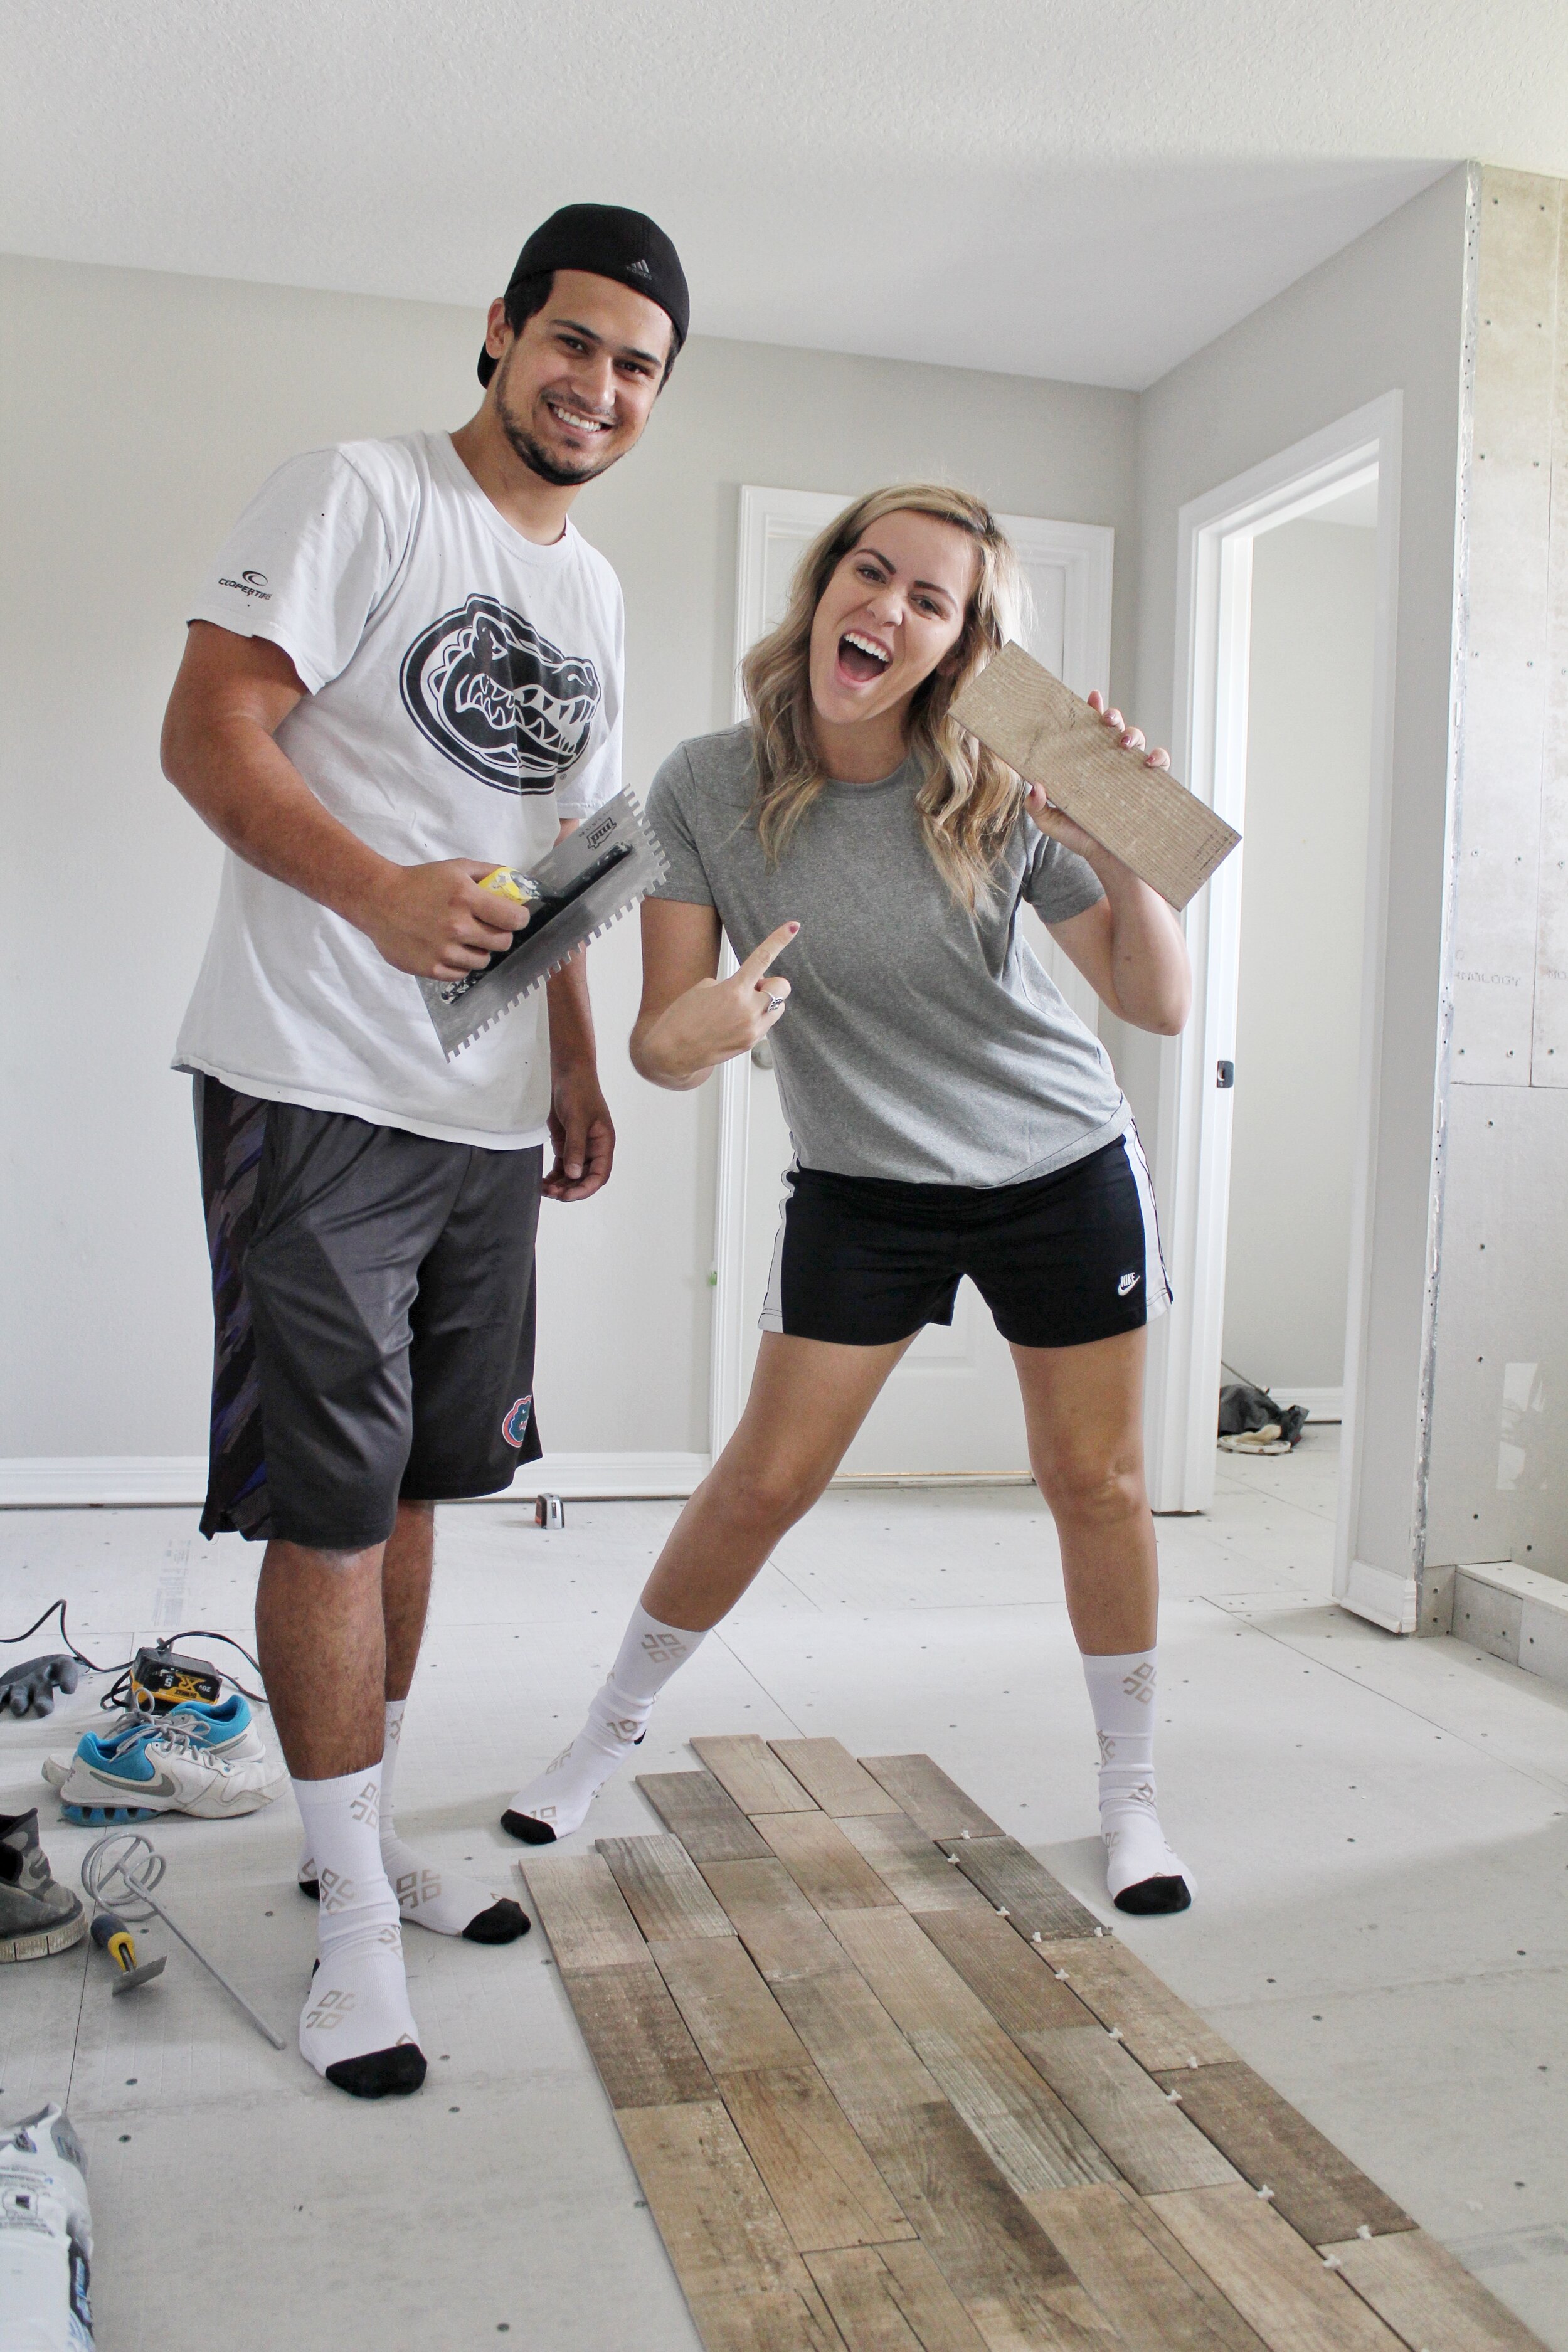
These socks totally got us in the zone to start tiling! Since it is a wood look tile we are using for the floor, the goal was for it to look like real wood as much as possible, which meant not placing it in a pattern like you typically would, we wanted it to be random. So to start, we started at the wall where the door is, and cut a bunch of tiles to random sizes and laid them all next to each other against the wall. We had made 4-5 different sized tiles and we made sure we mixed them up randomly in order to prevent any pattern..See the picture below for what I mean.
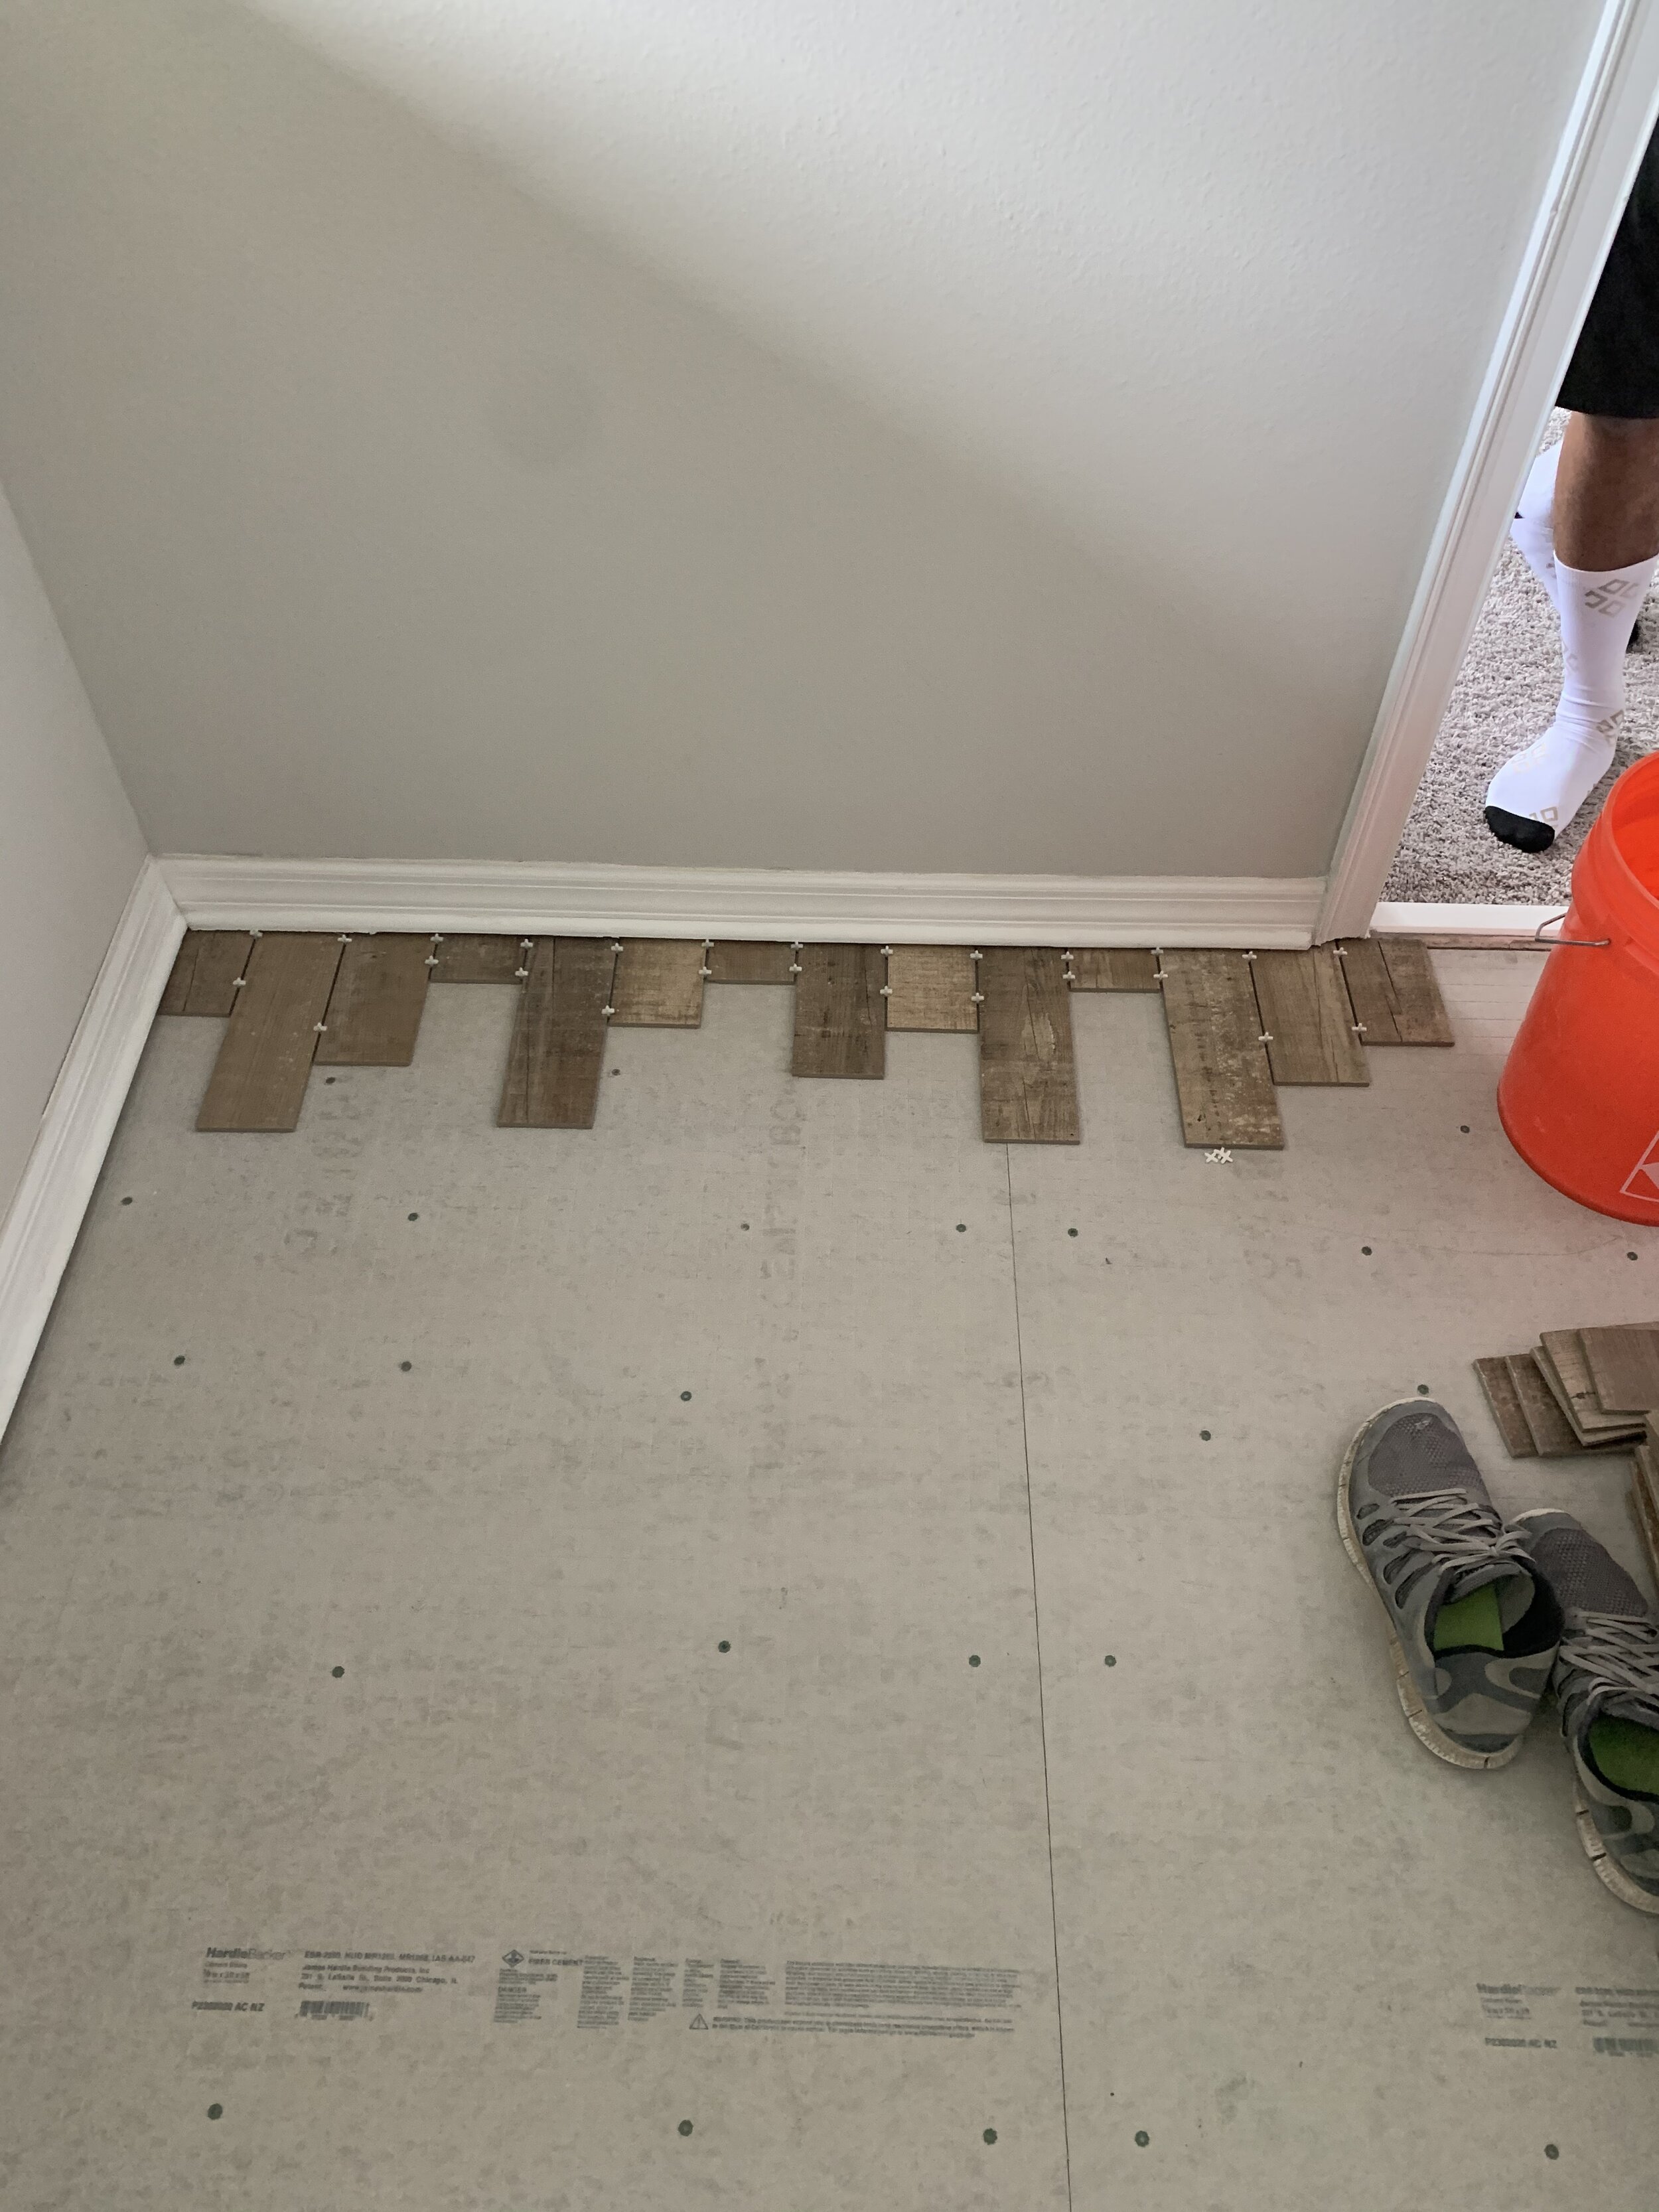
From there, we just laid full tiles against those starting pieces and spaced them out evenly with our 1/8th tile spacers. You’ll want to make sure you have a square notch trowel, the size depends on your size of tile you are using, and you want to comb your mortar perpendicular to the way your tile is laying, do not swirl– thats a common mistake people make! Laying the tile is actually pretty easy and went fairly quickly, especially when you don’t have to make many cuts. If you remember for our last bathroom we did the herringbone pattern and WOW-cuts galore. So this felt much easier even though the floor was like 4 times as large. We used a laser level to make sure the tiles stayed in a straight line, I definitely recommend this- once one tile goes crooked, they all do. You’ll want to make sure you have a normal level handy too so you can check the ties are staying level every so often, you don’t want one to be lower than the other. Also, if you care about making a mess keep a bucket of water and sponge nearby so you can clean up any mortar you get on top of the tiles. We started off doing this, but it was taking too long so we just decided to clean up more at the end.

At the end of the first day of tiling, we were a little over halfway done. We made our way all the way across the floor, completely did the small toilet room, and stopped when we got into the linen closet. Man, we were SORE, I’m talking sore in places I didn’t even know existed..how people do this for a living!? The next day we had just a little bit of tile to finish up, so after we finished that we relaxed the rest of the day and took it easy. We deserved it, the floor looks AWESOME! I’m so in love with the way this Teak Wood tile looks and how the random pattern turned out.


The next day we started out by cleaning out all of the grout lines and scraping off the extra mortar that got on top of the tiles. Its so important to make sure all of your grout lines are cleared out of thinset that came through, or else your grout won’t be able to do its job correctly! And then you’ll have tiles popping up eventually- and aint nobody got time for that. We used a grout nice and paint scraper for the clean up, and then we use our shopvac to get rid of all the dust. The floor looked beautiful afterwards!
After everything was all cleaned, it was time to grout. We used a sanded grout from Mapei in the color Mocha. You want to use sanded grout on floors and unsanded grout for any walls you are doing. This is because sanded grout is more durable and less likely to crack than unsanded grout. This color actually turned out perfectly for our tile, we wanted the grout lines to be not as noticeable and this grout matched almost perfectly! We mixed up the entire bag of grout at once, because we were confident we could get it all used up before it dried, and we did! We worked in small sections, set a timer for each section for 20 minutes, and then we went back through and started wiping it up with our sponge.
Some tips for grouting:
-You want to be sure you don’t wipe the grout too much, too much wiping will make uneven grout lines.
-Don’t use too much water in you sponge, this will cause discoloration in your grout.
-Don’t just hold you grout flout at a 45 degree angle, you must apply the grout at a 45 degree angle across your tile, this helps push the grout into your lines and gives a more even spread.
-And don’t mix up too much grout at once, it is a chemical so it hardens fairly quickly the longer it cures!
Once your grout dries on top of your tile, you’ll see a haze, which is normal. So, after our first initial wipe of the grout, we waited an hour and wiped off as much haze as we could. Then we waited another hour and wiped again. The next day there was still a lot of haze on the tile, so we went to the store and bought a haze remover, and that took care of it no problem! The floor tile was done and I was so happy, look how beautiful!
Keep the Ball Rolling
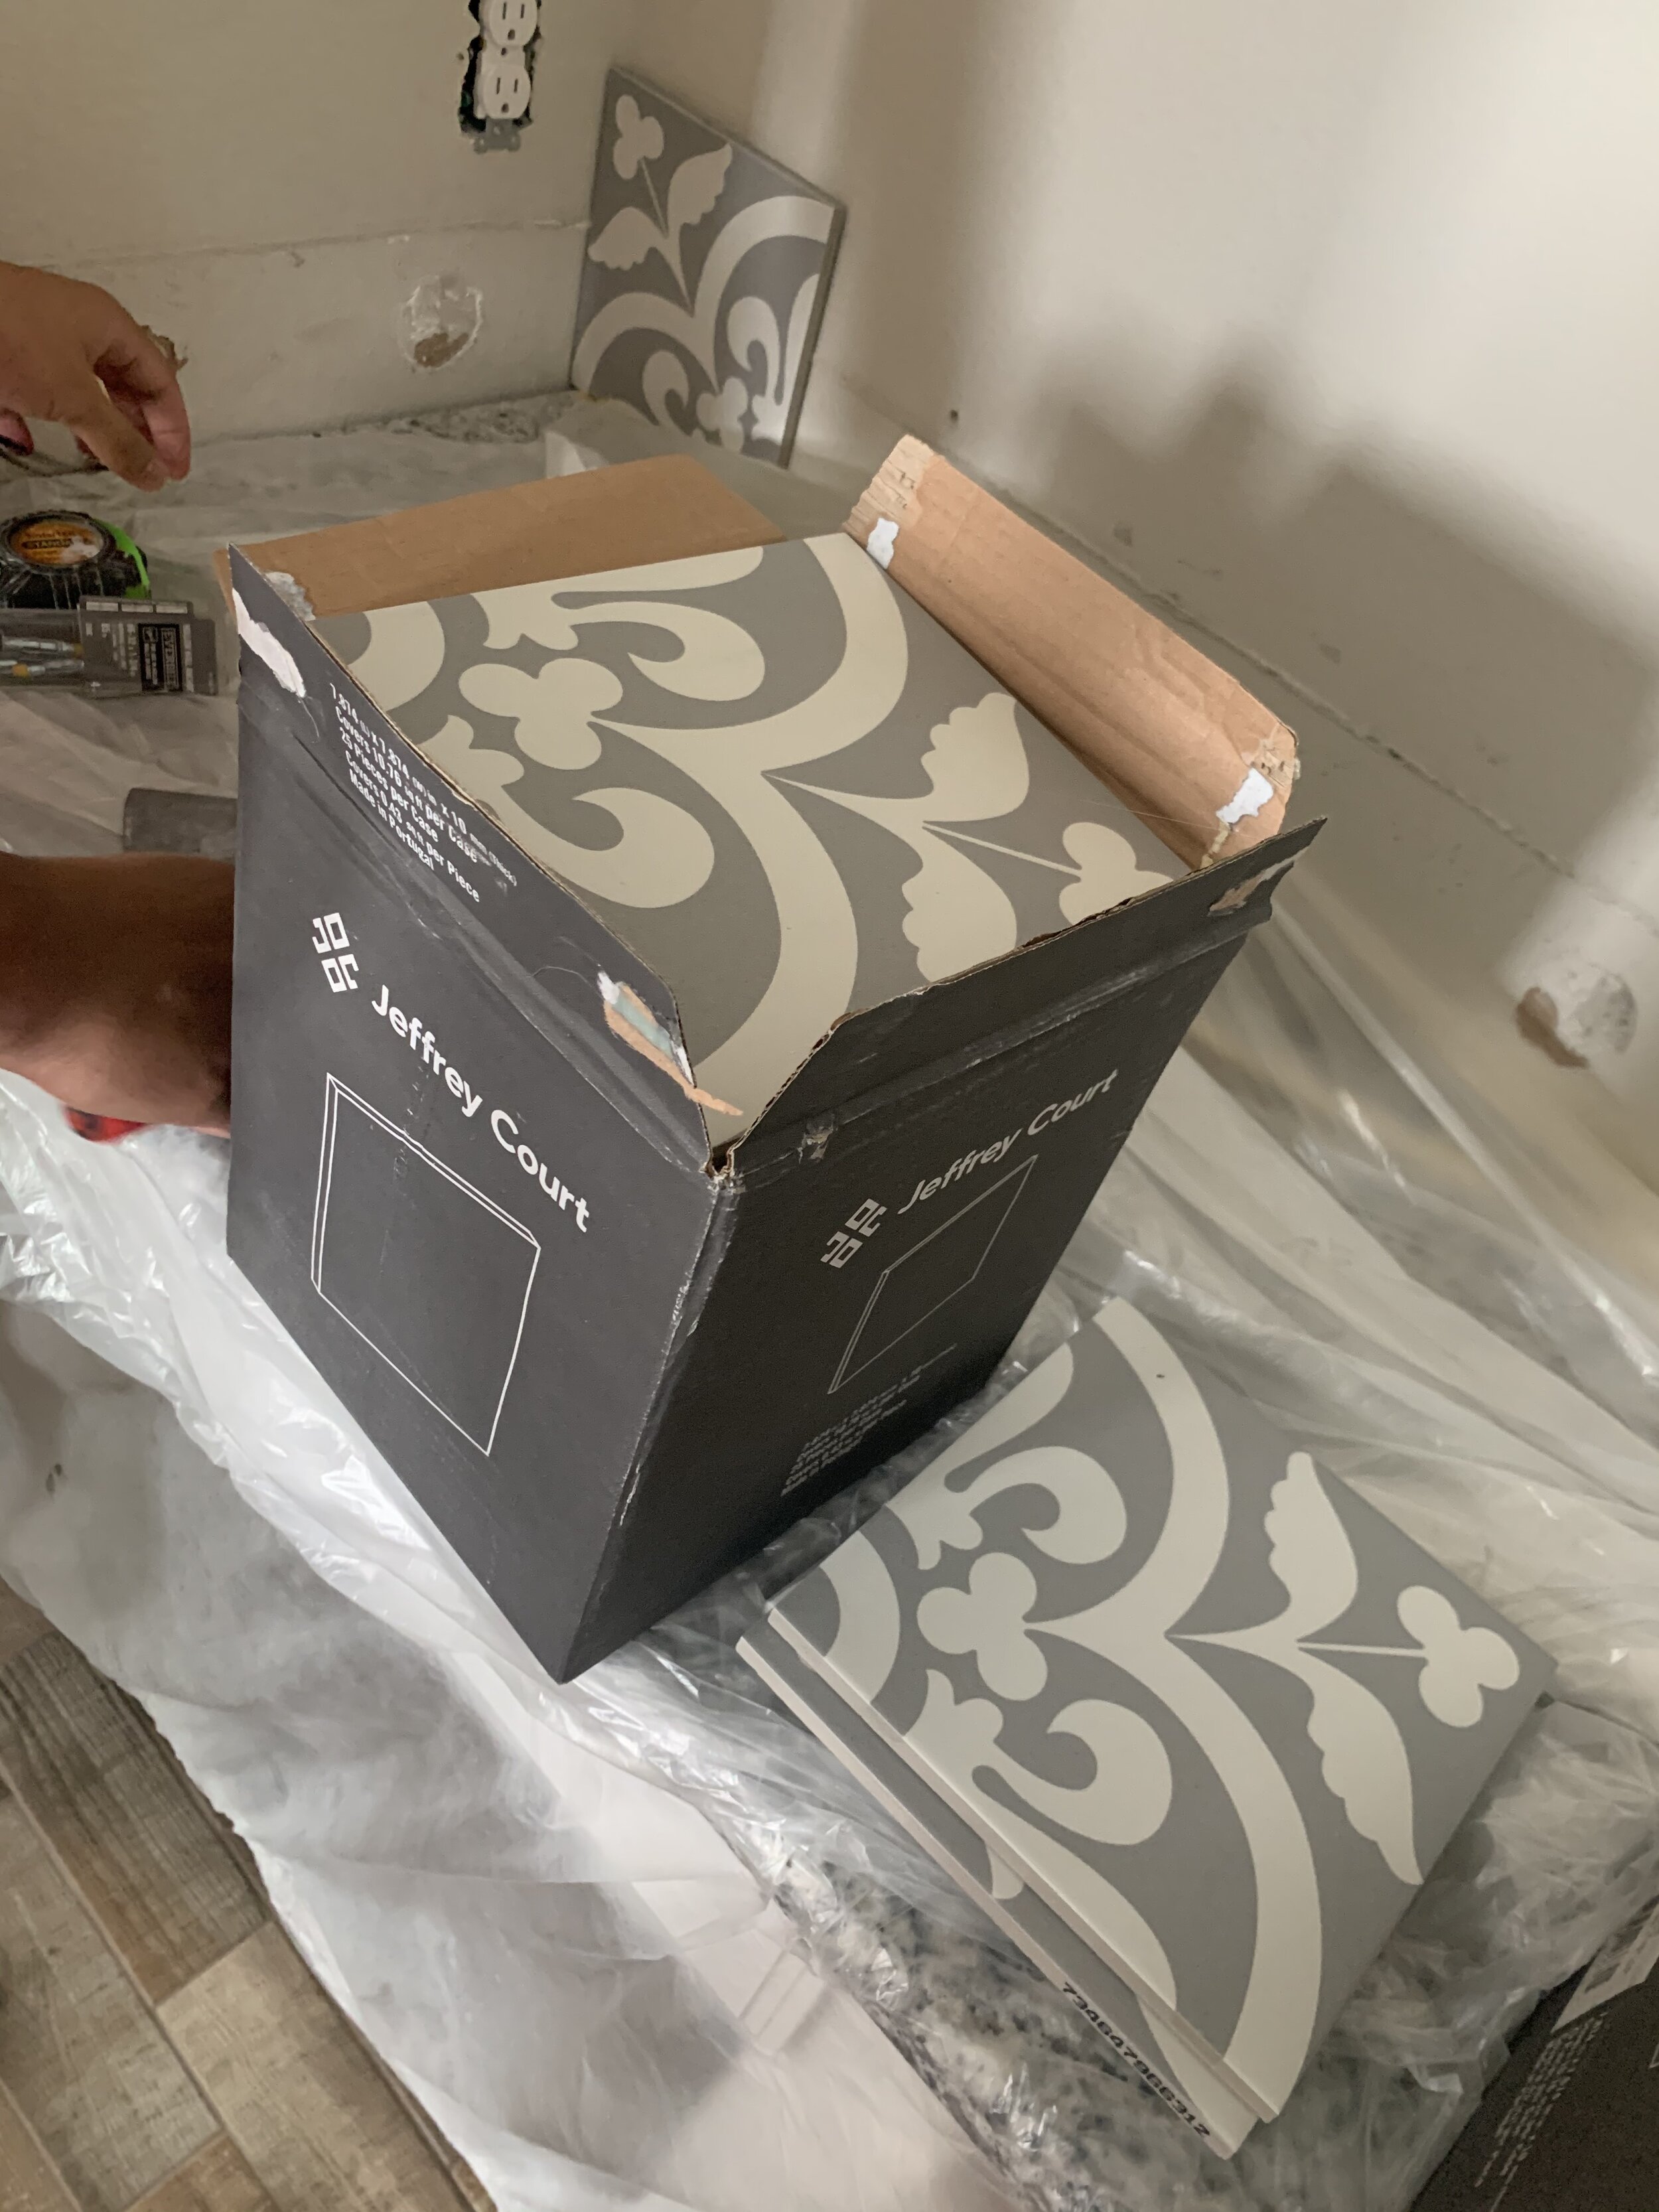
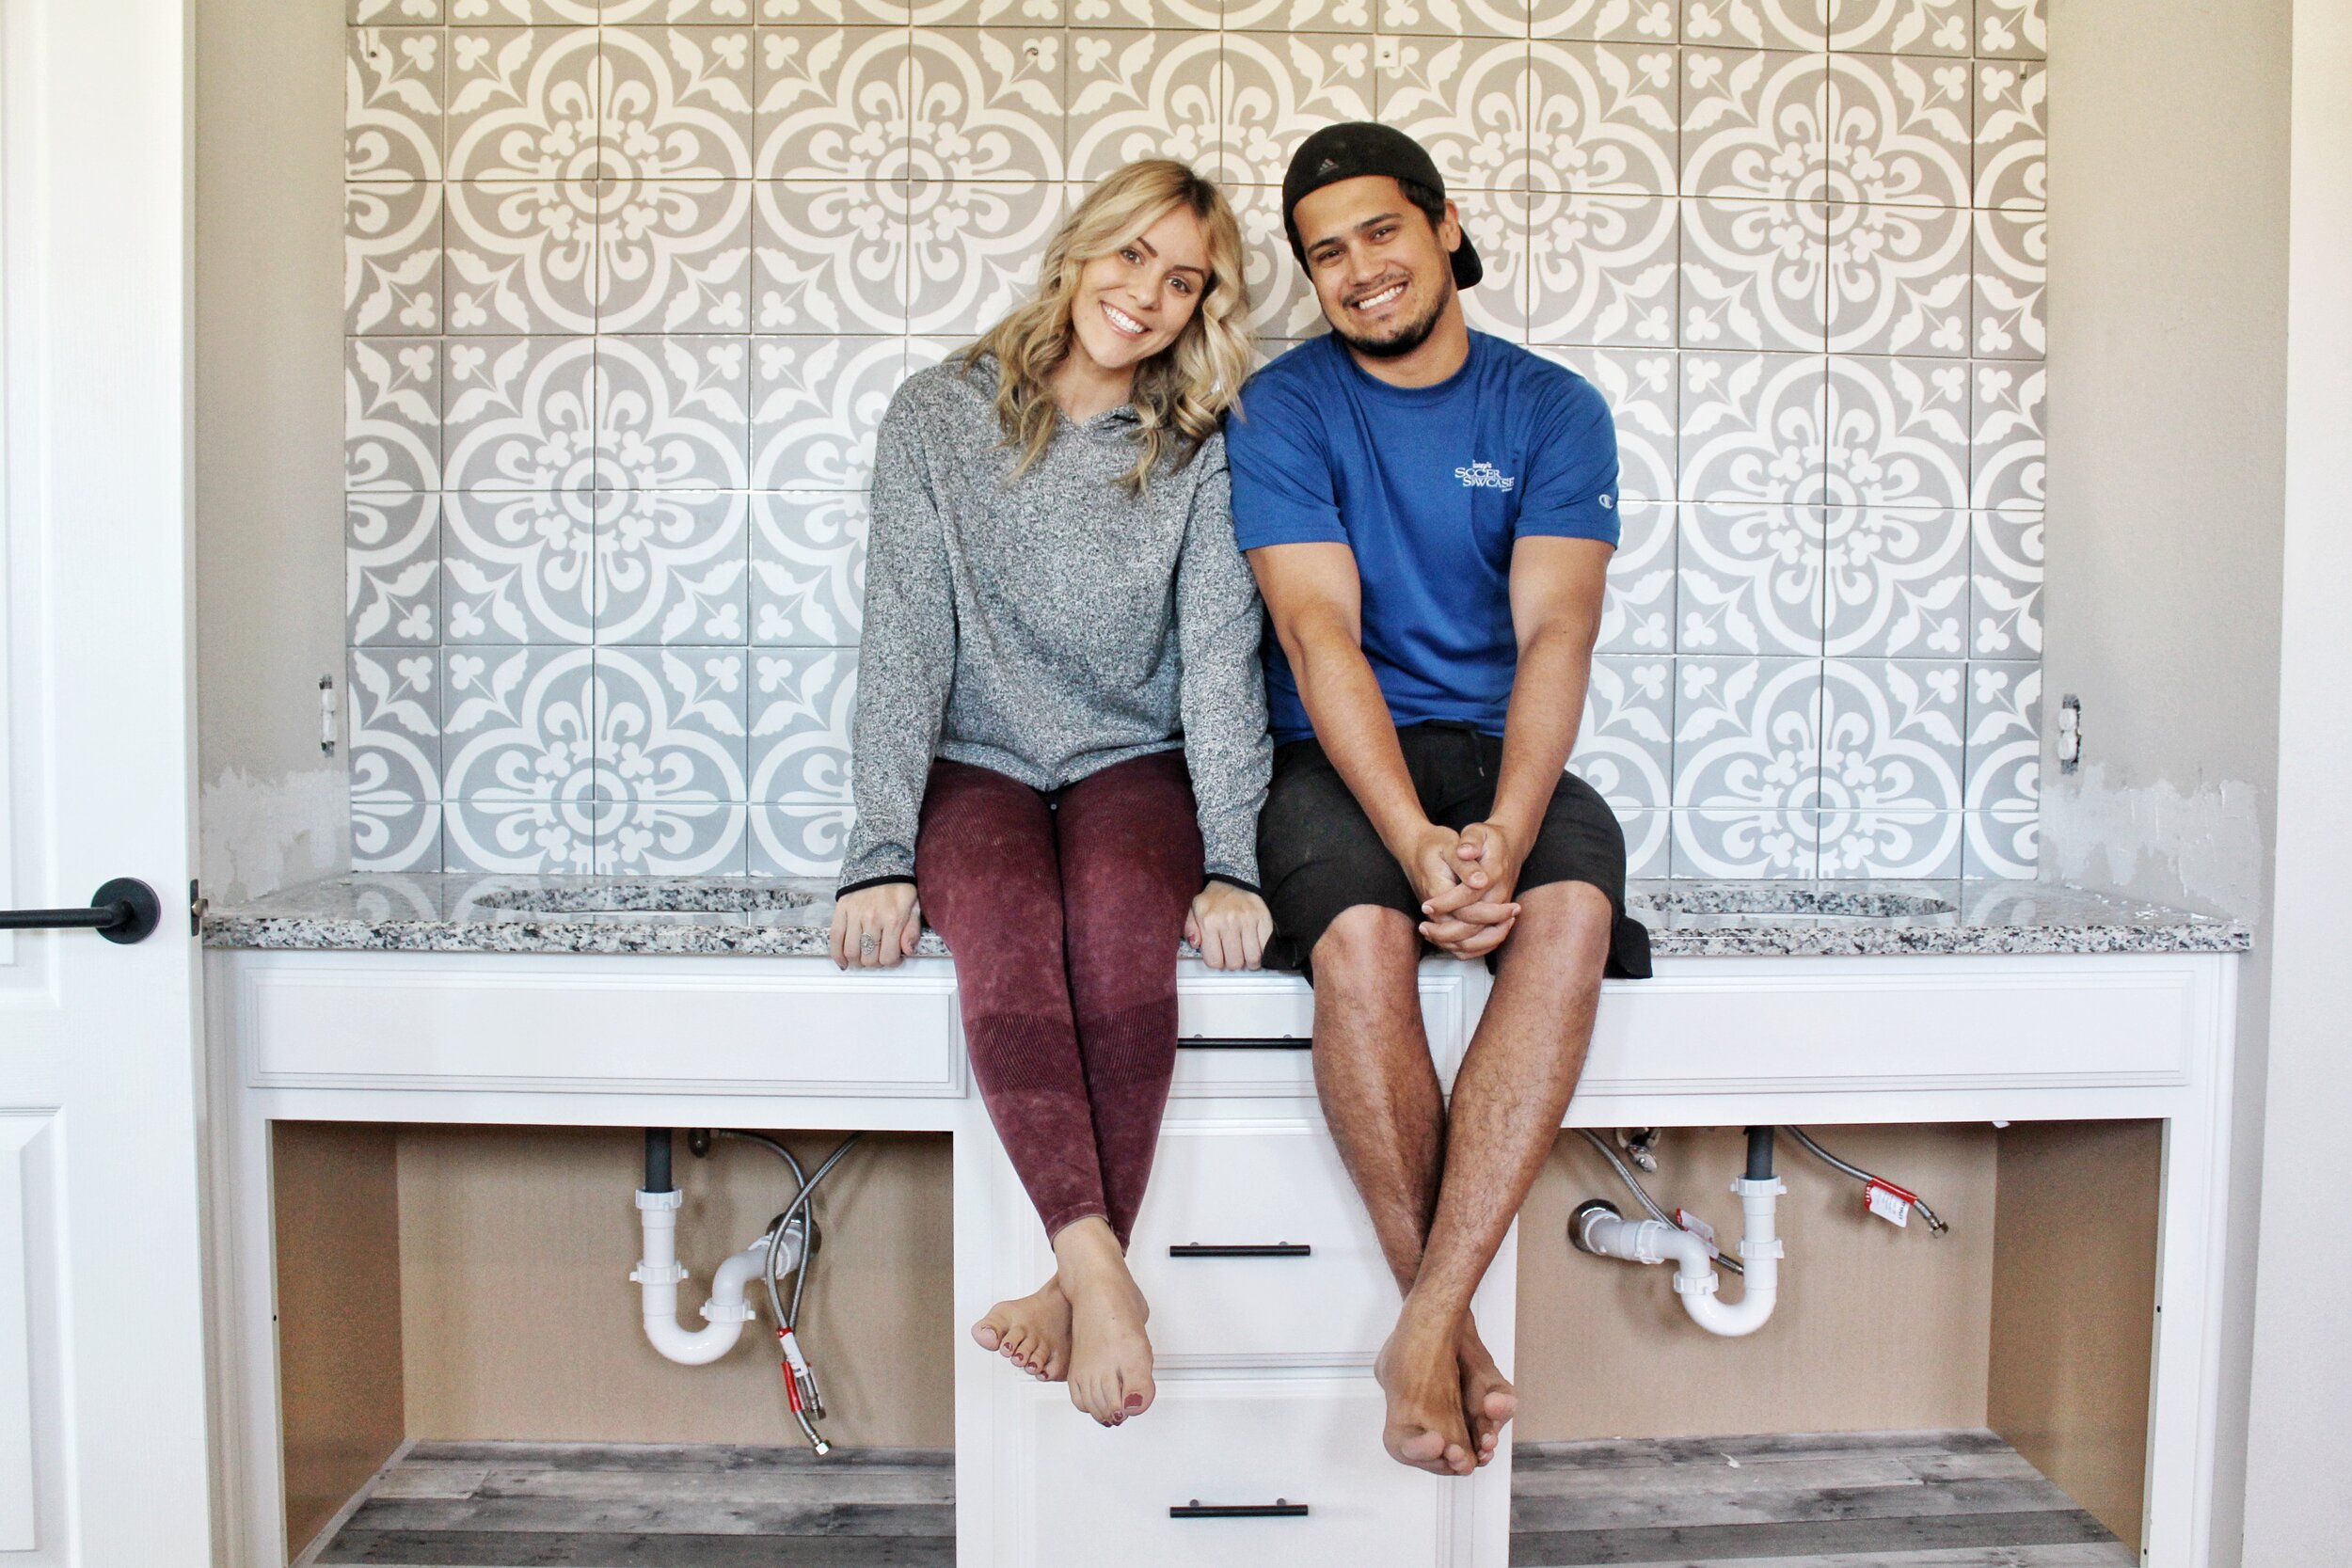
We wanted to keep our momentum for Week 4 going, so we got right into tiling the wall behind the sinks. We used Jeffrey Court’s Emblem porcelain tile and its GORGEOUS! This wall is going to be an awesome statement piece. First, we needed to decide where we were going to be hanging the mirrors so we could tile around the screw holes- we didn’t want to drill into the tile afterwards. Speaking of mirrors, we are keeping those a secret to the final reveal- I’m in LOVE with them! Once we got the mirror spacing figured out, we started mixing up our thinset. This is where things went terribly wrong. Not really, but we did run into a road block. Because our tiles created a large pattern, we wanted to be able to see the full pattern between the mirrors, so we were going to be starting in the middle of the wall. Ok, no big deal. But, I wanted to start at the top of the wall, so the cuts would be at the bottom. NOPE, not gonna happen Kelsey. Thinset was not working for us, so we decided to scrap it, ran to Lowe’s and picked up three rolls of the MusselBound Tile Adhesive Mats that we used in our guest bathroom renovation. They are so much easier, and perfect for the way I wanted to start the tile, we didn’t have to worry about the tiles slipping down the wall because of gravity. We didn’t do it this way at first because it was $75 for the MusselBound versus $17 for thinset, but we can’t win them all.
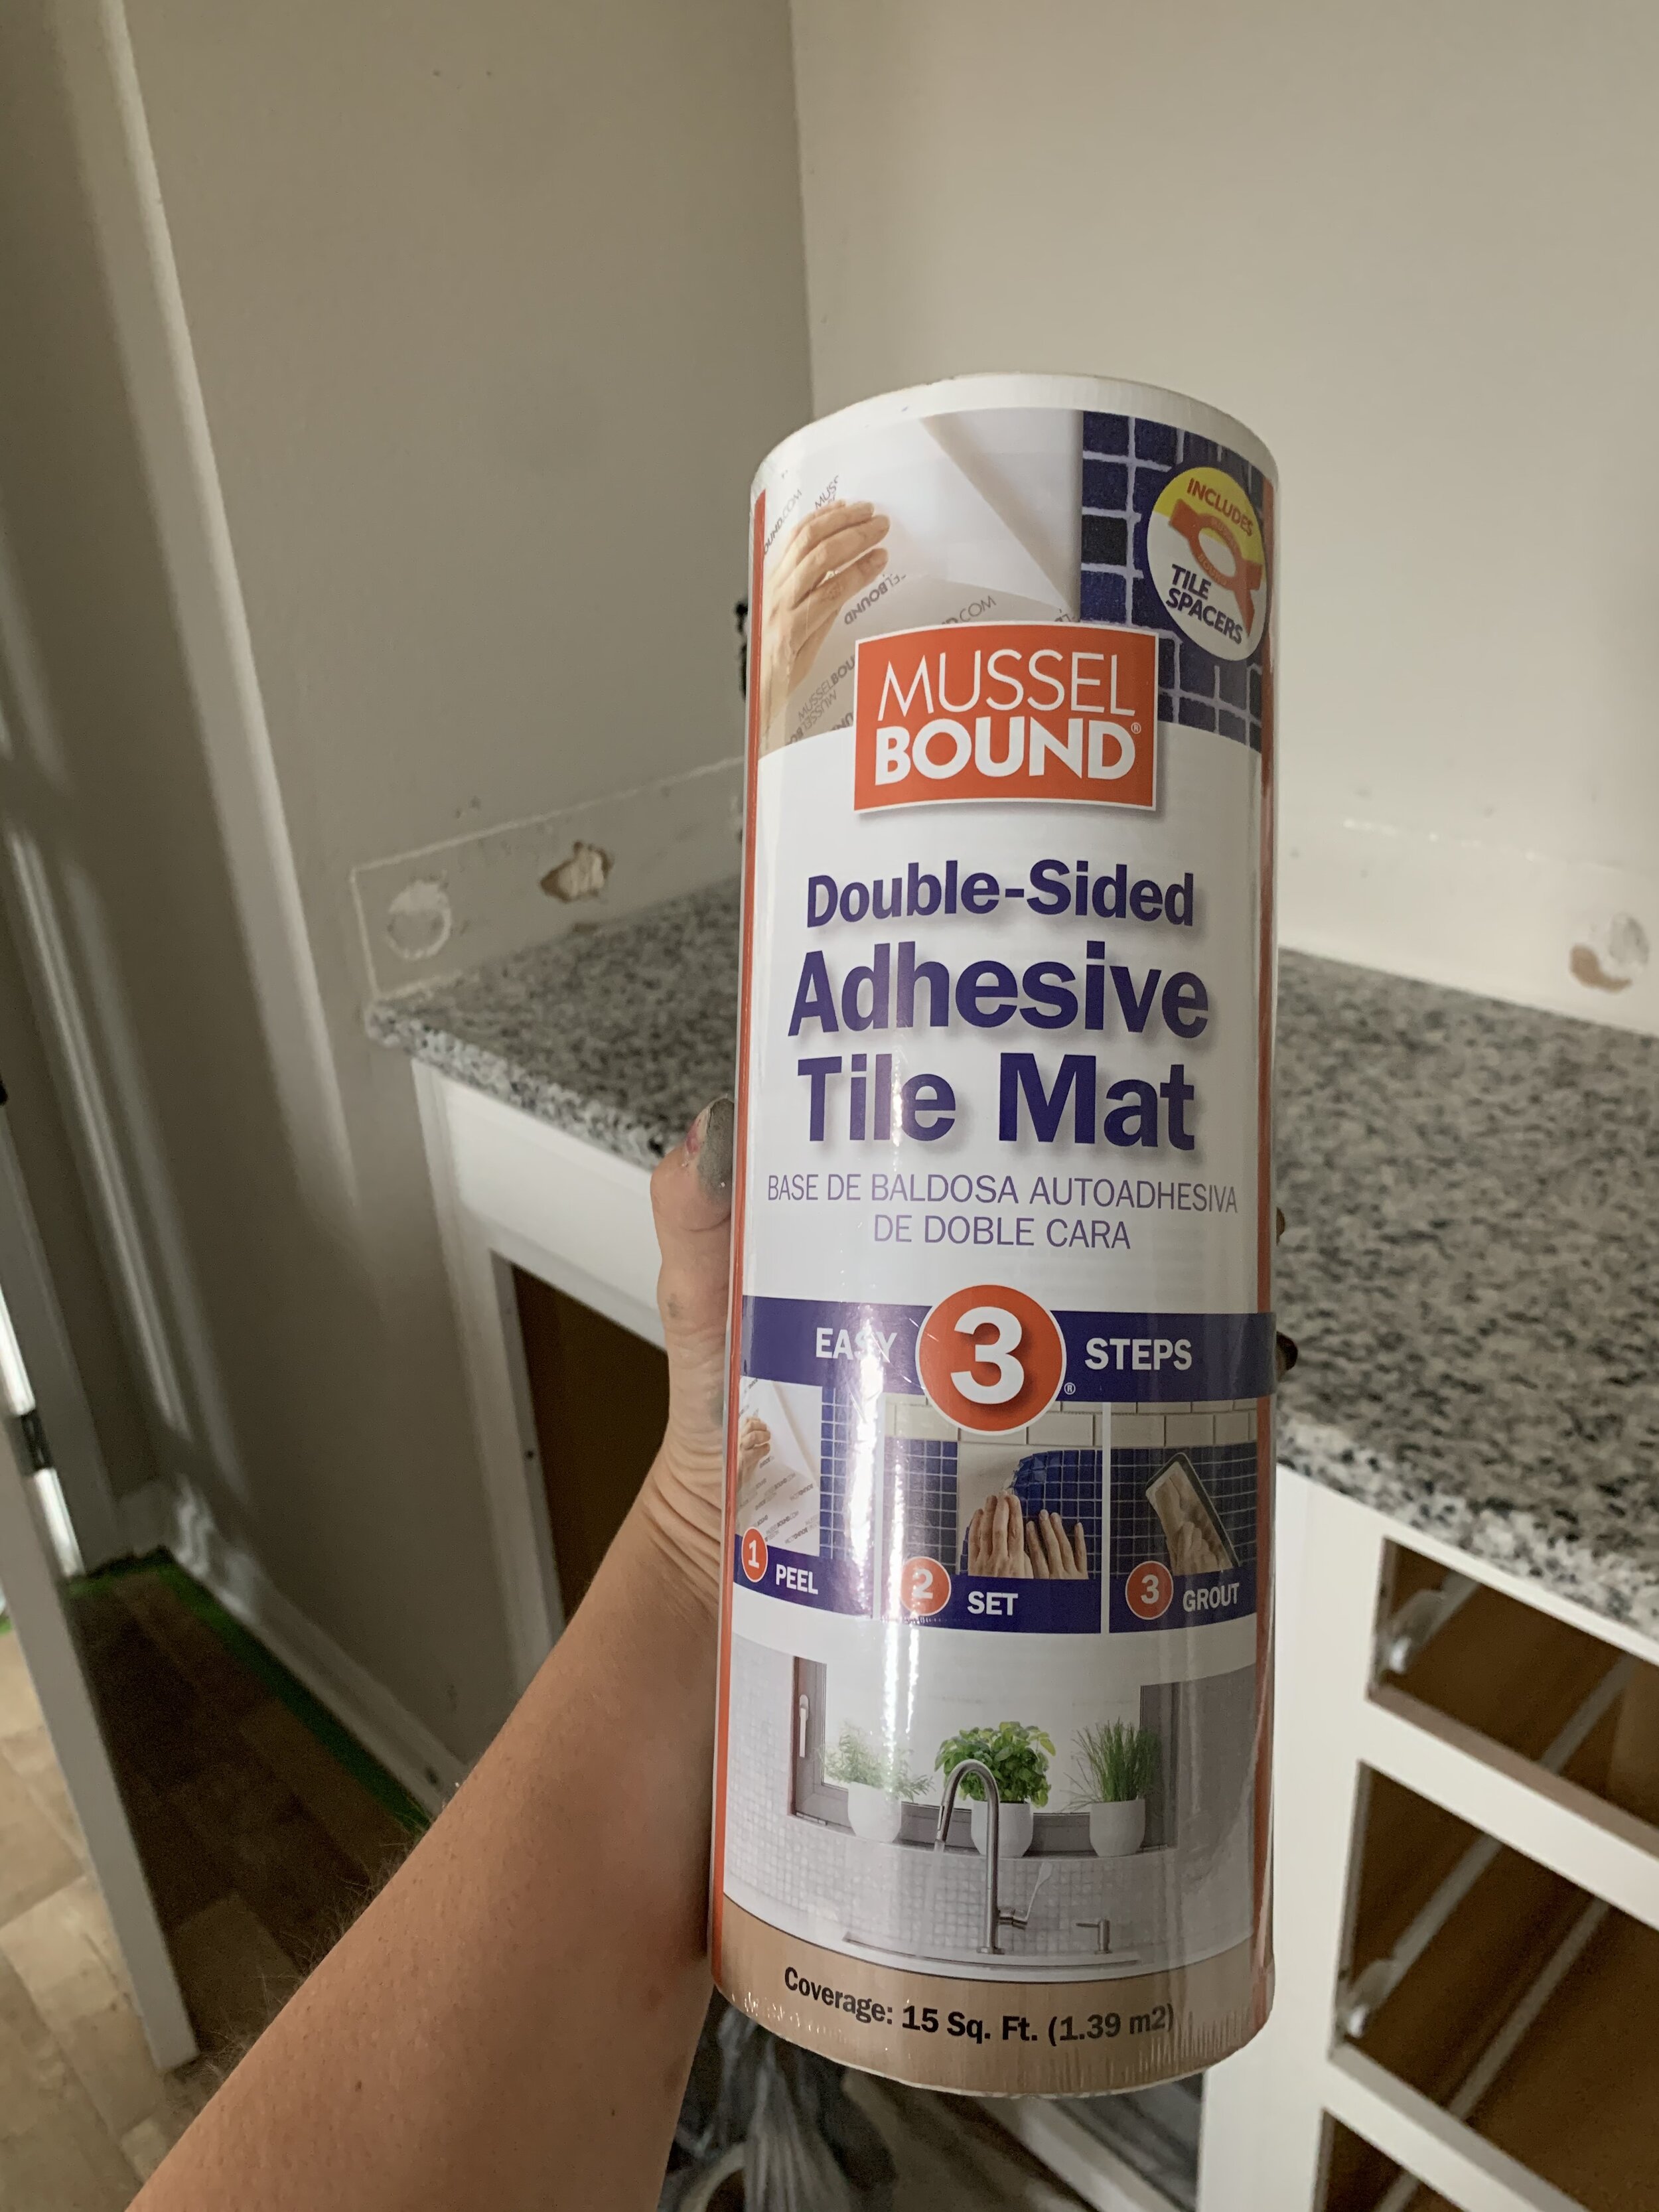
We used 2.5 rolls of the MusselBound, and it was so easy to apply. Once we started tiling, we flew through this. We used a laser level and regular level to make sure we stayed straight since we were starting in the middle of the wall. Ryan had to make minimal cuts just around the light fixture holes and around some of the edges, so overall, it went fairly quick and I 100% recommend MusselBound if you are tiling small walls and aren’t comfortable using thinset. Also when you use MusselBound instead of thinset, you don’t have to wait a day to grout, you can do it immediately afterwards. Although we did wait until the next day just because we finished up pretty late at night.

The next day we went and bought a small bag of white unsanded grout by Mapei (remember unsanded is better for walls) and got to grouting. Before we grouted the wall, we used our FrogTape to tape off the edges of the walls and ceiling so we didn’t get any grout on the walls-more on the awesome FrogTape products soon!
This round of grout went super quick and I had the whole wall done in 20 minutes. We waited another 10 minutes and took our sponges and wiped off the grout, then we waited an hour and wiped it again. This time after two are hours we just came back in with microfiber shop towels and wiped off the haze. This did the trick and no haze remover was needed this time! The wall turned out great and we’re so happy with it it. I’m in LOVE with this tile!

After we had the wall done, we needed to get the new light fixtures installed so we had some light again. We have partnered with Capitol Lighting for our vanity lights, and they are perfect! We chose two of their Milan 23 inch 3 light vanity lights by Capital Lighting Fixture Company. We are doing all gold faucets and accessories, and these compliment those perfectly! They have cracked glass bulb covers and it all looks great against our Jeffrey Court tile, take a look for yourself below!


I told you there was a lot of progress!
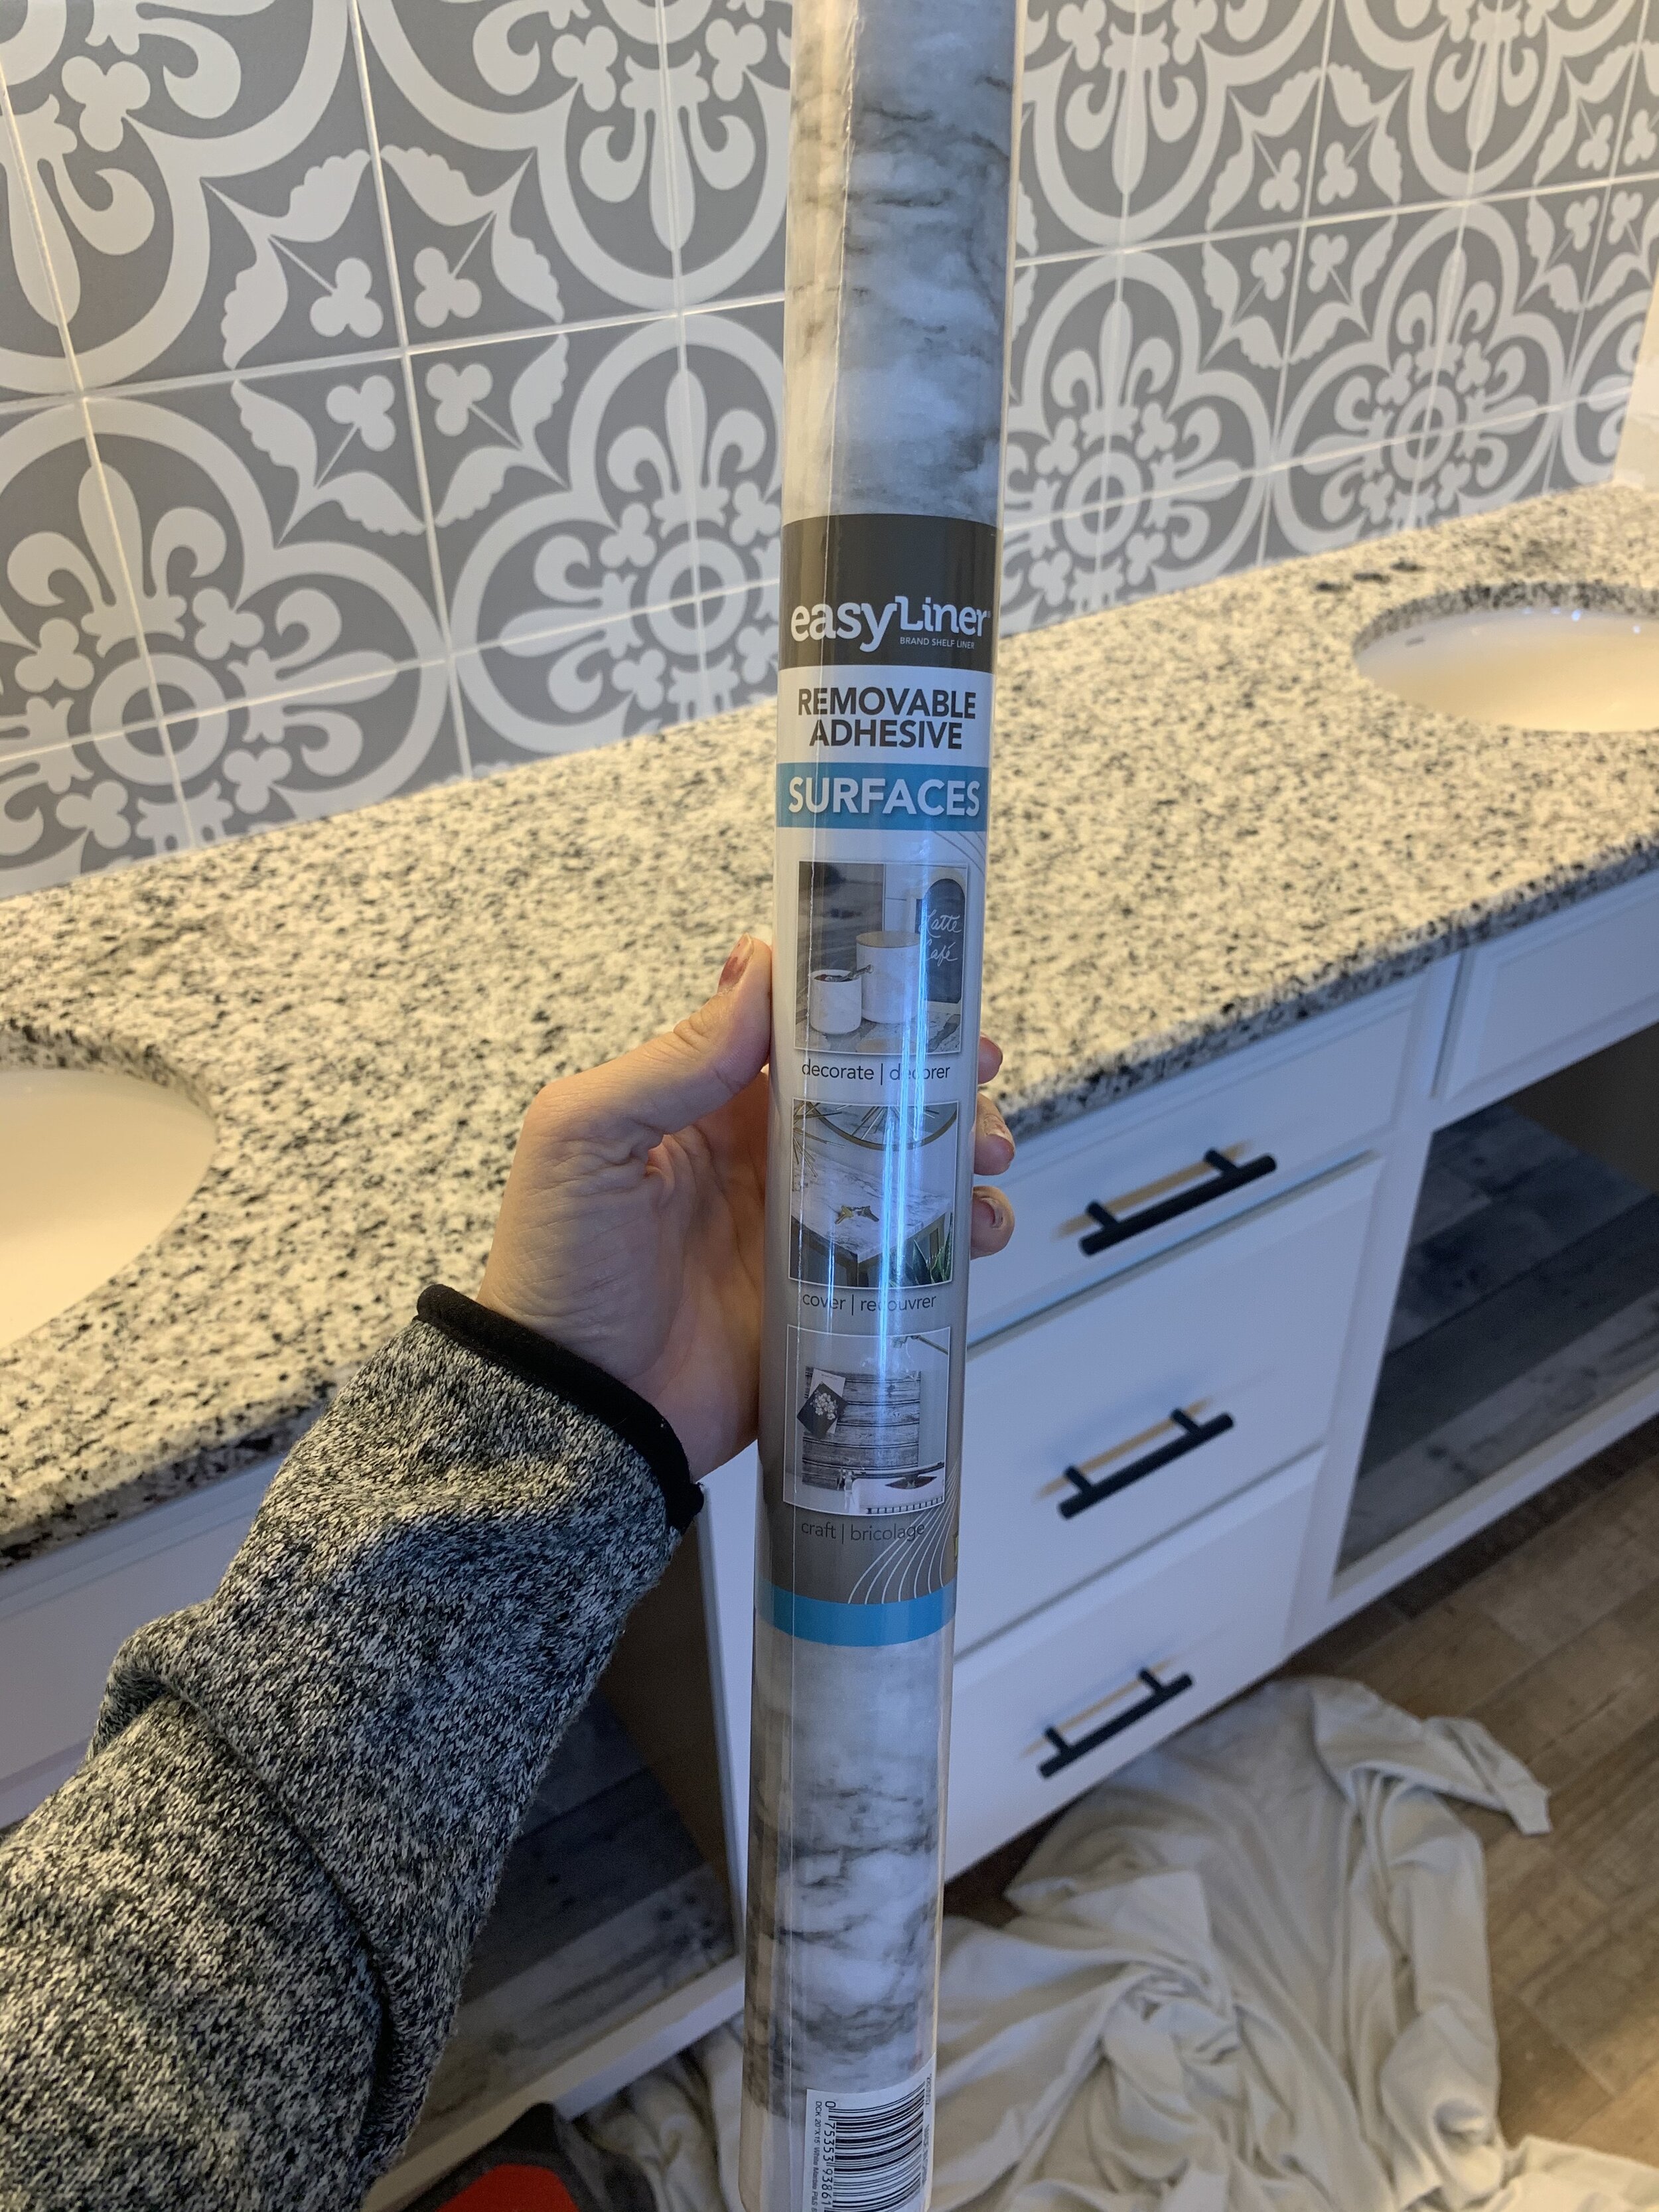
I’m not a big fan of the way our countertops look with our new wall tile, so I decided to do a temporary fix and cover them with Duck Brand countertop adhesive! I purchased a roll for only $10 off of Amazon, so it was worth a shot! If it doesn’t last forever thats fine, but new countertops aren’t in our budget right now. We got a gray/white marble print and it was pretty easy to install, similar to wallpaper! And it actually looked really great and seemed durable, but I’m not sure the color/pattern is right for our space. So, will be switching it out for another roll I ordered, that is more white and less “busy”. See for yourself below!
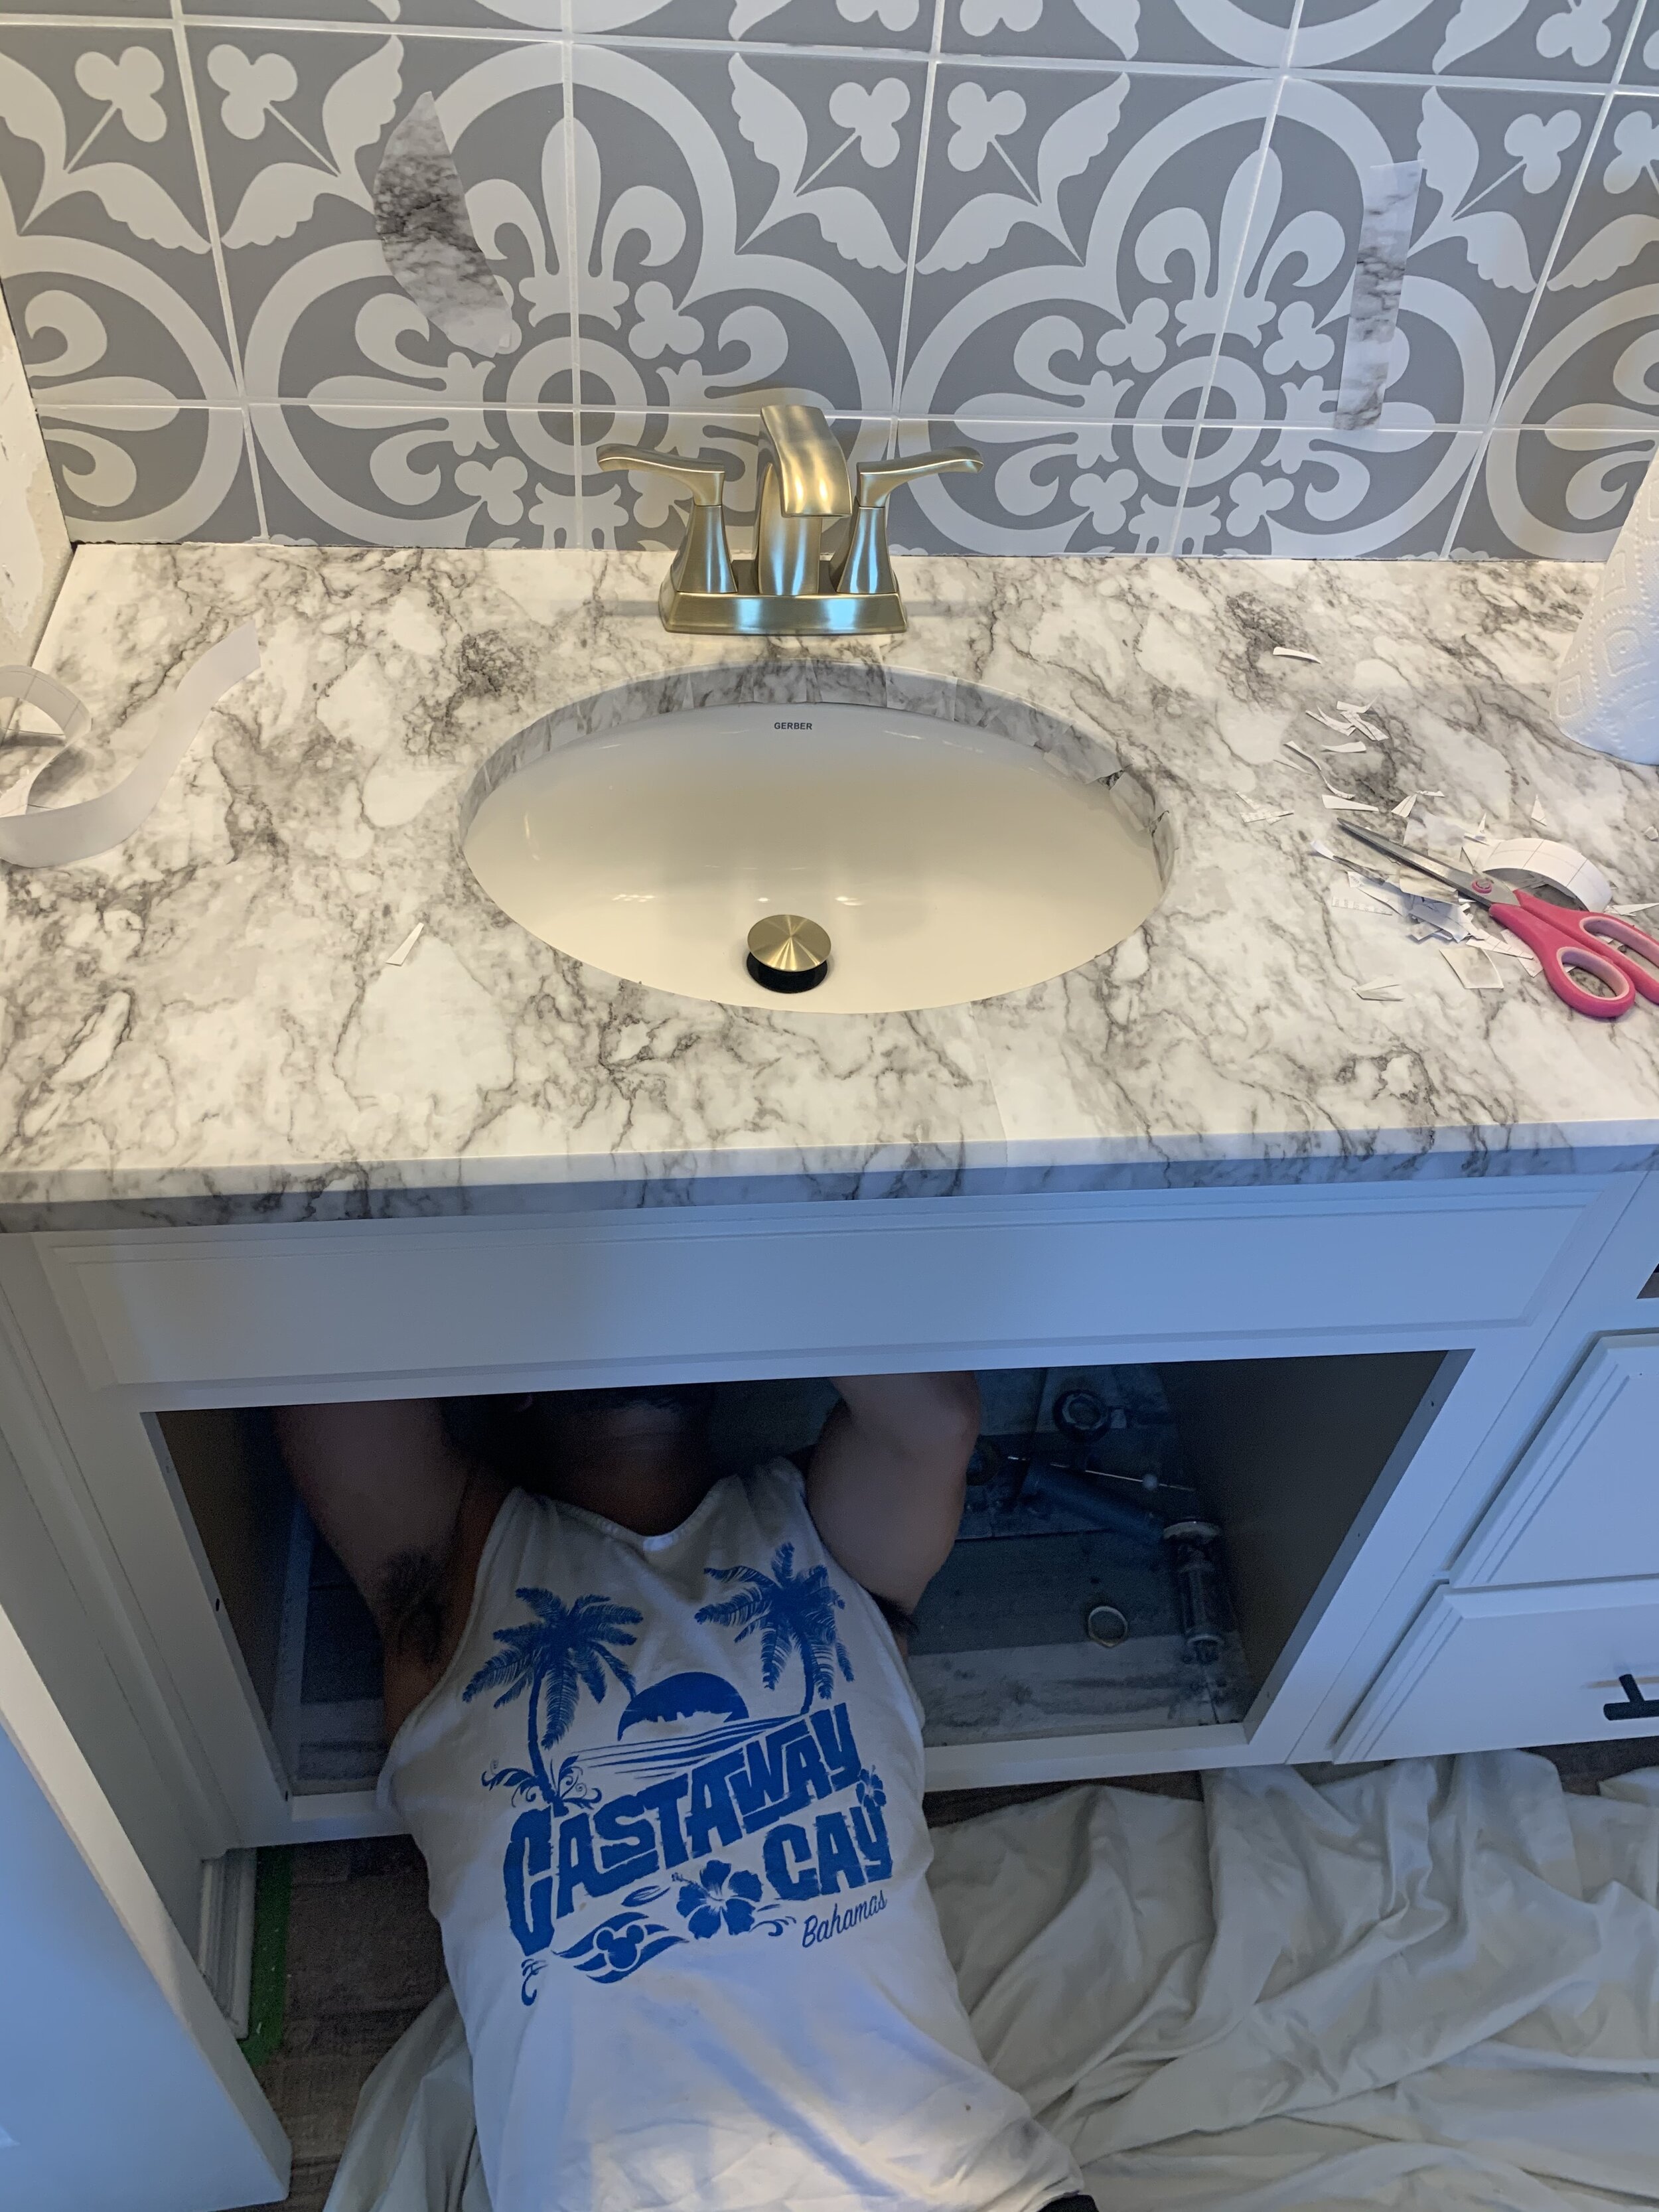
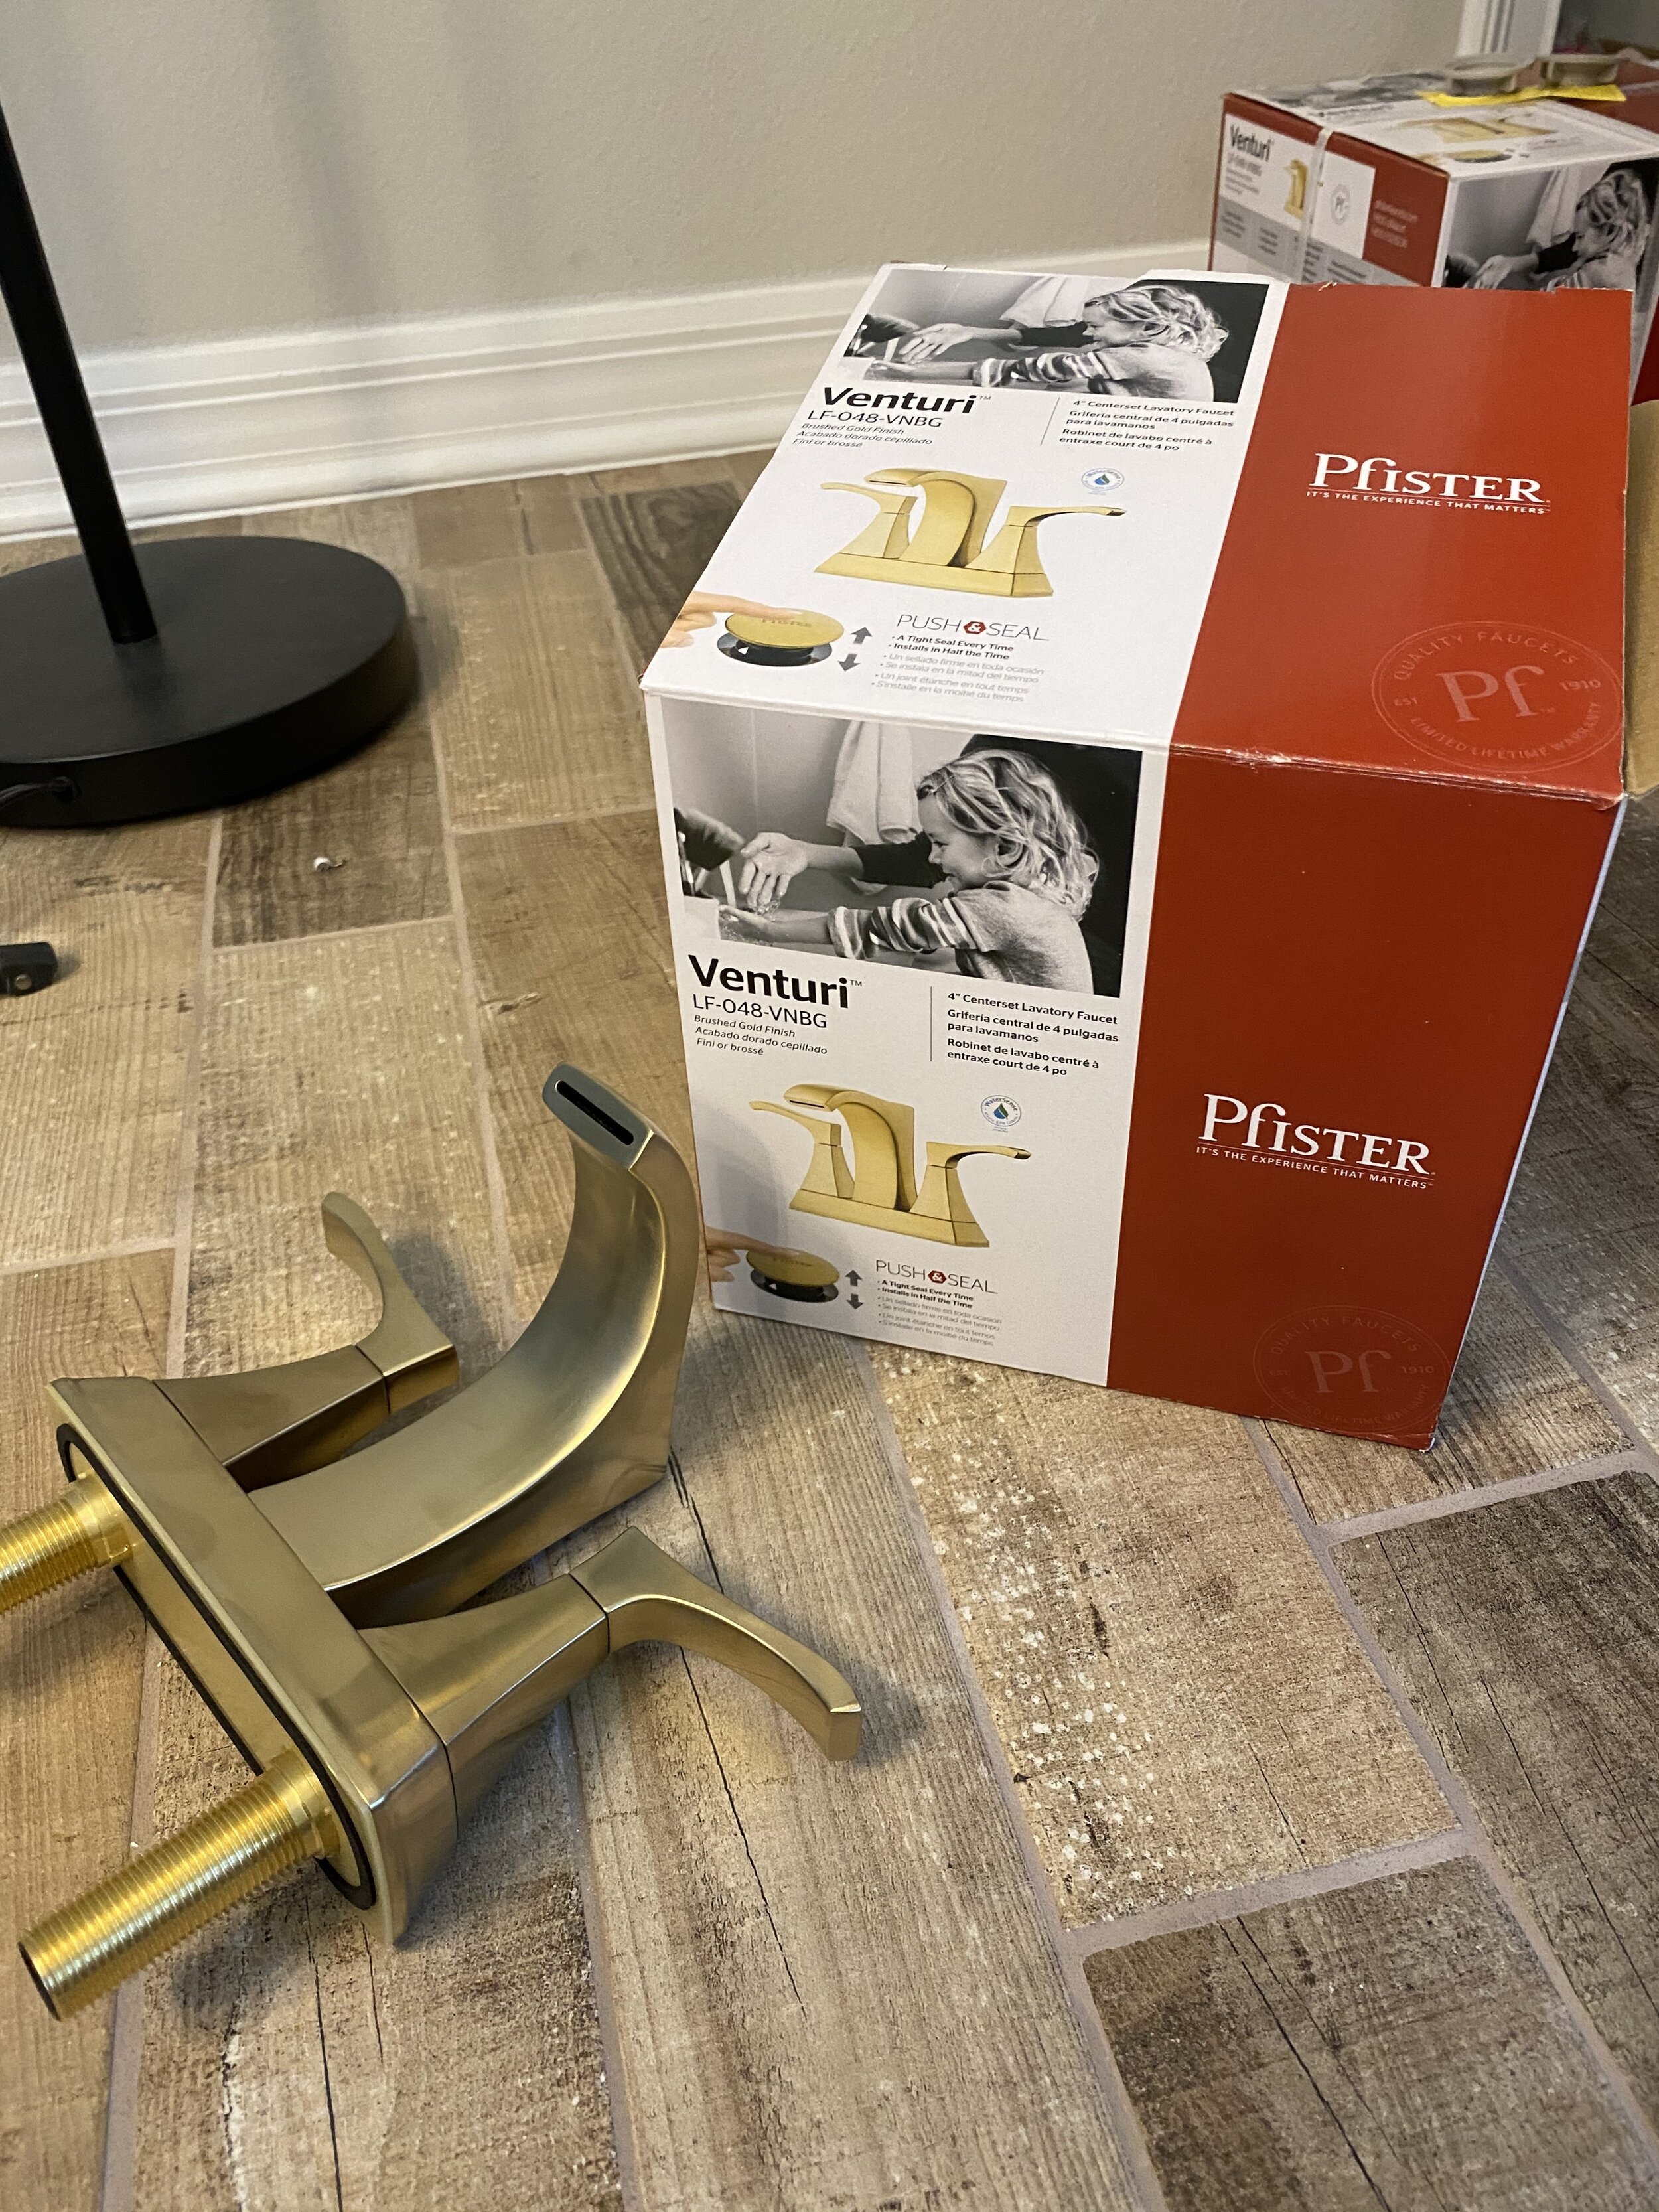
Even though I would be removing the countertop adhesive when the new one arrived, we left it on for now and moved forward with progress for this week! I mentioned before we were partnering with Pfister Faucets again for this renovation and it was time to install the sink faucets-yay!
We chose two of their Venturi 4” centerset faucets in brushed gold and WOW, these are gorgeous! We love the finish and style of these faucets and think they look so good! As we have said before, Pfister faucets are so easy to install, and require no additional sealant or putty, so Ryan had both of them installed within 20 minutes! After the renovation stay tuned for a more detailed blog post on all of our Pfister items we used!
After our gorgeous faucets were installed, I put the cabinet doors back on and also patched the holes in the wall where the old granite backsplash was. Its starting to look like a real bathroom again and this productive week was just what we needed! Week 5 we will paint with our awesome BEHR paint we selected, install the wallpaper we are using, put the toilet back, and start and finish the shower! We are getting close to the finish line and its so exciting!
As always, don’t forget to vote for us daily by clicking here!
And head to our Instagram for some more renovation action!
-xoxo
Newbuild Newlyweds
Grab our FREE download
Wanna know the 5 must have tools you need before you start?
Considering a DIY Project?


Be the first to comment